All of us have been thinking about how to move the classroom online. Here is my setup; it replicates what I do at the school, with the additional benefit of recording the whole lecture for those who are not in the same time zone or on a fat pipe like the rest of us. The cost involved is minimal, and the installation is hardware friendly.
So, what does my classroom look like? I typically use two screens and one large whiteboard (that runs across half the front wall). The first screen displays the slides, the second screen is for live code, and the whiteboard is for graffiti. The goal is to replicate this setup with a combination of hardware running Linux/SunOS/Windows and an iOS device. An obvious solution is to run everything on the iOS device. It would be no fun to run Zoom, a terminal to ssh to a Linux host (for live code), slides app and notes all on an iOS device and continually change the windows during the broadcast. There is also the annoyance of dealing with the menu options.
An ideal solution would use Linux and iOS device. However, there is one primary shortcoming here; it is not easy to broadcast from iOS to a Linux device. The solution is to replace an iOS device with a graphing tablet. Keeping the cost in mind, I decided to work with Windows. The setup is to use streaming software which plays with Zoom (popular here) and can handle multiple sources such as webcam, iOS device, displays. The scheme below is not original, variants of this architecture are now used in business, academics as well. If you use multiple monitors, then this is worth tinkering around with. The how-to steps follow next.
A big part of this solution might already be there in your home; ask the resident expert in gaming/streaming/influencing in your household.
The idea is to stream to Zoom instead of the web. OBS seemed to fit the bill (as suggested by the gaming expert at my home). The output stream of OBS is fed to Zoom using OBS virtual-cam driver. The installation steps are straight forward. You need to install Zoom, OBS, OBS virtual cam and software to airplay iOS device on Windows. There are several alternatives (not free). Rest is details and Bob’s your Uncle!
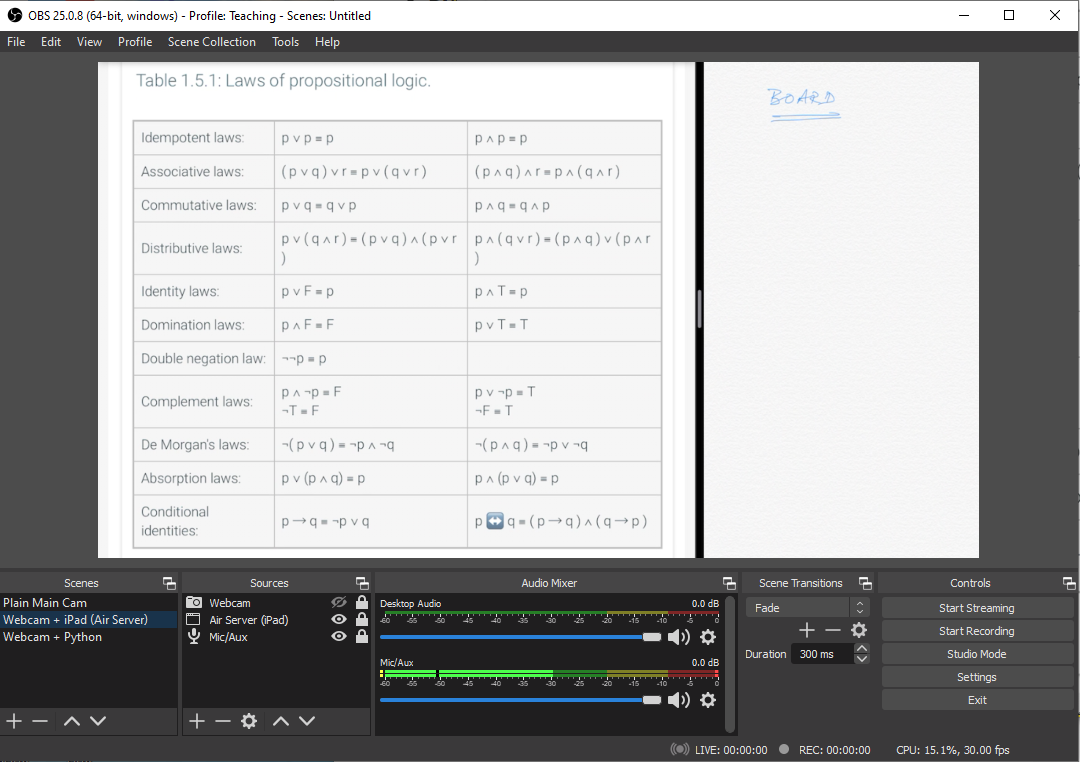
Create two screens (both with the webcam), one for slides+whiteboard (airplay to a window) and a second one for live code (shown below). Set the F keys to transition seamlessly across screens in OBS.
Slides + Whiteboard running on iOS device. |
|
|---|---|
Terminal for live code running on Windows/Linux. The red frame is the webcam. |
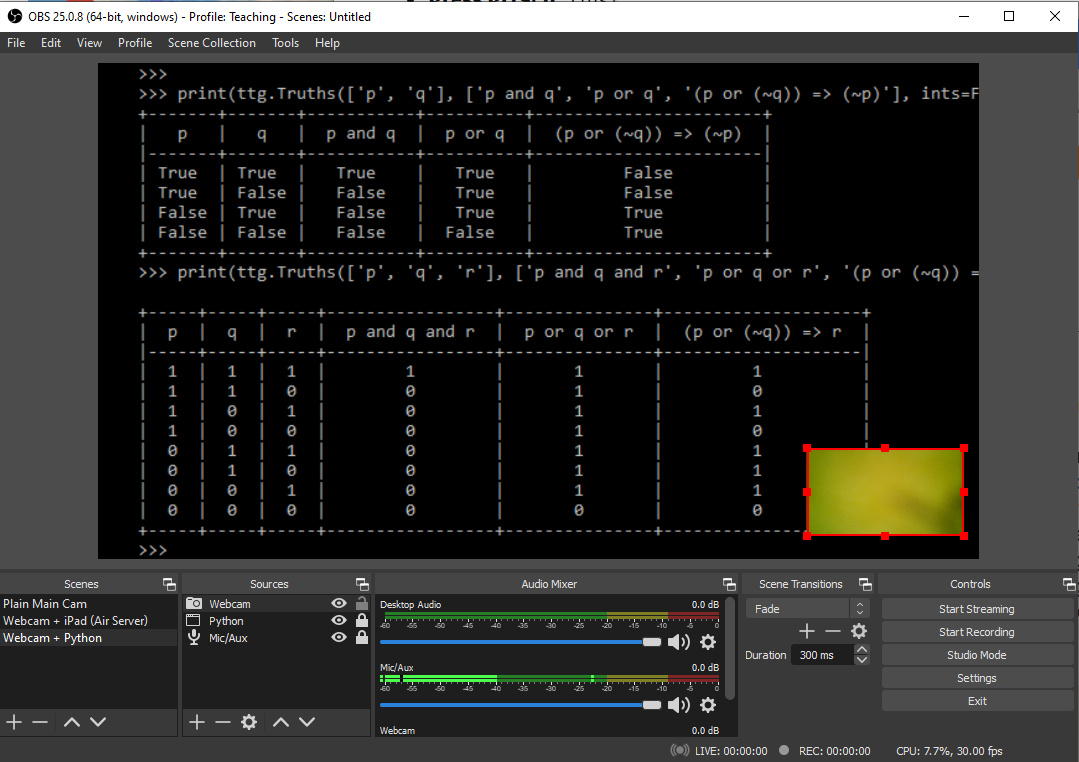
|
The broadcasting software can handle multiple audio inputs and tracks. Once again, your teenager will come in handy to figure out the details. The final step is to feed the OSB output to Zoom (as input). So, remember to start the virtual cam (option is available under the Tools menu) and change the default source in Zoom to OBS virtual cam.
For better audio quality, add compression and noise control to the mic under the advance settings. If you want the audio from an iOS device to be an input to Zoom, then you need to do some more work (google is your friend).
Fiddle with the video settings in OBS if the resolution in Zoom is low. Optionally, you can replace the virtual cam with an NDI device. This setup was tested on i5 + GeForce 890a and is CPU, bandwidth-hungry if you want to stream in hi-def. Next step is to replace the iOS device with a graphing tablet and run everything on Linux. Let me know if you need help with the details and happy remote teaching.