CPSC 3710 Project
Martin Bauer
Spring 2012
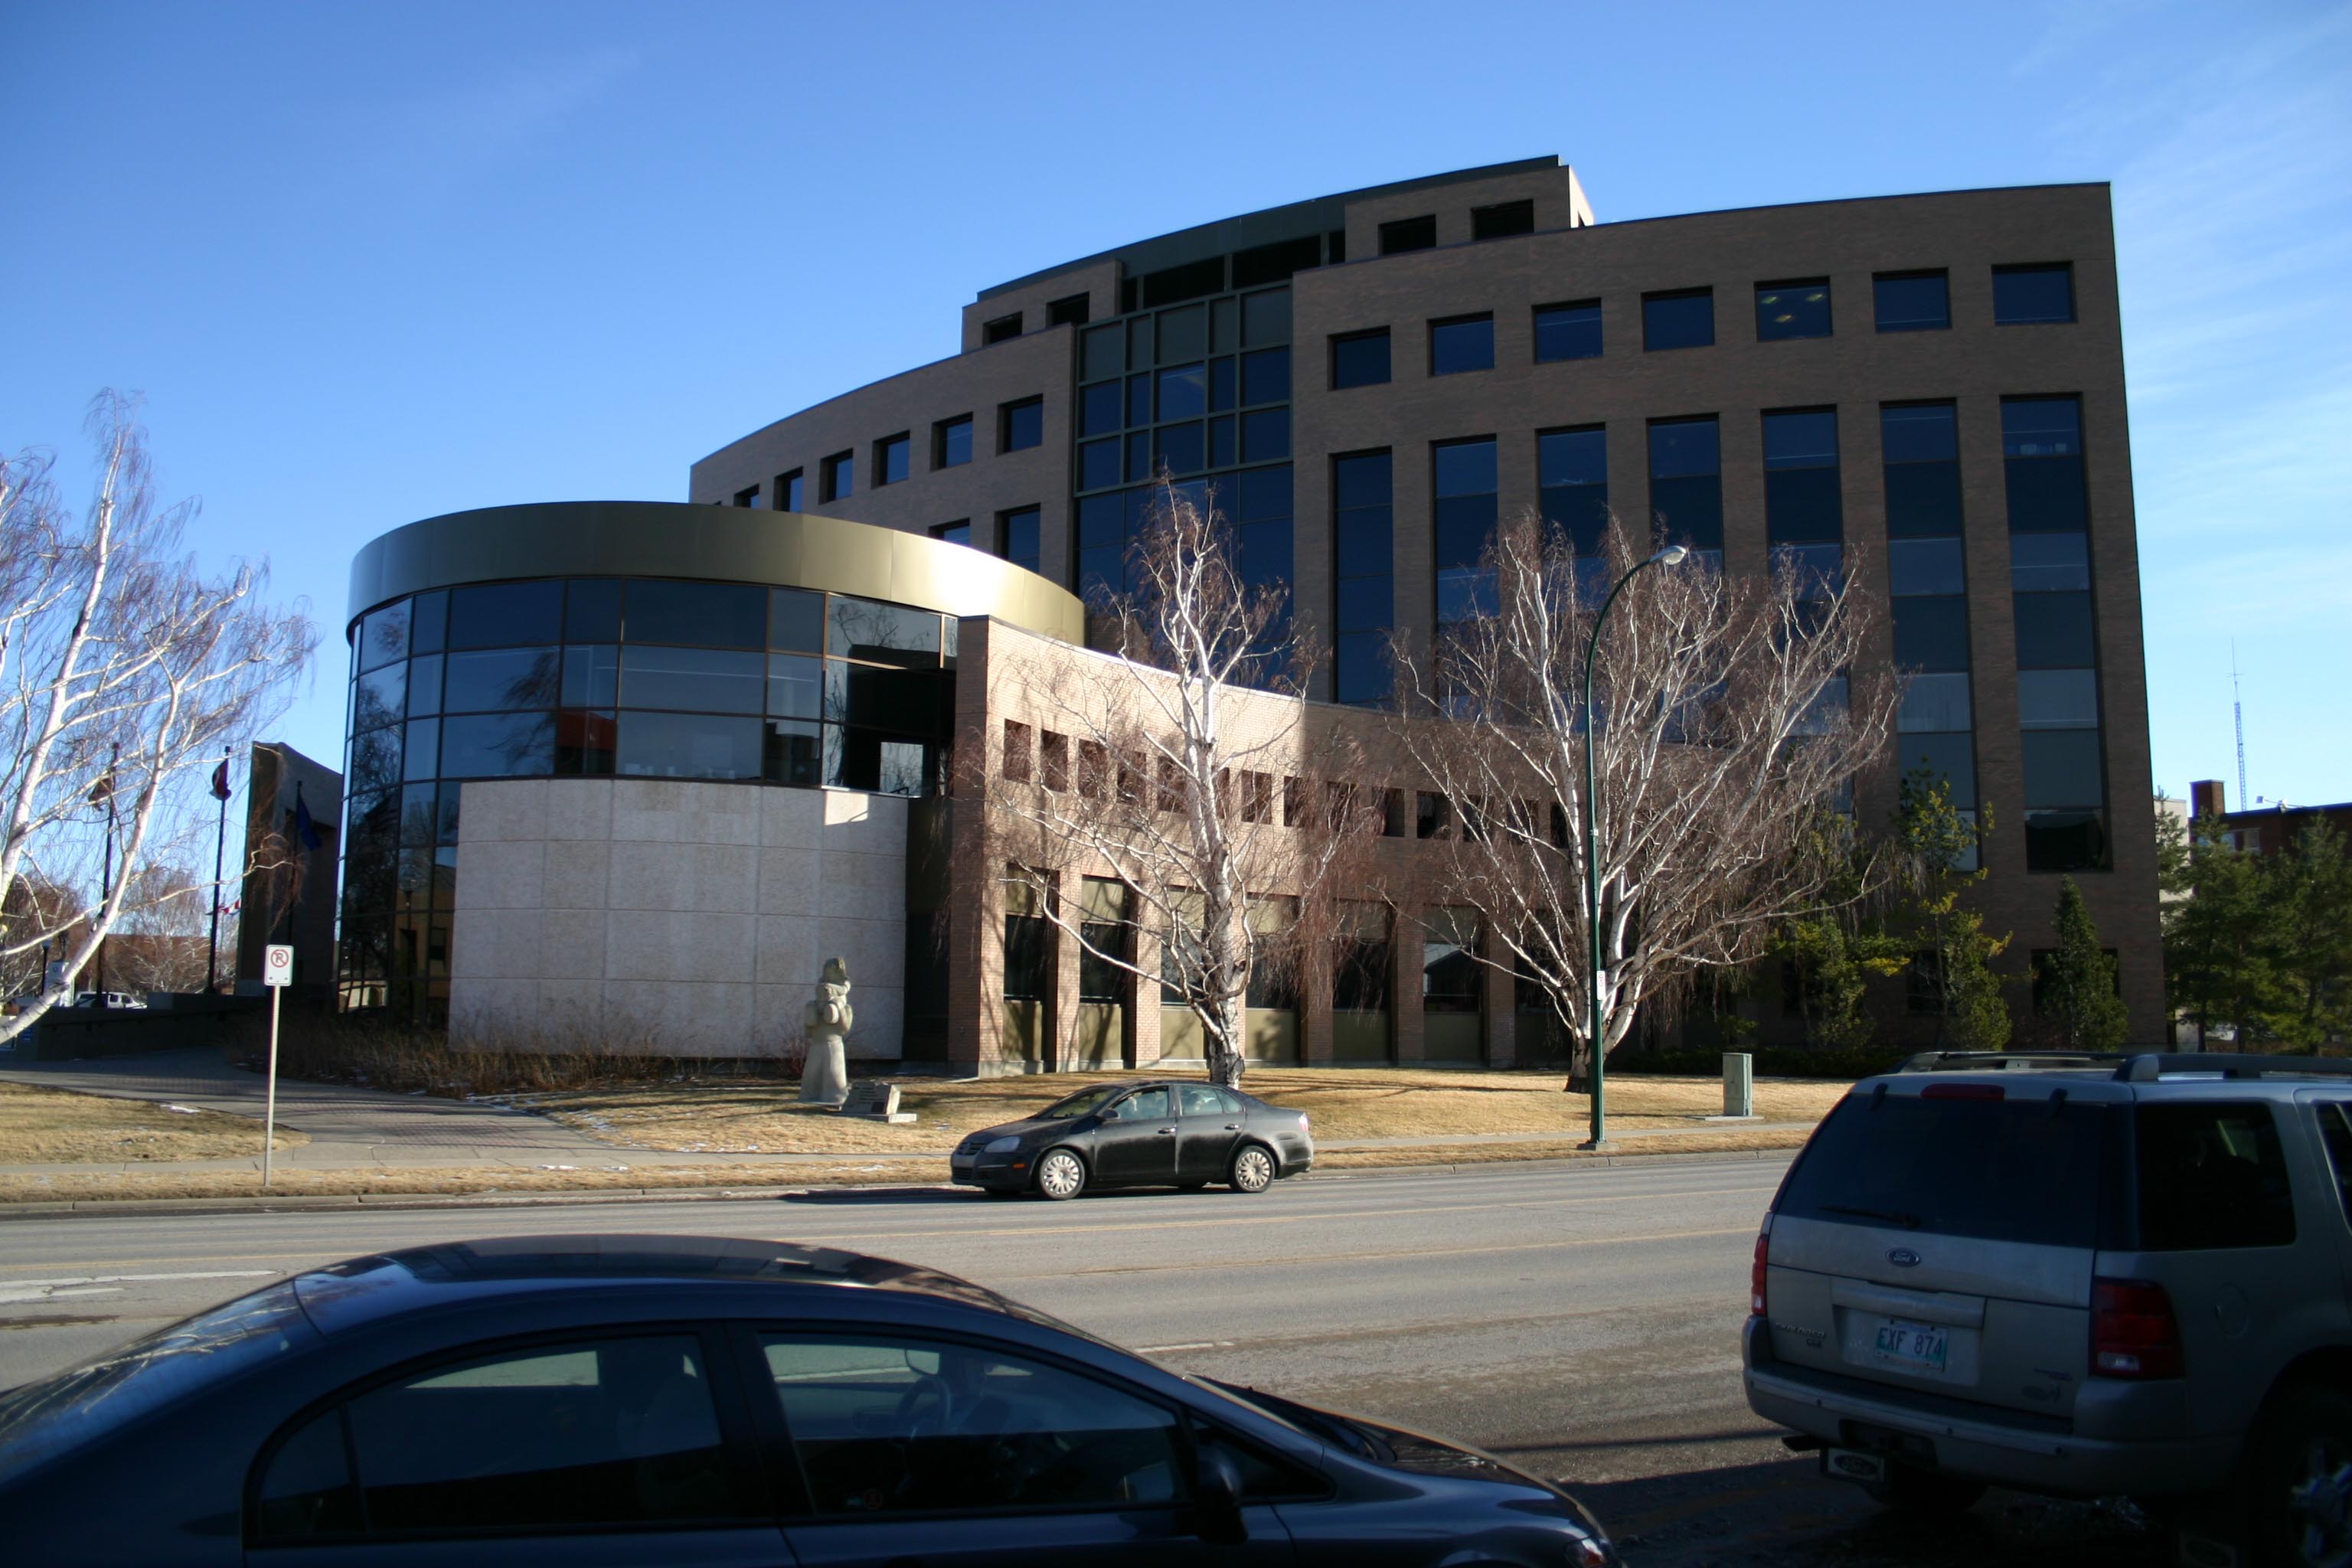
Why I chose Lethbridge City Hall:
I chose City Hall because of its unique curved shape. I felt that this would make an interesting building to model. The software I chose to use was Google SketchUp.
How I modeled City Hall:
I began by drawing the simple shapes for the foundation using a combination of straight and curved lines, the circle tool, and the rectangle tool. Once they were all drawn I used the Push/Pull and extended them to their appropriate heights. The next step was to add, the portions of the walls that extended higher than the rest of the wall, and the portion of the building that is on top of the large curved structure. I was able to achieve this by using the offset tool to create a new set of lines inside of the outer edge, and then Push/Pull to the right height.
Once I had the shape of the building right I started with cutting the decorative squares out of the necessary walls. To cut the squares out of the wall I used the measurement tool to set out guides the length of the wall. Once the guides were set it was to be as simple as using the line tool to draw a square by snapping to all the intersections
made by the guides. Unfortunately this worked about 70 percent of the time due to the inability of SketchUp to handle the Push/Pull on the uneven surfaces (rounded). To achieve the square the other 30 percent of the time I made a square that matched the desired dimensions and made it into a component. (I found components useful as they were set so I could not accidentally alter them, and could pull them for use at any time.) I then took the square component, set it where desired, used the Intersect with Model call, and then removed the component, and cleaned up the intersection, and drew the necessary lines with the line tool.
The next step was to recess all the window wells. This process was similar to removing the squares from the wall except this time it was just pushing into the wall a small amount. I once again used the guides to setup the windowlayout, and once again had troubles with certain portions of the curved walls, but used a similar method as prior to resolve this issue.
Modeling the entrance to the building went without much difficulty until I was met with the issue of recessing the text CITY HALL. SketchUP has a 3D text tool, and raised text was fairly straight forward, but to recess the text involved research and a little bit of playing around.
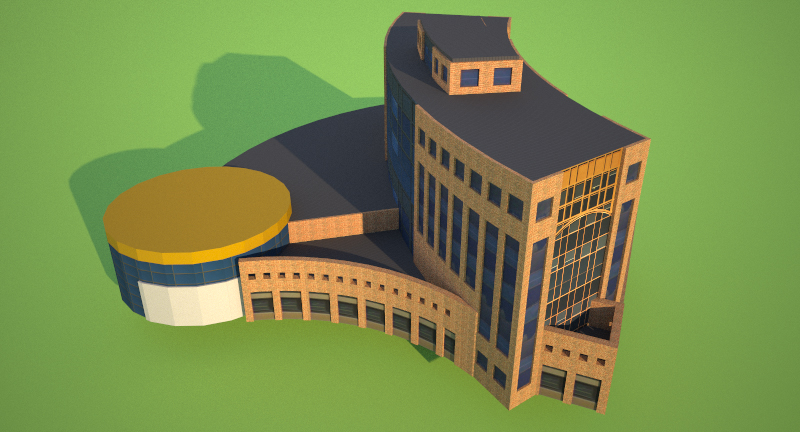
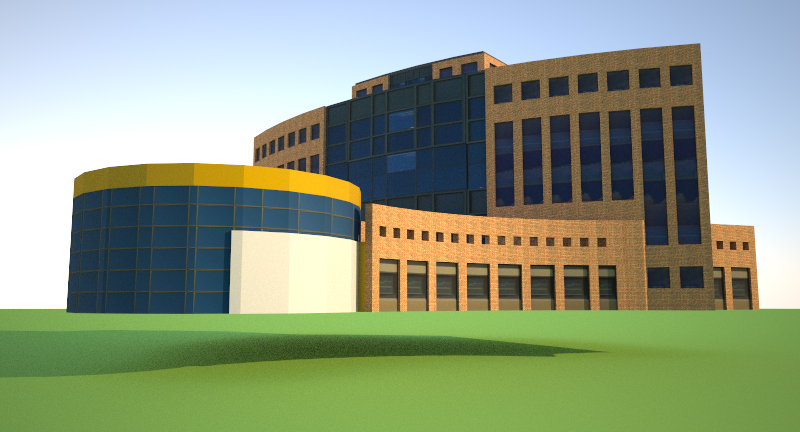
The final step was to texture the building. For the majority of the building I used the Antique Brick texture supplied with SketchUp. For the windows I used the SketchUp feature of connecting to Street View and importing imagery, and I also used portions of the photos I had taken. Getting the imported textures to line up as desired was difficult, especially for main gallery.
The Result: (rendered using the Maxwell Fire plugin)