
|
| Page Navigation View the Gallery |
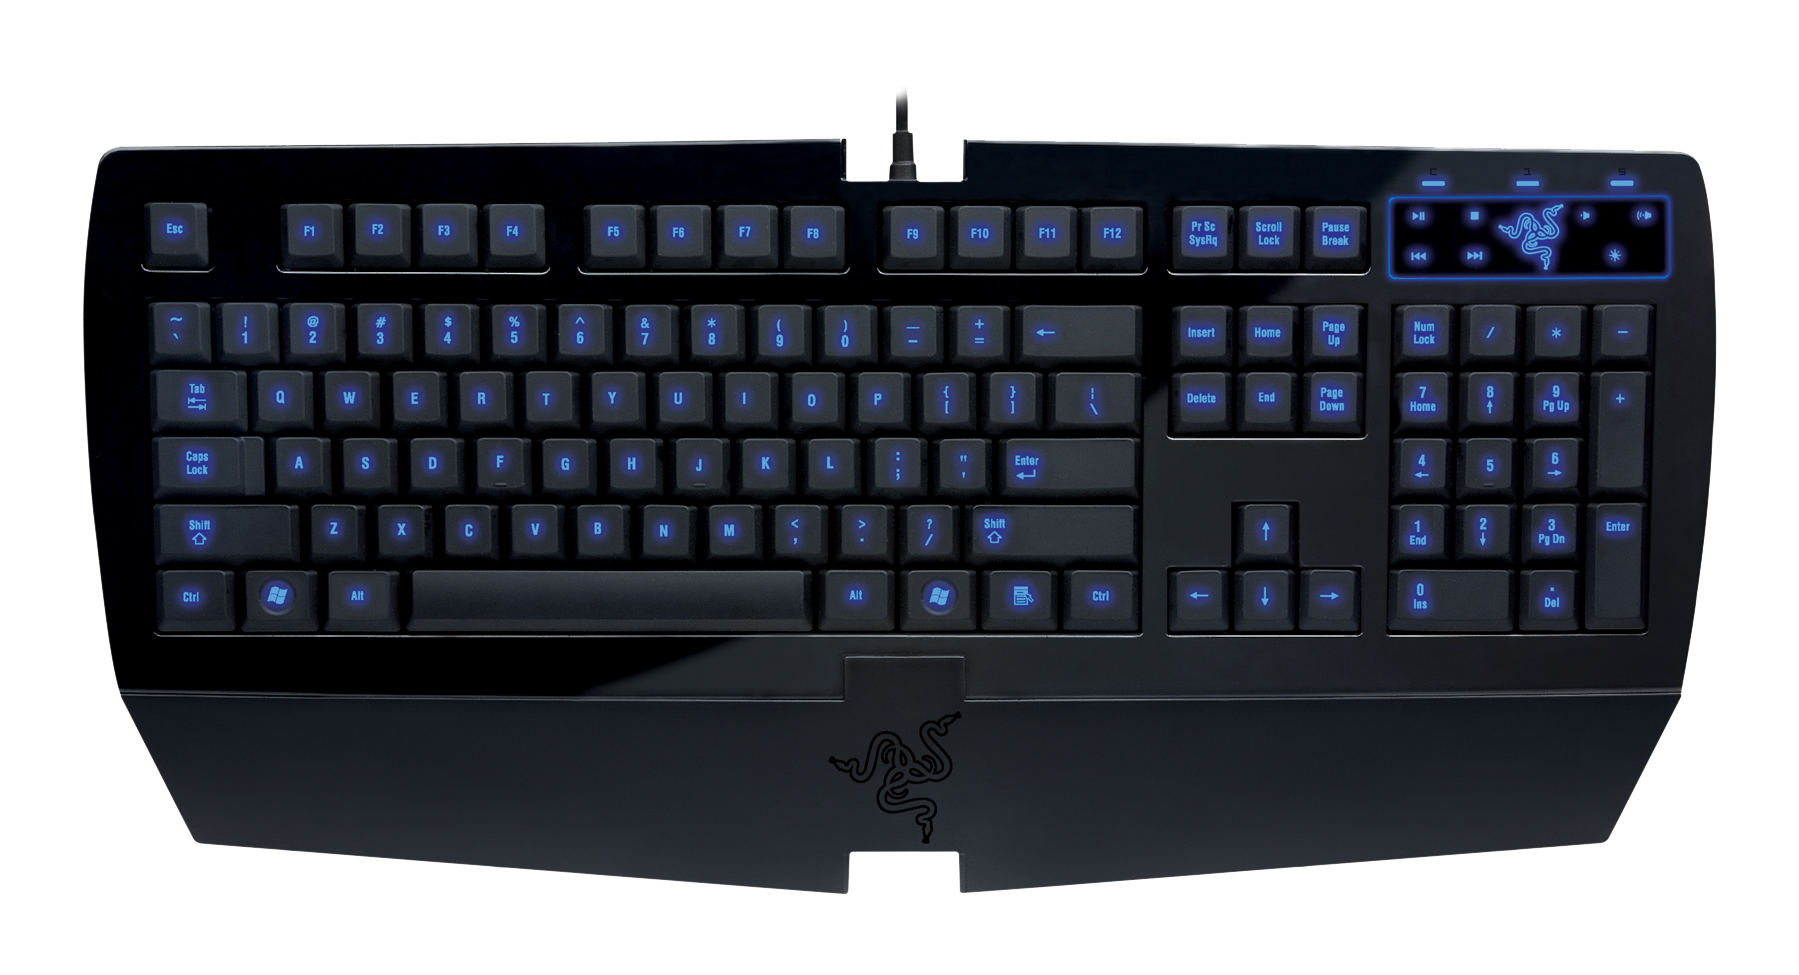
With my previous 3d modeling experience I decided to be ambitious and attempt a model of my keyboard, a Razor Lycosa. The modeling was around 12-15 hours and the texturing with the UV map took longer than I thought, about 4 hours as I kept busy looking up how Blenders UV's operate, and was perfecting my process as I worked. With more time I would have added accessories and peripherals such as the USB port and headphone jacks along the top and perhaps added the extension at the bottom, along with my mouse; while improving the texture with a shiny black for the surface, as seen in the pictures. All of the surfaces besides the keys are simple black shading. Here are some sample pictures: 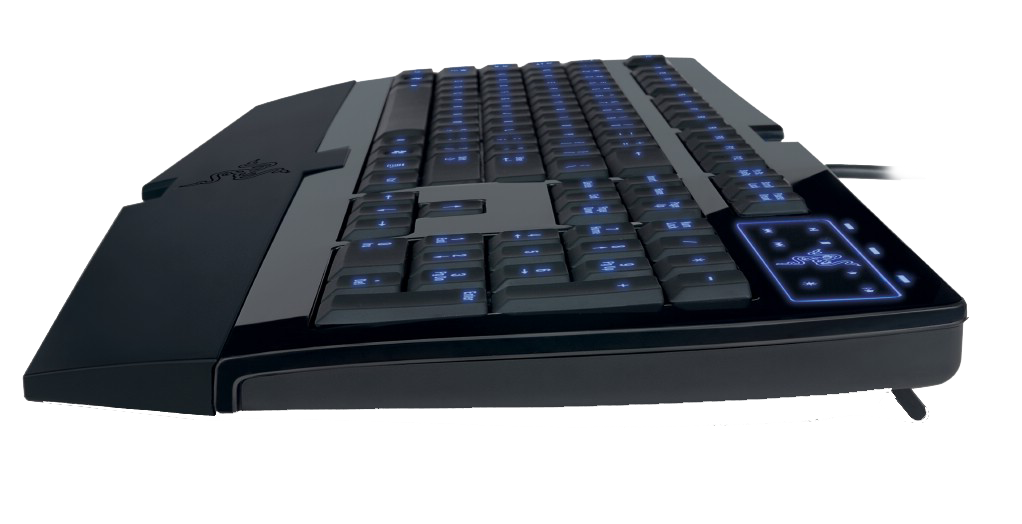
 Once I decide on what to do, and that I would also texture it with the UV editor, I attempted to keep the replica as accurate with its proportions as possible - knowing that as long as I adhered to my measurement guide the keys would more or less fit in where they should. Fortunately my effort was successful and I feel quite happy with the result. I was fairly meticulous with my modeling as I knew many of the challenges I would be encountering, with so many vertices and edges there are a few rough spots in the mesh but they were more or less solved. I maintained quads wherever possible, especially on the surfaces that would be readily seen in order to keep the detail of the complexity of the model. I was able to maneuver my triangles to less noticeable areas such as between the keys and on the bottom or side. I did not model or texture any feet on the bottom. My wireframes and renders are available in the gallery 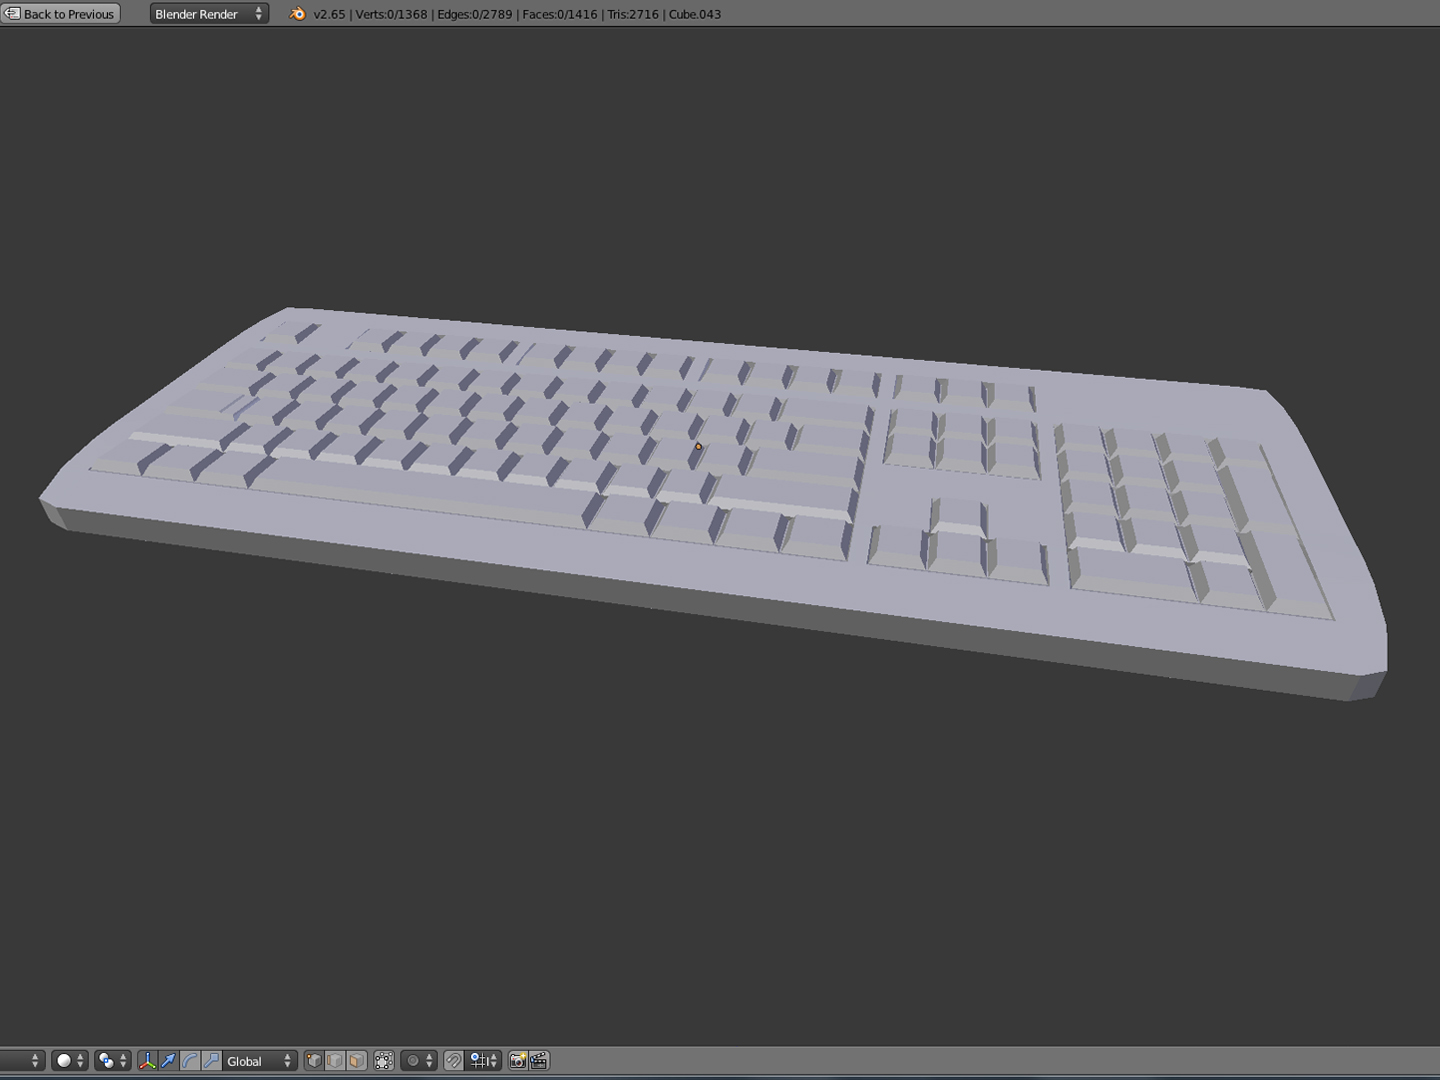 The UV map at first was well organized but towards the end of the mapping I was moving the keys around in order to fill in the gaps. The key to UV maps is to maximize the area you have with as little wasted space as possible, and as I scaled the keys to the same size they would need rearranging to allow me to use a uniform font size. The end product is convoluted but it works; something I would go back and remap with more time. A picture of it can be found below, notice the lighter grey squares, these contain multiple 'faces' - it is useful for saving space if you can copy a common texture. 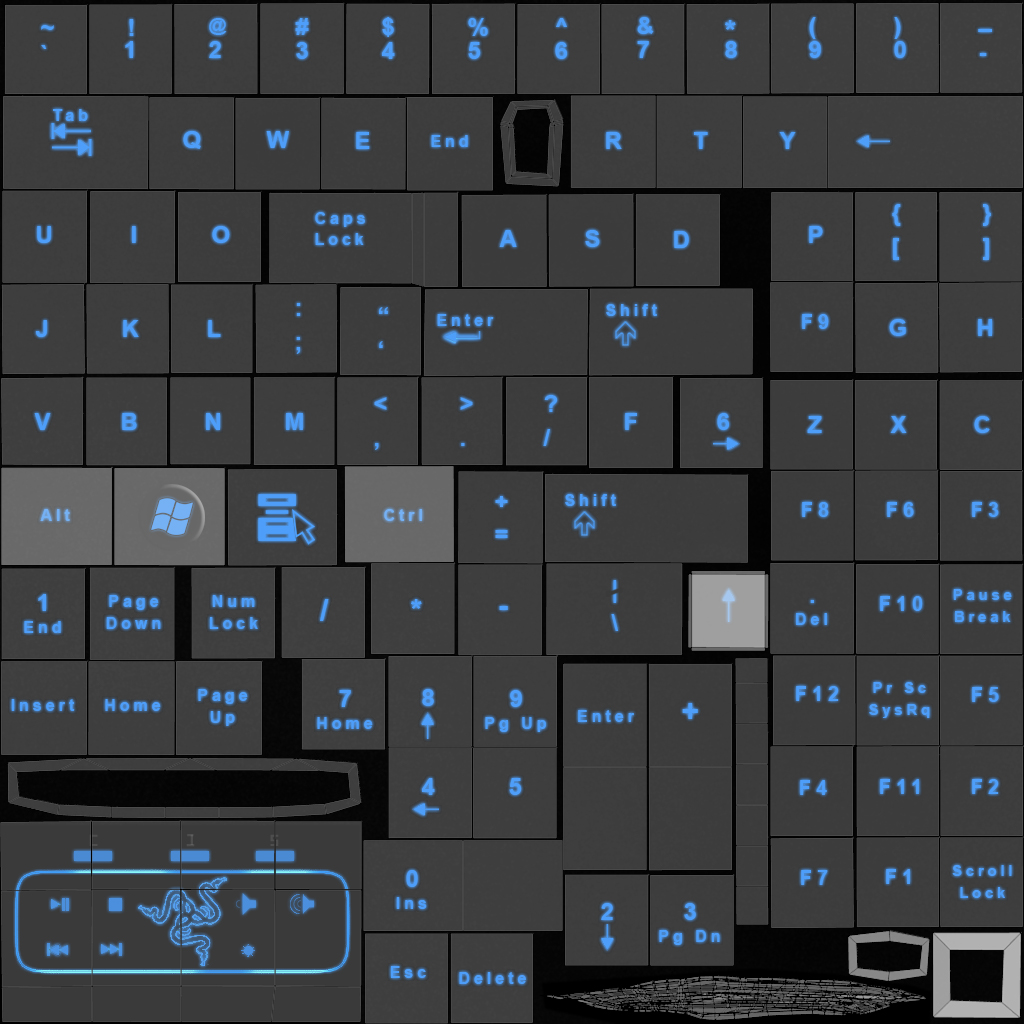 To light my scene I used 3 point lights with a blue hue to match the LED colour and a sun light off on the distance for ambient lighting. I turned on ray tracing for shadows on the table. The most difficult parts were keeping all of the vertices together and planning my UV map taking a lot longer than I anticipated. The results can be seen over in the gallery Return to the top |
| David Shugg CPSC 3710, Spring 2013 |