For this project I decided to create a landscape picture detailing the rocky mountains and some surrounding features relative to the lethbridge area.
The program that this project was created in is 3D Studio Max 7 because I felt most comfortable with this program due to previous exposure to an earlier version of 3D Studio Max from high school.
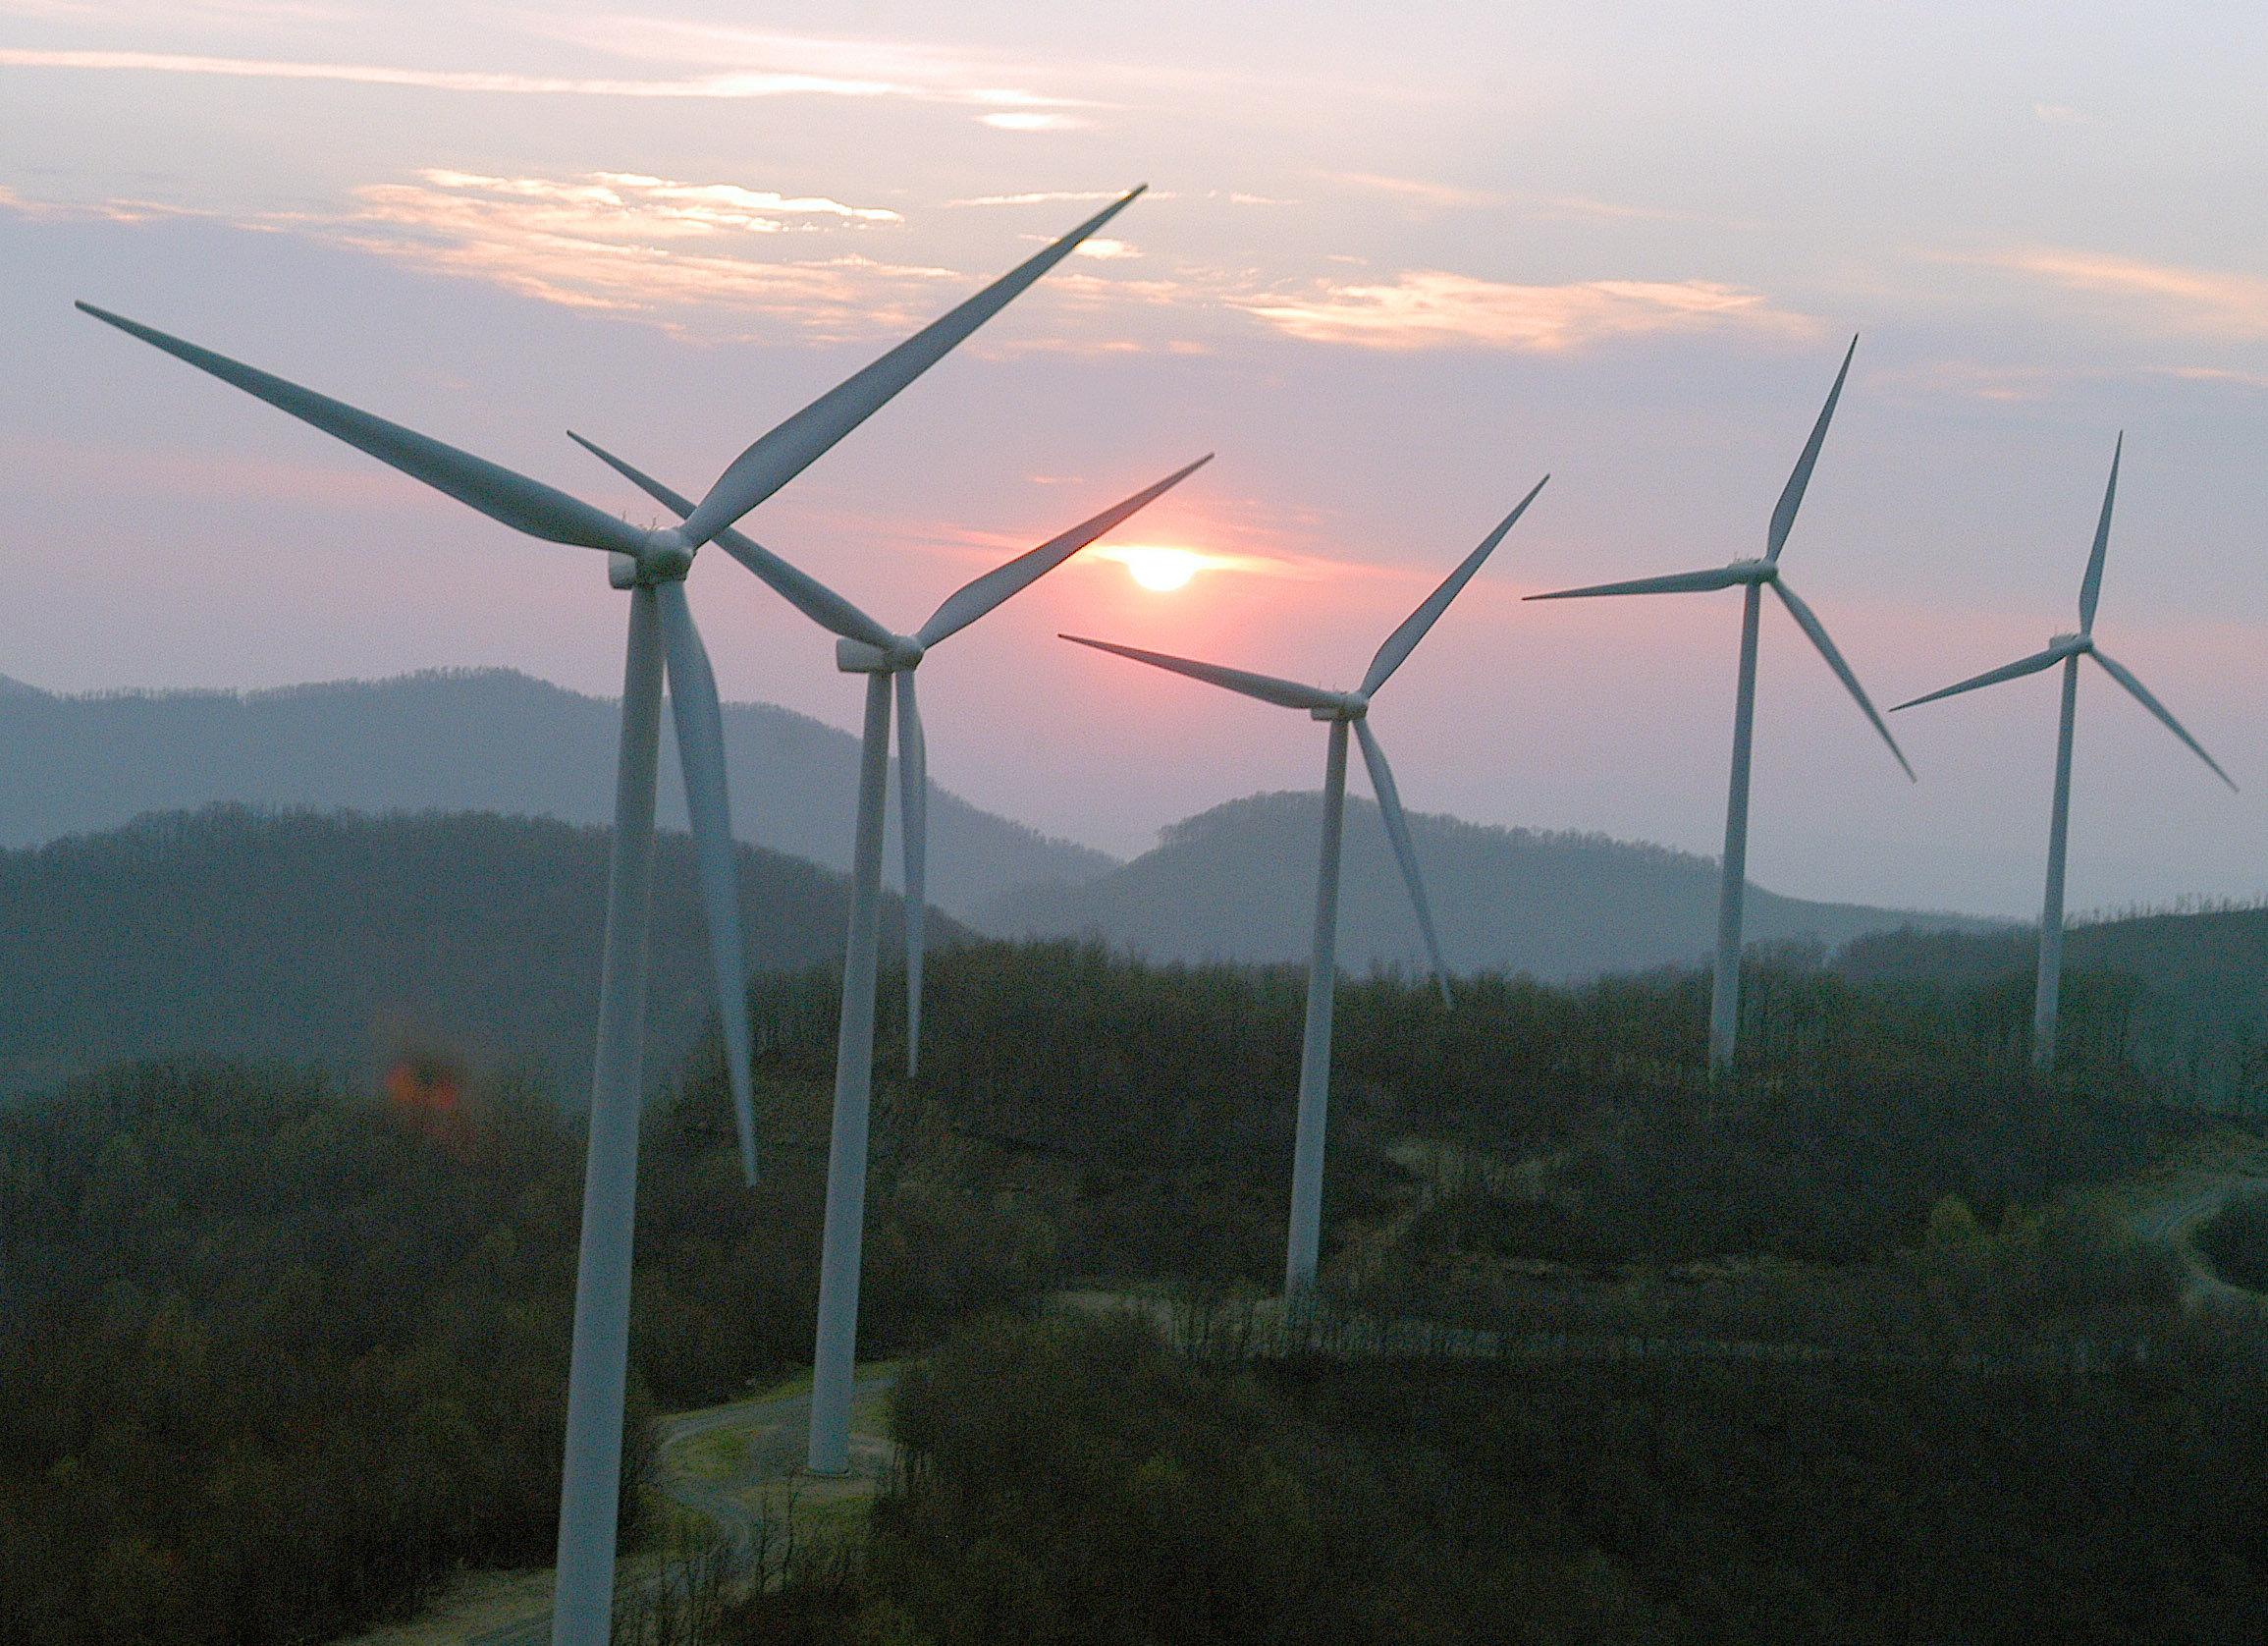
This picture was the inspiration for creating a landscape:
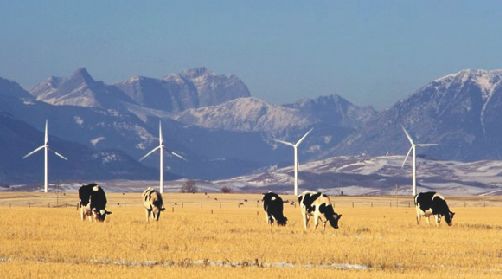 I did not try and duplicate the picture because creating an identical mountain range, sky, cows, and fences would be too time consuming and the picture was not of high quality, making things even harder.
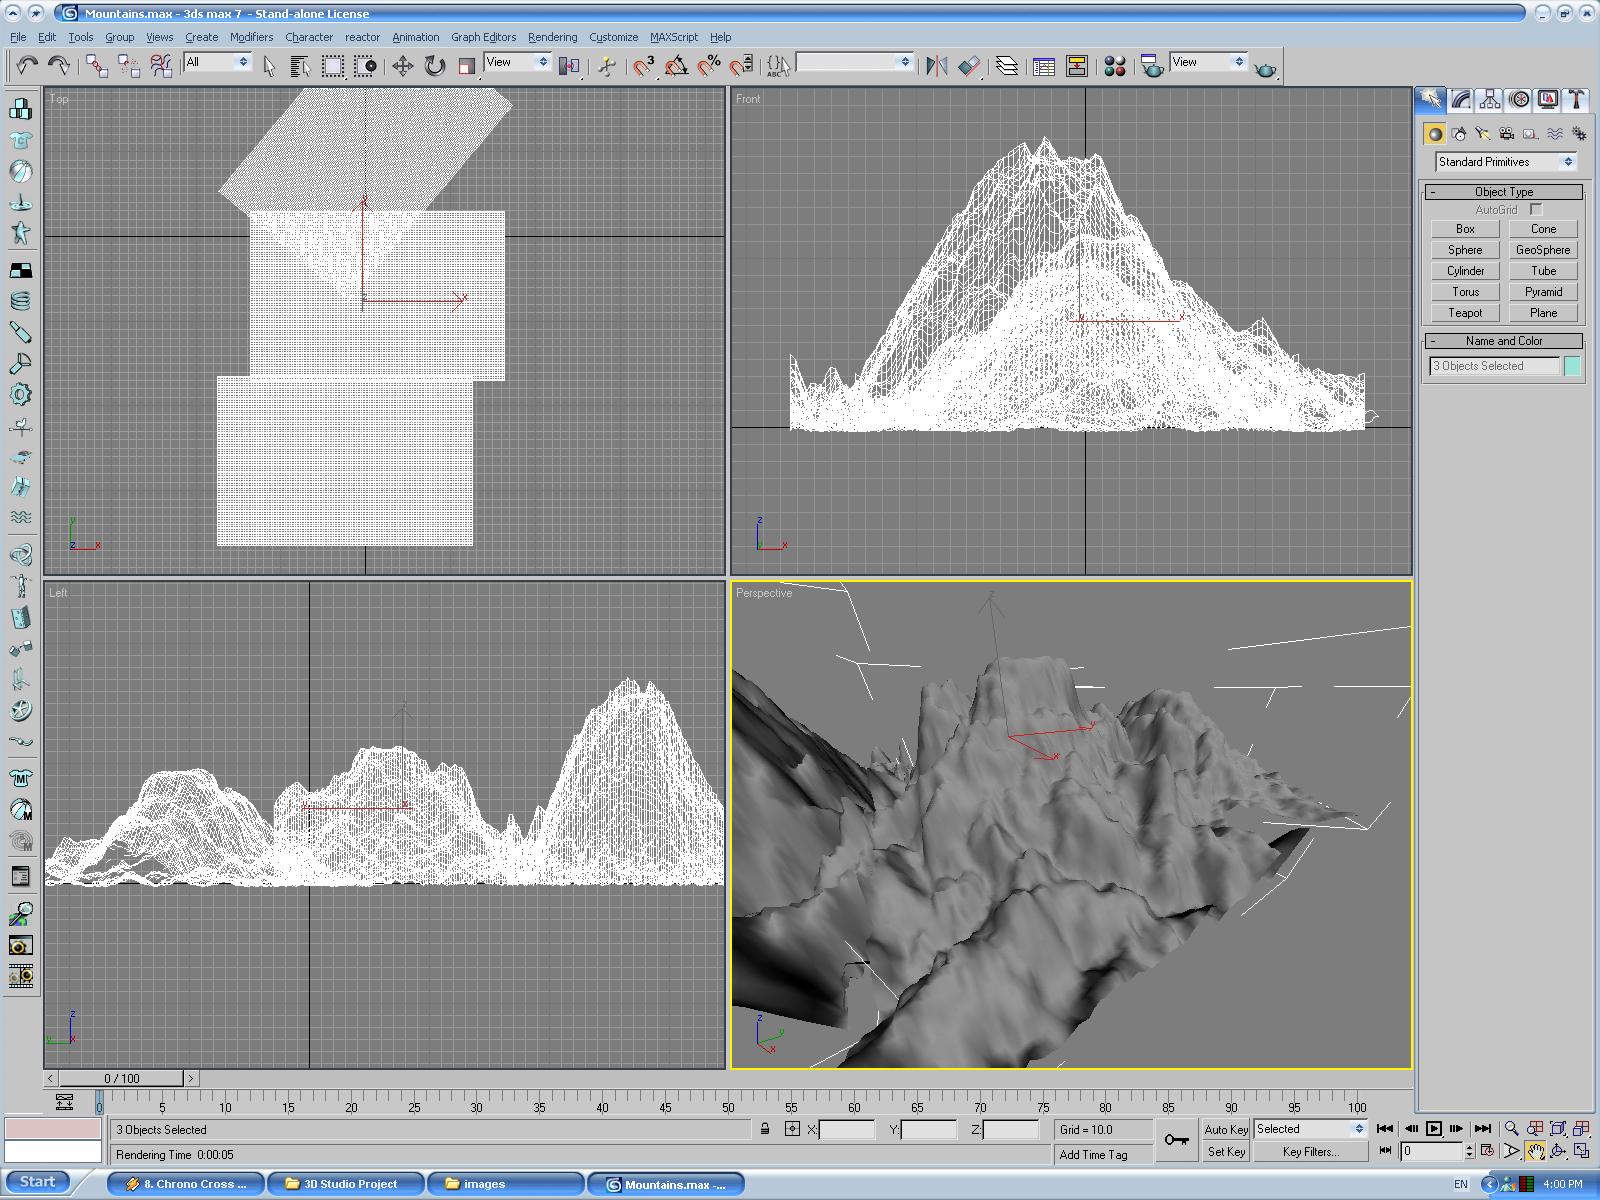
Creating the Mountains
I first started working on the mountain range because I believed that it would pose the greatest challenge in creating a realistic mountain range.
In the end, I am happy with how they turned out even though there appears to be no growth on the entire mountain slope.
I could not think of a way to create the side of a mountain with vegetation so I opted to create something that I knew I could do; snow on the side of mountains.
I achieved this snow like effect by applying a falloff map with a noise modifier in the material editor and adding a suitable bump map afterwards in an attempt to make it look a little more realistic.
To create the actual height of the mountain I had to create my own custom height maps which I then applied to each mountain (created as a plane in 3D Studio Max).
I created these maps in Photoshop using gradients, opacity changes, 2 filters: Clouds and Difference Clouds, and layer effects such as Linear Dodge,
Lighten, and Difference to get pictures that were suitable height maps to use for the mountain range. 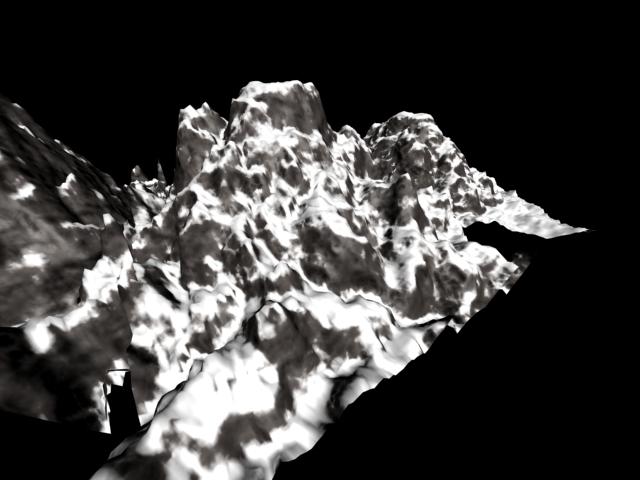
Creating the Grass
Once I finished the mountains up to this point I created the ground that would be in front of the mountains.
I had origally planned on making the grass a light yellow because of the picture that inspired me to do this landscape drawing. However,
I was unable to make the grass look realistic using a variety of fall colors for the grass,
so ultimately I decided to change the picture slightly and create the grass using shades of green.
To create the ground I used box objects because when I went to apply the grass strands to the ground when it was a plane, the grass would not appear in the right places in some instances.
I added a noise modifier to the ground to create a wave effect so the ground wouldn't look completely flat when the grass was eventually applied to the boxes.
I then created 3 strands of grass using the Line object and modified them so they were at varying angles and applied different textures to them so the grass wouldn't be all one color.
At this point I scattered the grass across the ground (box object) using the Scatter modifier to create numerous duplicates of the 3 strands of grass.
I then duplicated the result 3 times to create 4 sections that would cover the front of the mountain range. 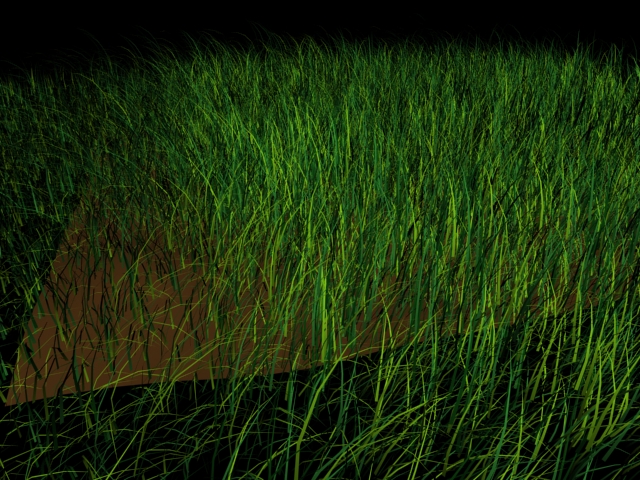 I later added a hill in the background covered in grass using another height map created in Photoshop in an attempt to create some depth to the picture and so that the picture
did not appear to go on infinitely into the sky.
I later added a hill in the background covered in grass using another height map created in Photoshop in an attempt to create some depth to the picture and so that the picture
did not appear to go on infinitely into the sky.
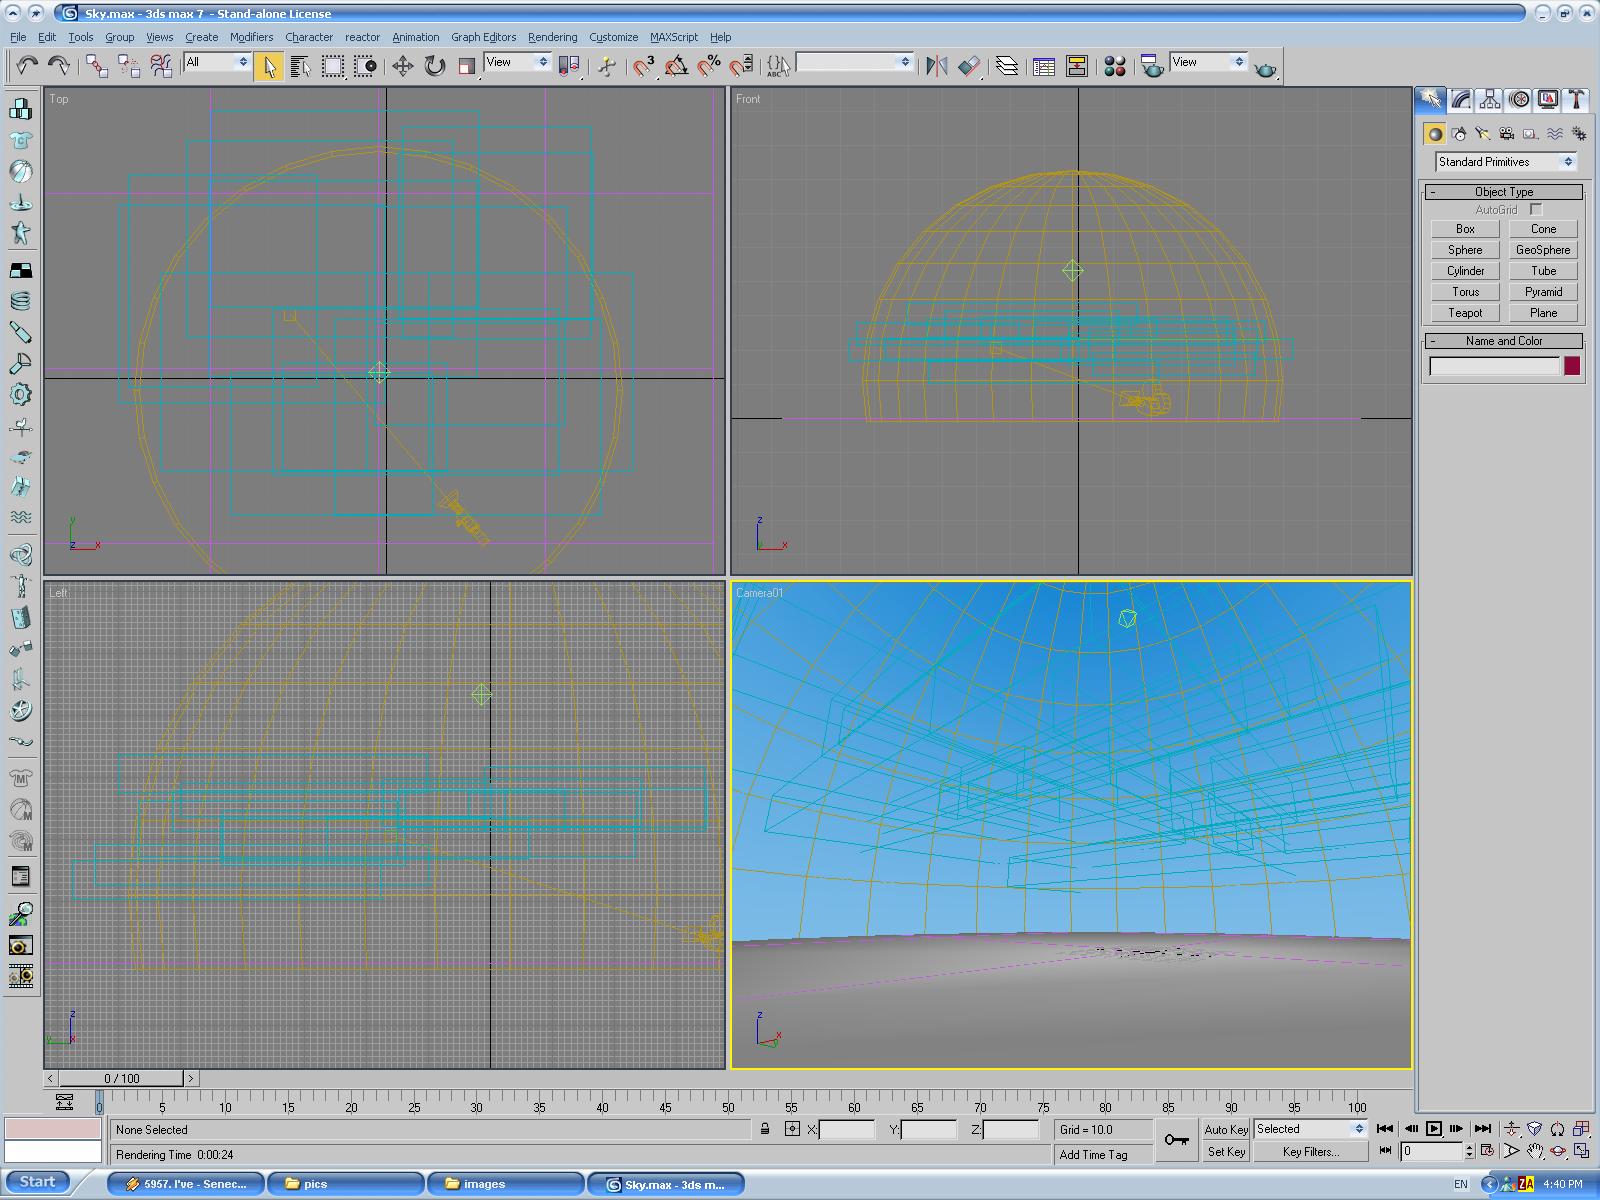
Creating the Sky
To create the sky I had to create a giant sphere that would surround my entire scene thus far and then apply a Normal modifier and invert it so that textures/colors could be seen
on the inside of the sphere. I created 15 box gizmos and applied volumetric fog to them to create the clouds as well as 2 more box gizmos addes to the mountains
in an attempt to create more depth to the mountains so they would appear more distant compared to the grass. I added a general fog effect as well at this point
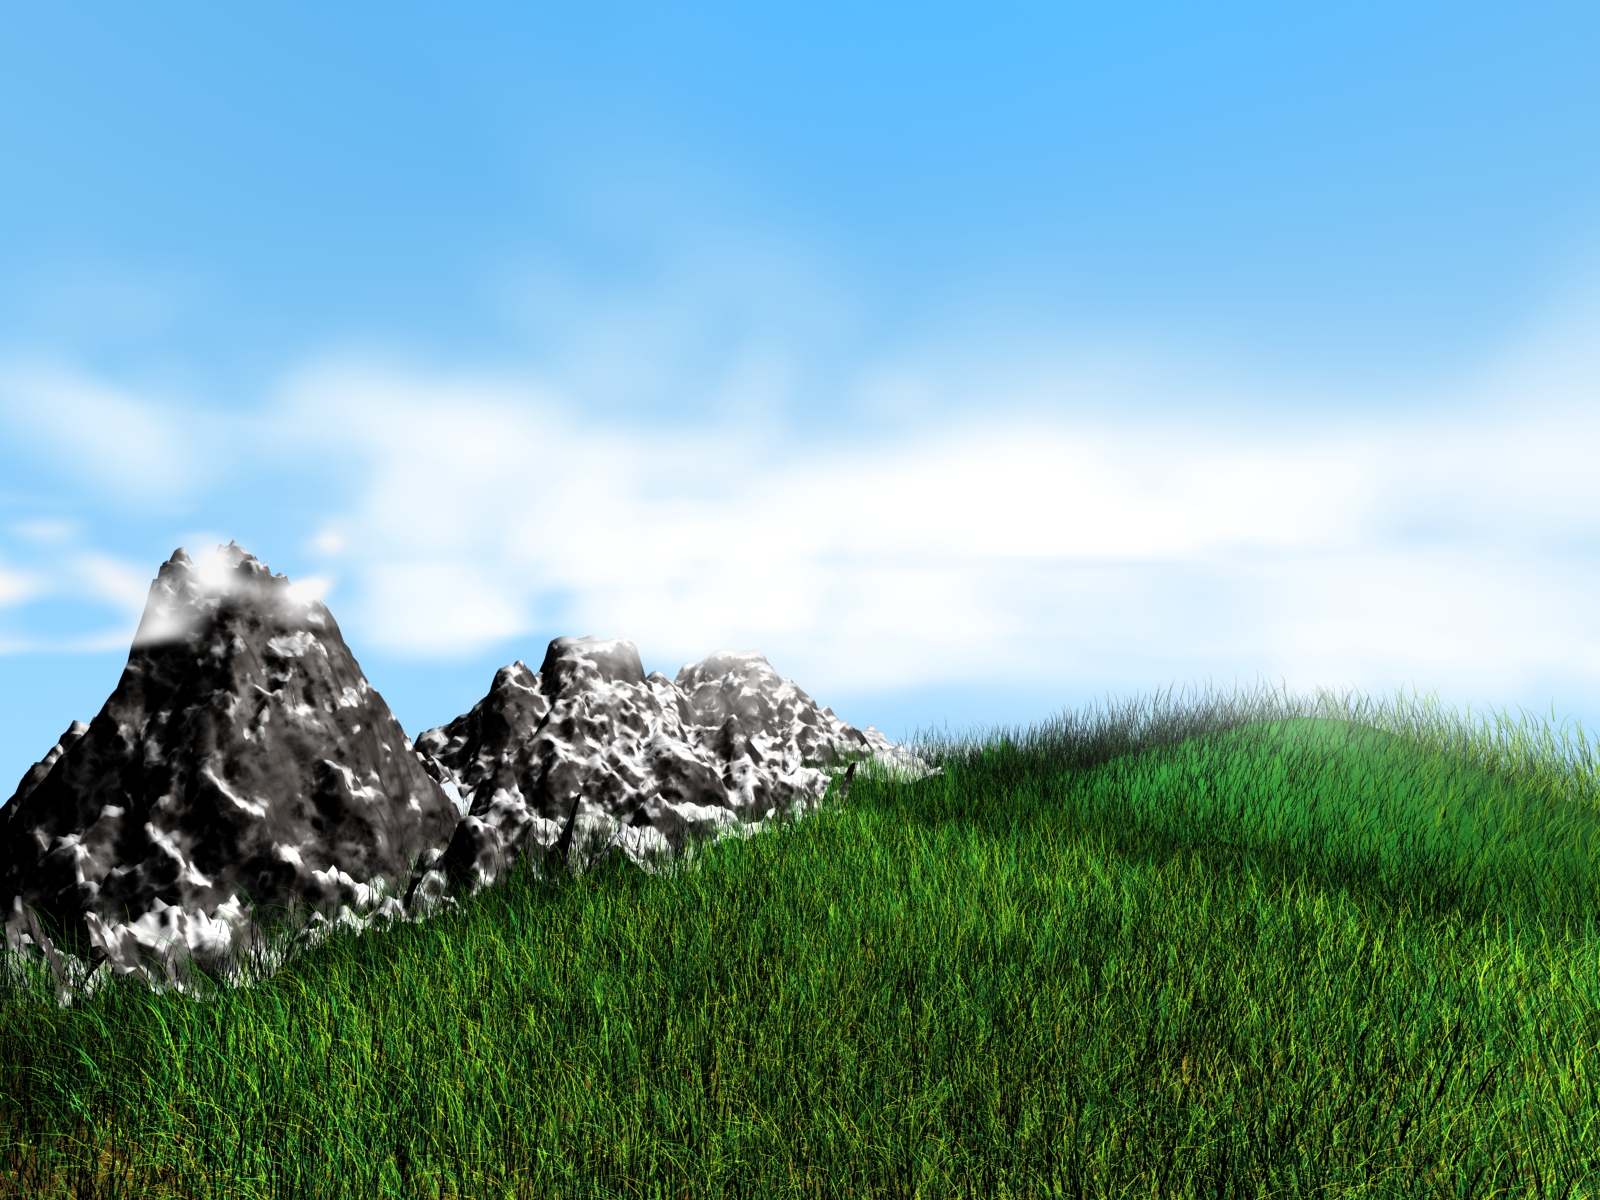
to smooth out the objects in the distance. This is the end result of the clouds (with a simple white plain as the ground for contrast): 
Here is what everything looked like up to this point. Note: Rendered at 1600x1200 resolution.
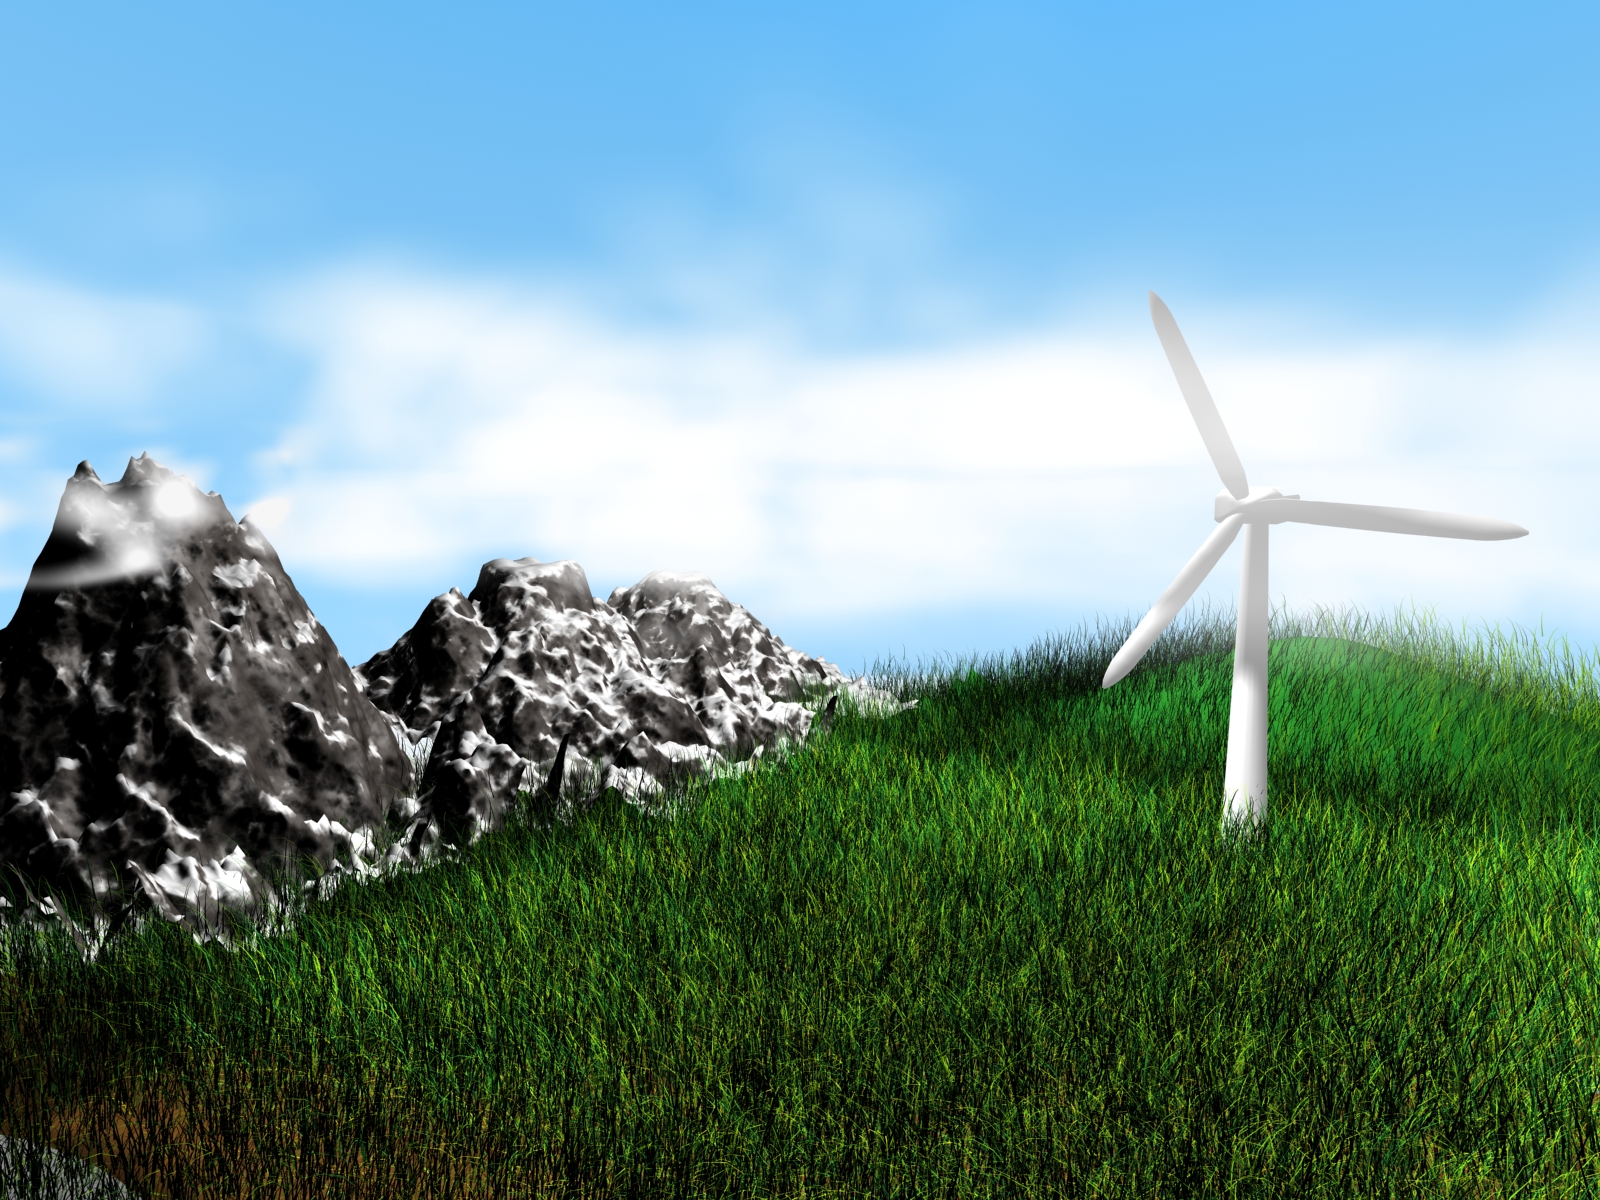
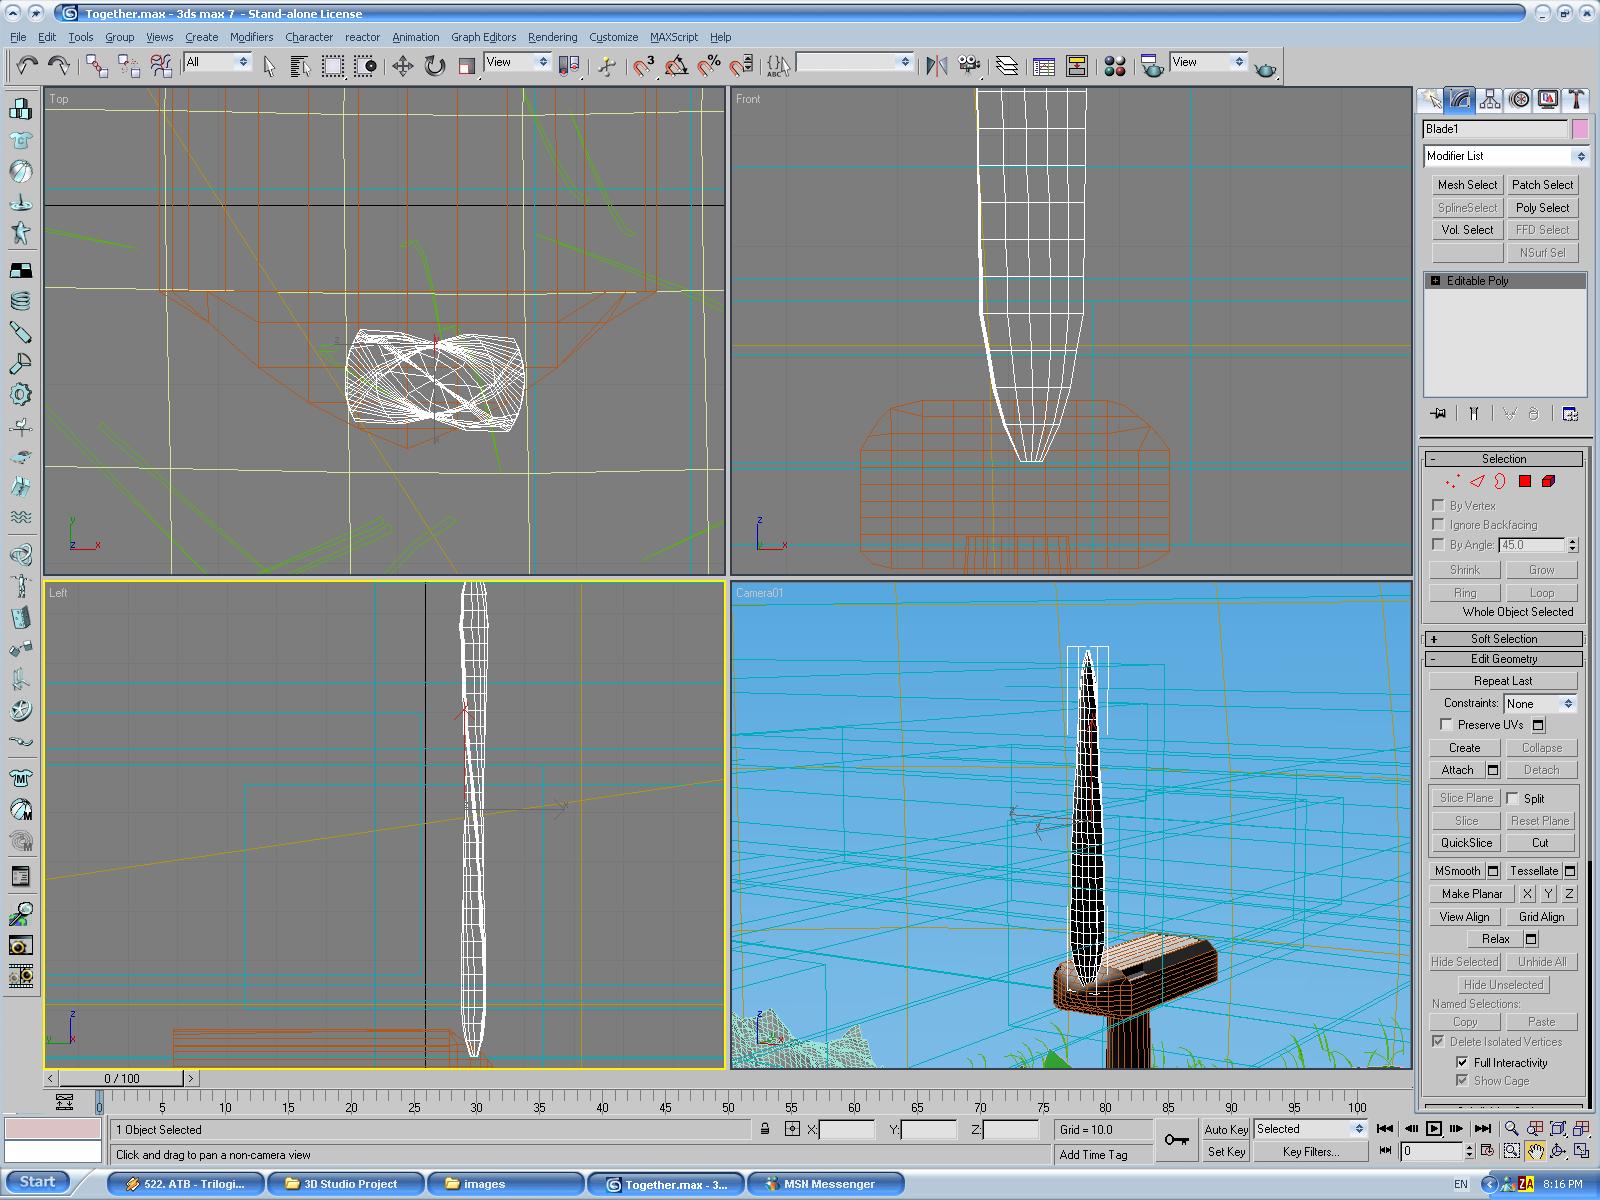
Creating the Wind Turbine
Creating the Wind Turbine was probably the hardest part and ironically enough it looks the least realistic
(probably due to the fact that I couldn't create a texture that would make it appear real). I created a cylinder for the base and manually reshaped the vertices so that
it appeared to get smaller at the top. I used this picture as my reference when I was trying to create the wind turbine because my original reference picture wasn't
adequate enough to see the detail I needed to create a proper model. Once the base was finished, I created the top part of the turbine using a box and manually
changing the vertices on it in order to round it slightly and create the end piece that the blades would be coming out of. The blades themselves were the hardest
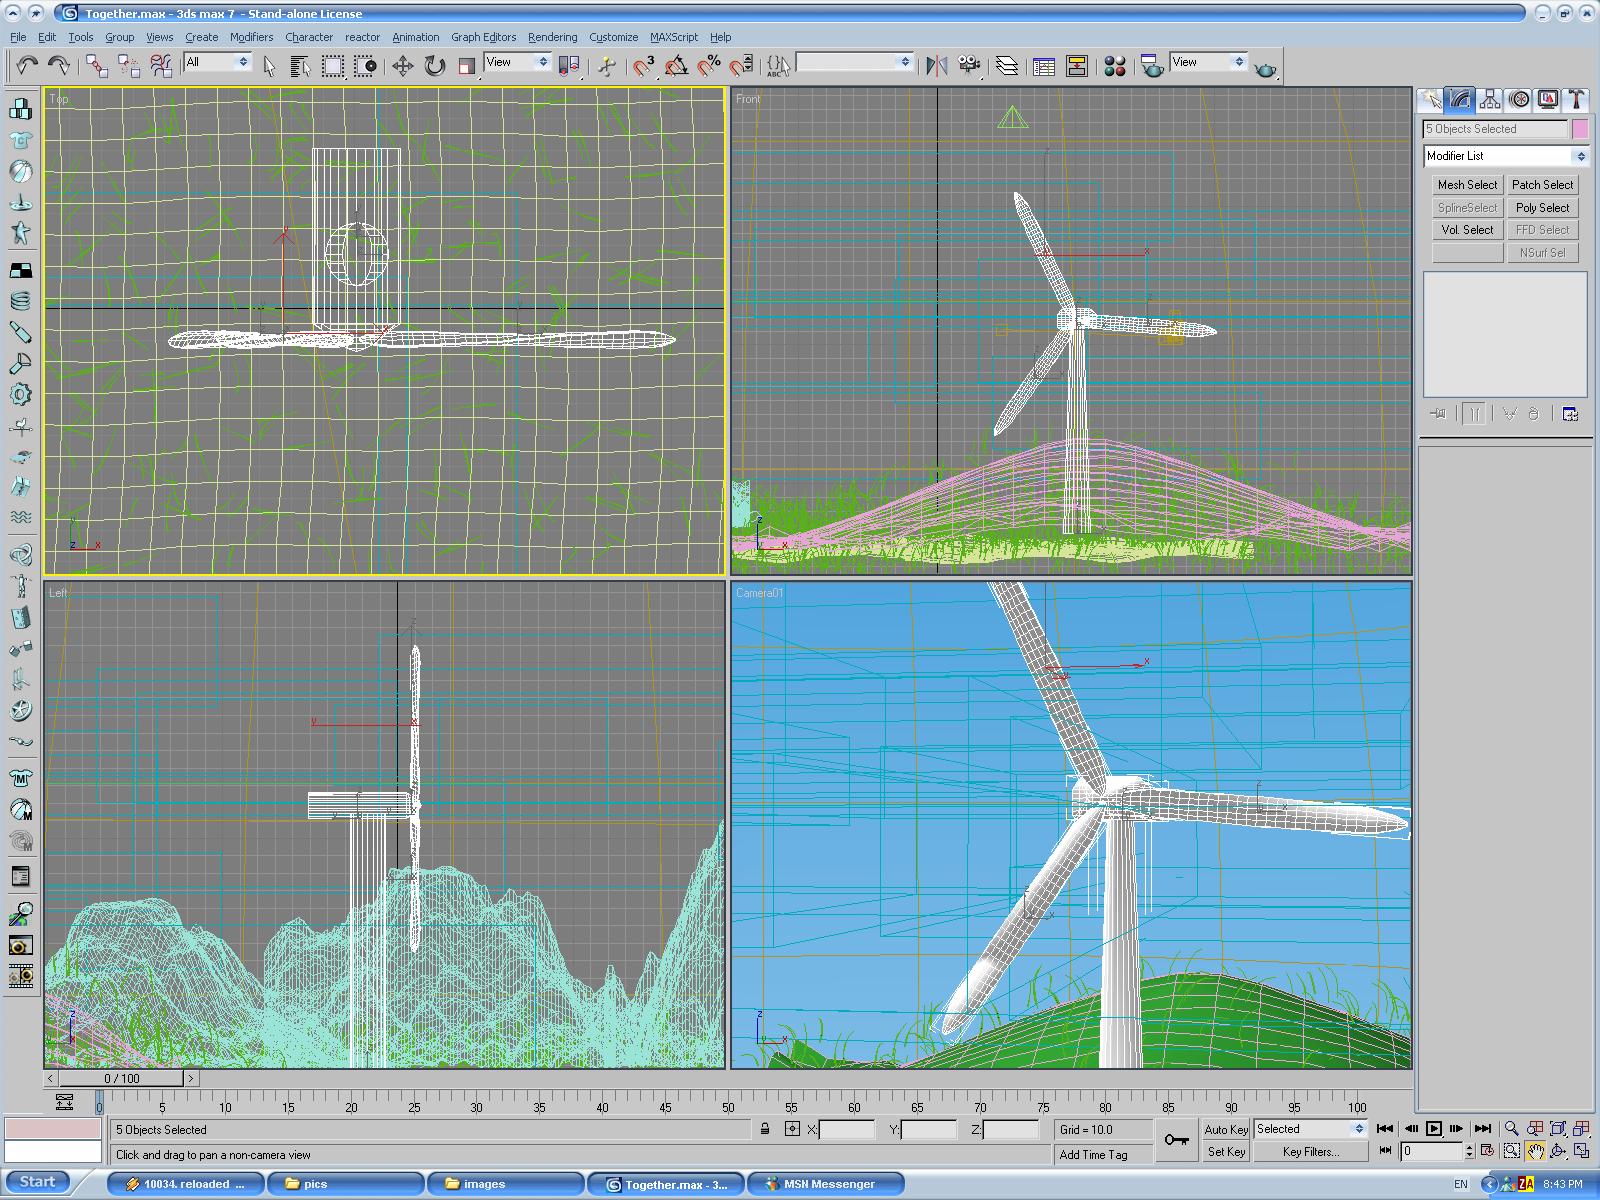
part because I used a standard box object once again to make it then transformed it into an editable polygon so I could work with the vertices and edges as I needed to.
I manually flattened the blade and then rotated each vertex set so that it would look more natural to the picture I was mimicking. Once one blade was finished I copied
it twice and rotated each blade so that they were around the wind turbines center. 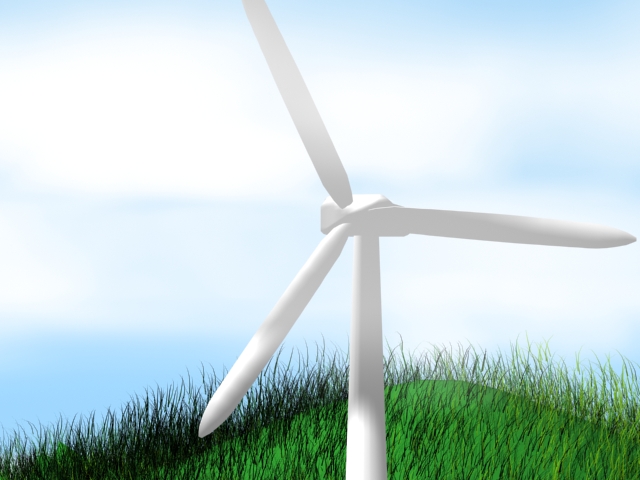
The final picture rendered at 640x480 (Click on it to view the 1600x1200 version):
.jpg)

