Logo Transformation
 Setting my Blender background to a picture of Tim's logo, I fit a rough polygon shape around it, turned that rough shape into a bezier curve and smoothed out the edges. There was nothing particularly difficult about this step, but it took some time. I then extruded the logo to give it a solid 3D shape.

|
|
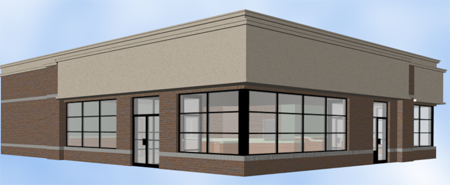
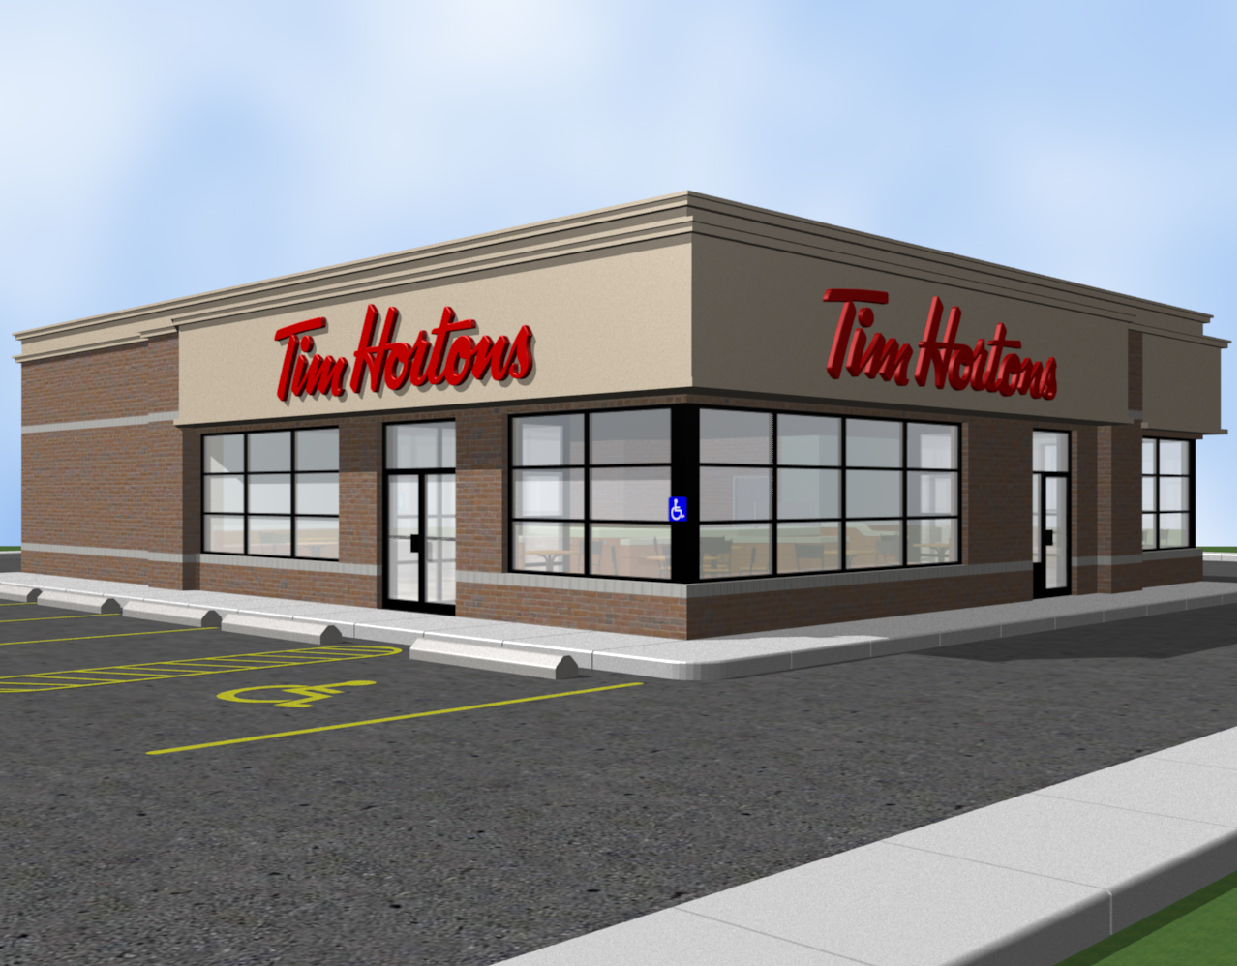
Building Construction
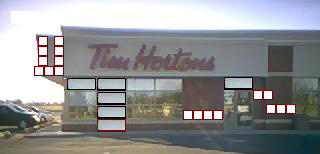
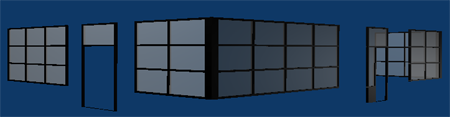
I realized that a logo was hardly enough to satisfy the assignment's "Albertan Landmark" so I decided that I ought to construct a building to place the logo on. Utilizing the amazing powers of MS Paint, I sized out the windows from a photograph of a Tim Hortons near me, and soon I had 3D windows. A good start.
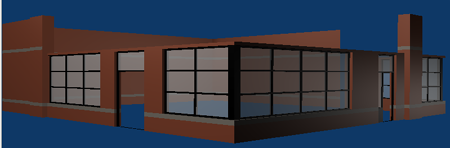
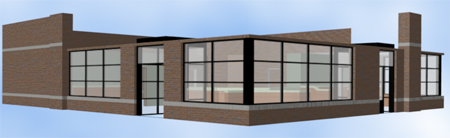
Next were the walls which needed only to be built around the windows and roof features. Finding and properly applying textures was the most difficult aspect of the building process. There are so many ugly brick textures on the internet! I discovered, through trial and error, that mapping the texture to a cube and using yzx instead of xyz works wonders!
Finally I put a roof on the whole thing.
|
|
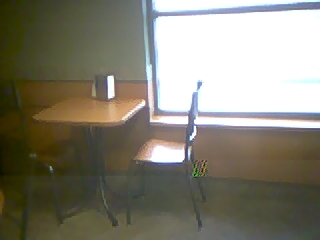
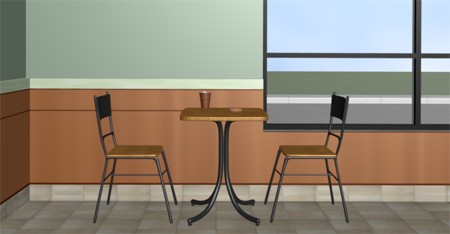
Furniture
The prospect of leaving my building unfurnished was saddening, so I went about learning how best I could make a chair with as little brute force as possible. Thankfully I discovered the art of applying subsurfs to simple polygon shapes. The chairs are made of extruded cubes that approximate the shape of the chair and the subsurfaces take care of the rest.
|
|
Scenery
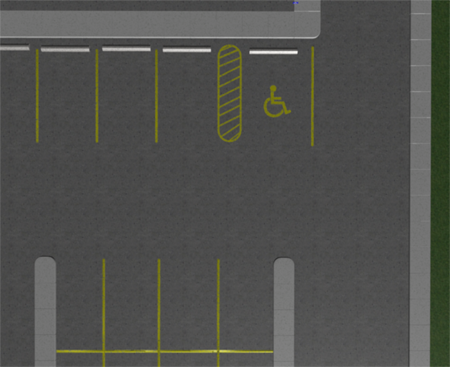 What Tim's is complete without a parking lot? What Tim's is complete without a parking lot?
Any building looks silly floating out in the middle of nowhere, as does looking out the window to see only sky. In order to create a place in time and space for my Tim's, I reproduced it's little parking lot with the best pavement texture I could grab with my grubby little modem.
|
|
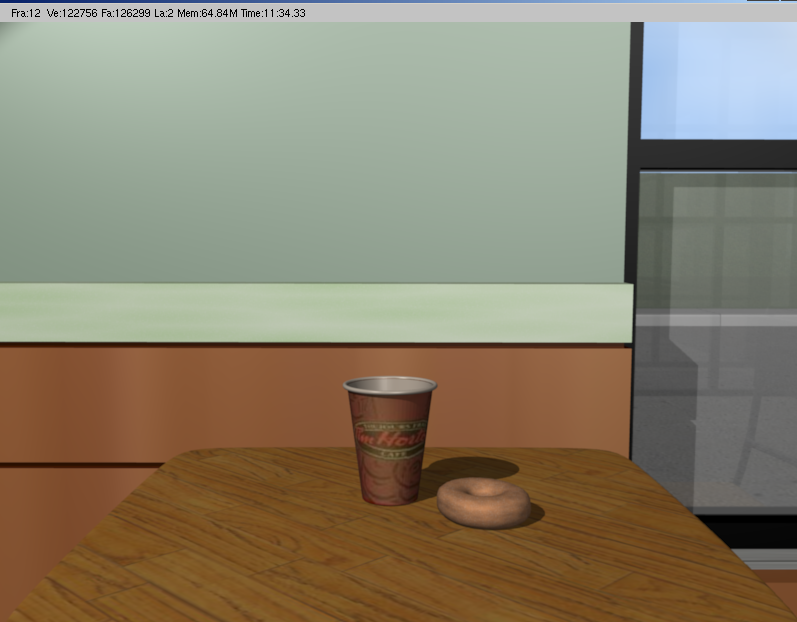
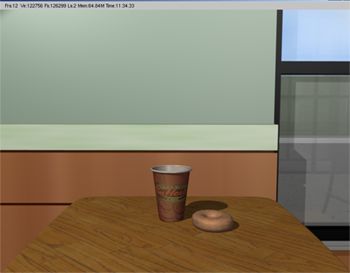
Extras
(Click for larger picture) | 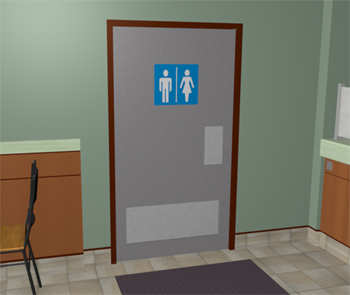 |
Since I've always wanted to skin something, I figured a donut and a Tim's cup would be appropriate additions to my Church Of Tim. After spending a couple of hours attempting to skin in the old blender, I decided to finally upgrade to 2.4 and then skinning was a matter of 10 minutes. I cut a seam in my cup, unwrapped it and applied my cup texture to it. Lovely!
Blender has a nurbs donut that I made good use of, deforming it just enough to be edible. It took forever to combine textures to create a half donut-ty looking texture, but I think it turned out ok.
Rendering the cup and donut with Over-Sampling to smooth the edges and ray tracing for shadows and the window reflection took an obscene amount of time. Several times during this process I thought of shutting blender down, but I was pleased with the final result.
Naturally every Tim's has a restroom.
|
|
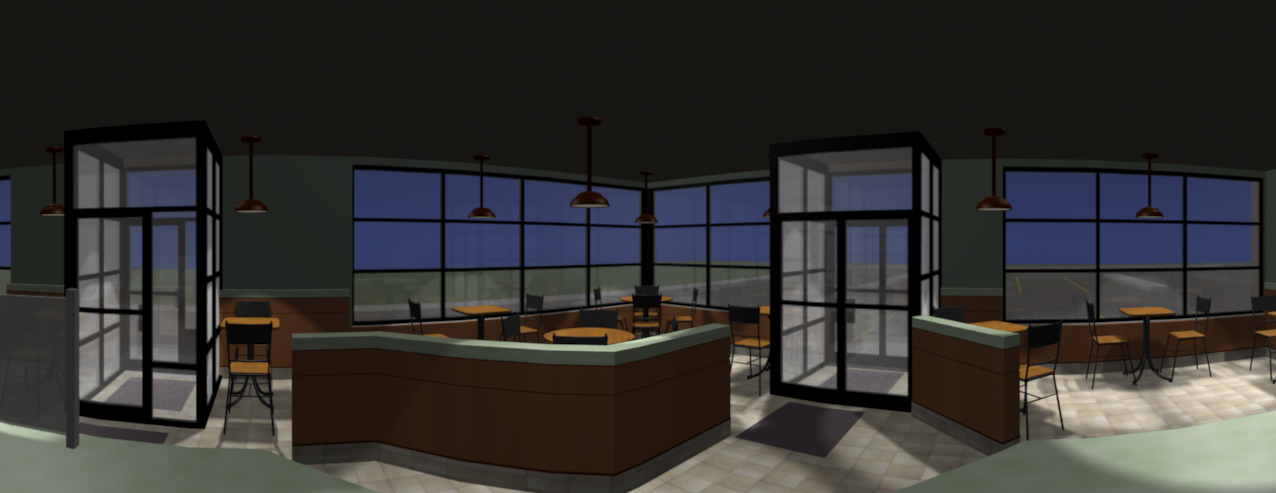
The Results
Having done all that work, I then set to rendering a final image of both the building and a panorama of the inside at night.
It was very difficult to decide which angles to take and how much light to use. With all the tables and chairs and light sources and every rendering-enhancing option turned on, each final picture took nearly 10 minutes to render. Don't forget to click on them for a bigger pictures and to zoom them to their appropriate size to avoid resizing mishaps.
And that's all! Enjoy.
|
|
List O' websites to thank...
http://guelph.ca/uploads/business/Tim-Hortons-Logo.gif
http://www.uwec.edu/geogclub/WebImages/ThunderBay/TimHortonsSign2.gif
http://www.k12.nf.ca/cms/Images/STUDENTWORK/Tim_Hortons.jpg
http://members.shaw.ca/neonplastic/pictures/0027.jpg
http://www.gamesextract.com/resources/textures/brick/previews/GX_19_brokenpavement.jpg
http://www.limefly.net/html/modules/coppermine/albums/userpics/10006/whitestones.jpg
And Google!
|