Introduction | Textures | Bump Maps | Rendering/Lights | Conclusion 
For my project I decided to model the sight of an old abandoned barn and silos which is fairly common all around southern Alberta. The project started by gathering reference photos and textures for what would eventually become the barn. Using Google as a graphical research tool I found many reference photos that would be used to help model and texture the objects in my scene.
I decided to use 3D Studio Max 9 (30 day trial) to do this project as it holds great potential for creating realistic renderings. With many tutorials at hand I started out by creating what would eventually become the barn, and the central object of my scene.
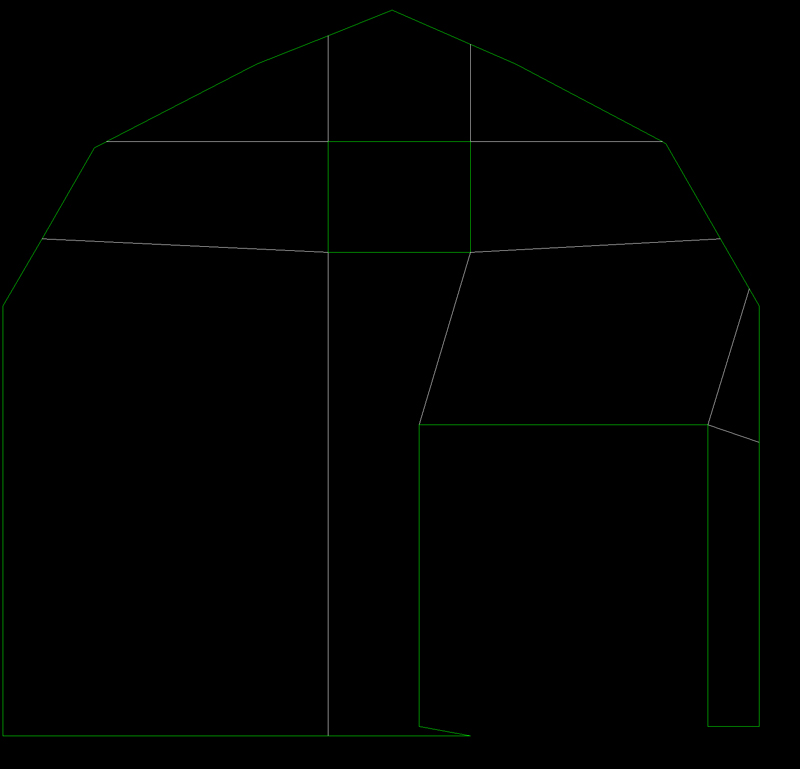
After creating a static 3d image of the barn I moved onto texturing the newly created model. After many failed attempts at applying and working with materials in 3d studio max I stumbled upon the ability to “unwrap” my model onto a 2d plane and texture each part individually. After using the Unwrap UVW modifier in 3D Studio Max I had a static mesh of my model which I could apply textures to in high detail.
Creating the high quality textures was one of the most difficult and important parts for this project as I was trying to get a realistic look and feel for the barn and other objects. Using free high resolution images found on Google and many other websites I used Photoshop to manipulate and build the textures that would give the appropriate look and feel to the scene. Many of the base textures I used had to be manipulated and altered to give the worn and weathered effect I was looking for. The texture for the barn is made up of about 10-15 individual textures which have been all modified to fit together.
Static Mesh |
Applied Texture |
 |

After creating the texture for the barn I moved onto creating the silos which would appear to the left of the barn. The silos were quite a bit easier to model and texture in comparison to the barn but still required a lot of time to get the textures to look right.
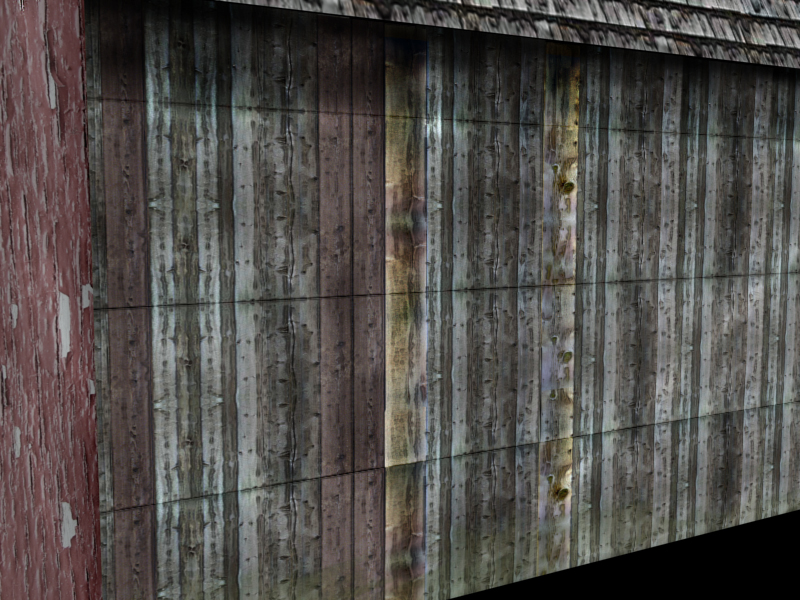
After all of the components were modeled and textured in the scene I decided to try and apply bump maps to objects in my scene to give them depth once rendered. Using a few quick tutorials online I created some simple bump maps for the barn and silos which gave considerable depth to the objects in the scene.
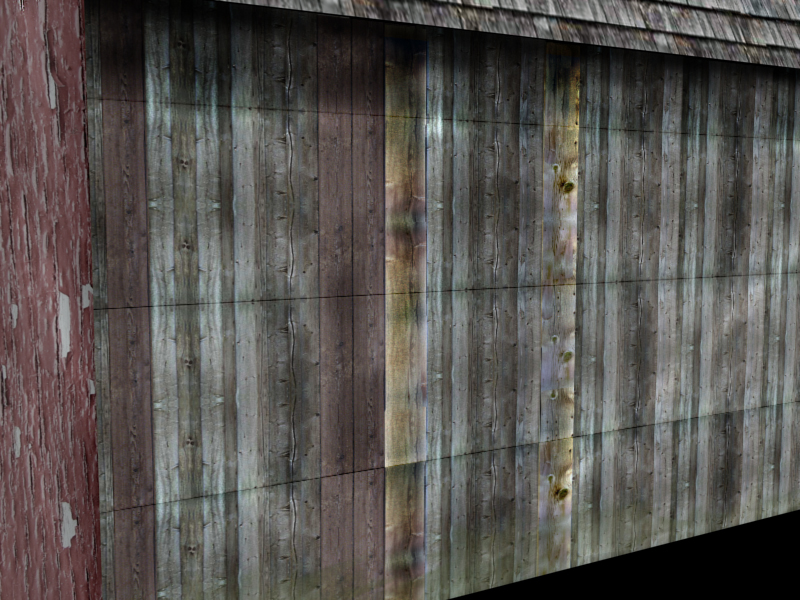
Regular Texture (No bump map) |
Bump Map Applied |
 |
 |
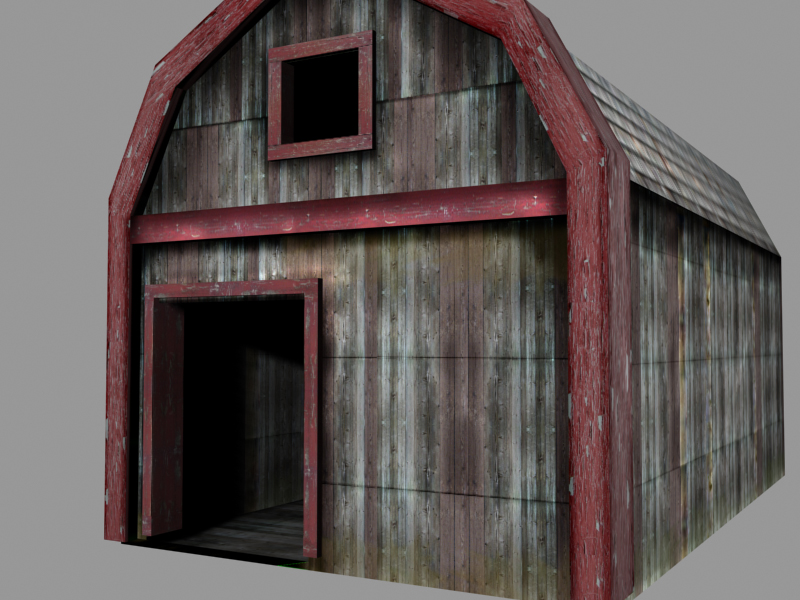
With everything finished it was time to start adding lights and rendering the image. I decided to use 2 omni lights to illuminate the object. I experimented with other light sources and found that the image looked better using the standard omni lights. With some more time I believe I could have made the image look more realistic by using a combination of different light sources and rendering techniques.
I am fairly happy with the way my project turned out. With some more time I would have liked to improve upon my bump maps and experiment with the lighting and rendering a little more. The most difficult and time consuming aspect of this project was working with the textures and making sure they aligned properly with the 3d model. With limited experience with 3D Studio Max going into this project I have learned a considerable amount about the process of creating static 3d images.
Finished Barn |
Finished Texture |

Software Used:
3D Studio Max 9 (Free Trial)
Adobe Photoshop CS2
Texture Sources:
http://www.google.com
http://mayang.com/textures/
http://www.bencloward.com/textures_misc.shtml