Computer Science 3710
Computer Graphics
GraphicProject
-----------------------------------------------------------------------------------------------------------------------------------------------------------------------------------------------------
For my project, I chose to use Blender, but it was quite a process to decide upon using it.
Chronicles of Blenderia
I started out using Pov-ray. I started my research by using the tutorials built into Pov-ray, starting from ground zero, as this is my first experience using raytracing, in fact, my experience using graphics programs have pretty much extended into Microsoft Paint. I found the tutorials in Pov-ray to actually be quite comprehensive, and instead of shoving a huge meal of a program in front of you, it actually started out in little bites. After about 8 or so hours over a couple of days, I felt like I was ready to start raytracing. Next I had to decide on a picture.
From Mine to Yours
I started out by just thinking to myself what image I would like to create. I figured it would be easier to do something mechanical over something organic, so I figured it would be best to just choose a building. The first image I started out with a mine tower located at the top of the old highway 3, and I was still set on using Pov-ray. I started out by thinking about what shapes would create the building I wanted. I started out by unioning together a cone and a cylinder, and it created something I though actually looked pretty good, so I happily went on to creating the rest of the building, unaware of my growing hatred of Pov-ray.
After having created the top of my building, I had to move on to the more difficult bottom, creating the supports and wires connecting it. After about 3 hours of doing so, and not having achieved even close to the look I was wanting, I was slowly getting mroe frustrated, so I left the project for another day.
After having a little bit of a cooldown period, I decided to give it another go. Unfortunately, this would just feed my annoyance even more, till, suddenly, one day after not being able to achieve the texture I wanted on the supports, I turned green, and in a blinding rage, threw my monitor across the room*.
*actual event may have differed from recorded event
At this point I was left with something, that I felt, looked like crap, and could have been completed by my 4 year old. Trying to relax, I read through some of the previous years entries. After surfing through a good portion of them, I noticed a trend. Many, many people wrote that they started out with Pov-ray, and then, after getting frustrated, switched to Blender, stating that their only regret was they didnt switch sooner.
Since this was about 4 weeks before the project was due, I decided I could look into switching to Blender. I started this by searching online tutorials, and after finding a nice looking dice, that stood out from the rest, I decided on trying out its tutorial. It was very well written, and I must say, quite easy to follow, I was VERY pleasantly surprised by its simplicity, and it turned out a very good image in the end.
I really only completed this one tutorial, and then I decided that it seemed quite easy, and tried creating my own image. I decided since I wanted to shed my frustration, and now hatred for mines, that I should create a new picture. I looked online for a local picture that I could try out, and after searching for about half an hour, I decided that I would do a picture of a building from Lethbridge Community College, the technology building.
A New Hope
I started out by just plopping down a cube, and then after manipulating a little bit, maybe for about an hour or so, I actually had a pretty good representation of the building I was going to do. I messed around for about 3 hours in total that day, and got some windows on the building (even though they were just grey) and it looked somewhat ok, but after learning what I learned in that day, I decided that I was going to start over again, cause I could make it look better now.
Unfortunately, I did this about 3 times, before deciding I had to just keep going. At this point, it was about 2 and a half weeks until the due date, so I just decided to press on and work with what I had.
After about 8 hours or so, I had fully completed the slanted section of the building and was ready to move onto the square section. This time it was considerably easier, as I already had experience making the other section. I finished this in about 4 or 5 hours.
Next Big Hurdle
After completing the skeleton of the buildings, it was time to move onto the texturing of them. I started out with the brick on the main buildings. It took me a little bit of research to complete this, but after about 4 hours I had them both textured and looking good.
The windows, on the other hand, took alot more research and messing around. I started by looking at more online tutorials, but I didnt find any of them to look like the glass I wanted. I decided to gather enough information from them to texture them myself and started working on it. It took me about another 5 or 6 hours to get something looking close to glass, and I was happy enough with it.
Scenery Seen It All
Next, I started working on the little things. The plantholder, the tree, the trash can, the door handles, the sign and the ground. All in all, they went good, except the tree, and I still dont fully like it, but it was quite hard to complete. I worked for a good 10 – 15 hours on the little extras, but after adding them in, they gave the scene life and made it look just that much better
The End
In the end, I am quite happy with my scene and VERY happy with the decision to move to Blender. The only things I would change is I would try to get a little more reality to the windows, and see if I could make the tree any better. I enjoyed this opportunity to try something new, and would recommend Blender to anyone who is wanting to try something different.
Images
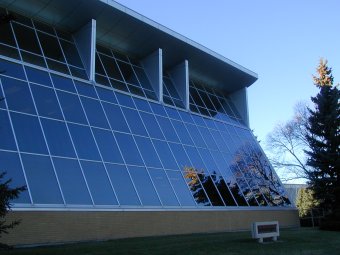
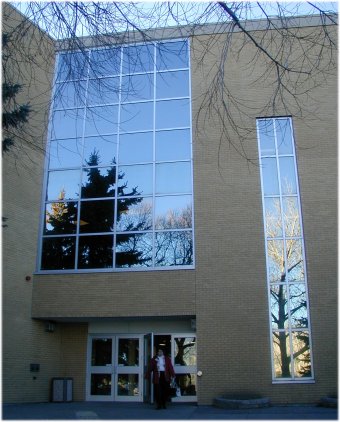
These are the original 2 pictures I used to build this scene.
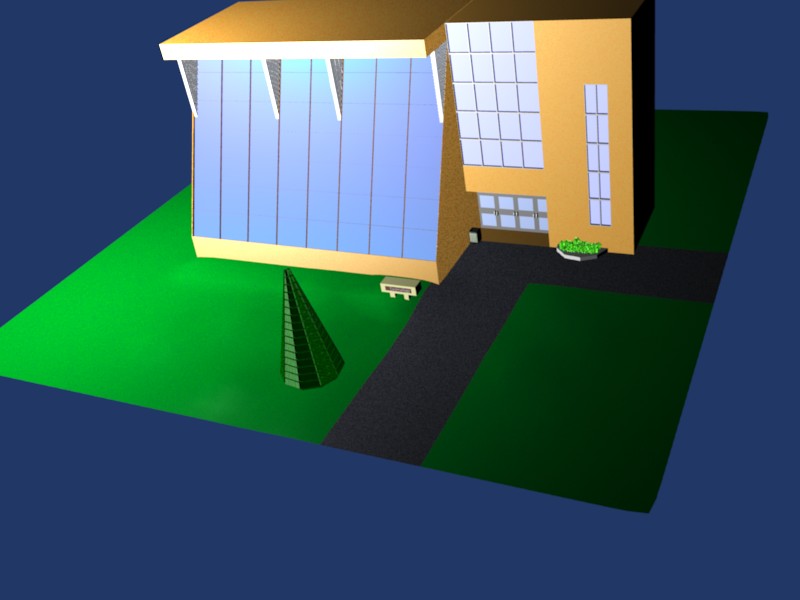
This image is a wide shot with a camera situated at the top right corner.
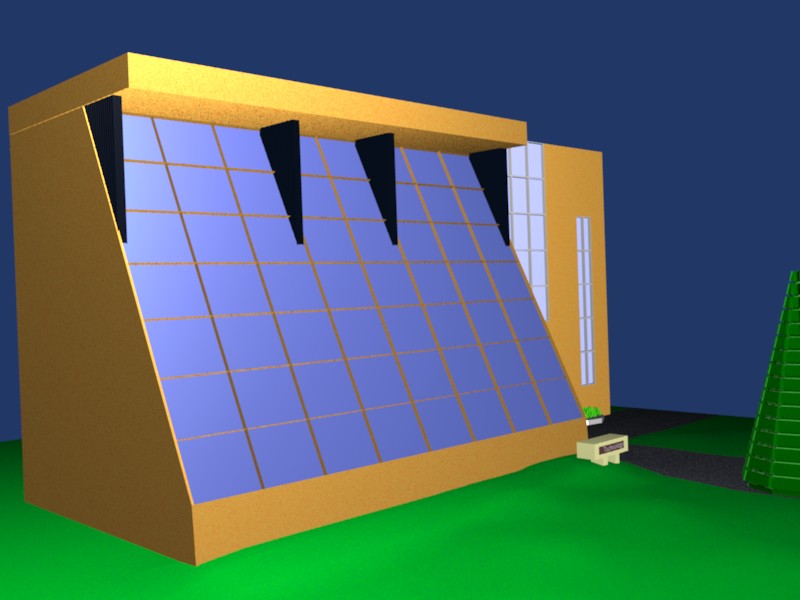
2) This image is a wide shot with a camera situated at the top left corner.
This image is a closeup on the doors, sign, garbage can and plants. You can see the door handles, which I think are pretty well done.

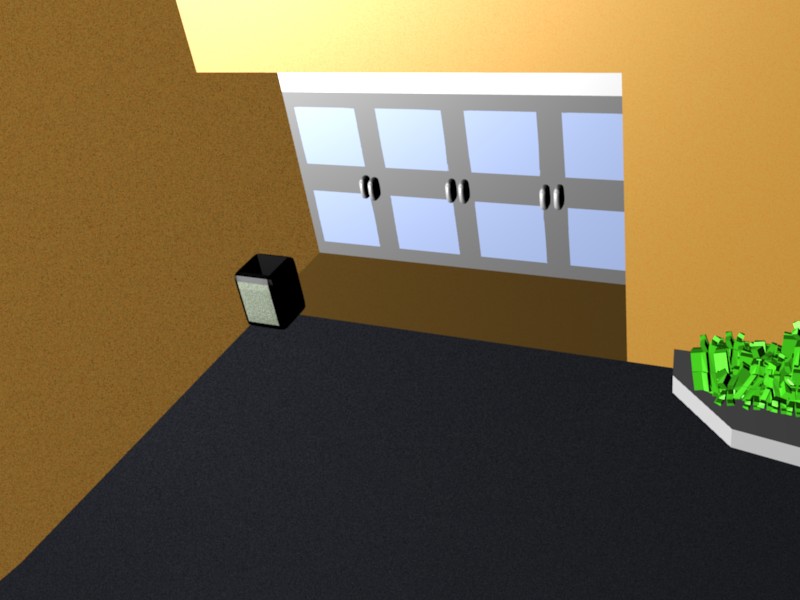
4) This is a closeup on the garbage can and the door handles, you can also see the plant on the right, which is a plane with many random extrusions, hand done.
5) Here, at last are two straight on shots, which I think look quite neat, and look quite realistic and give a good representation of walking by the building. I really like these two shots

