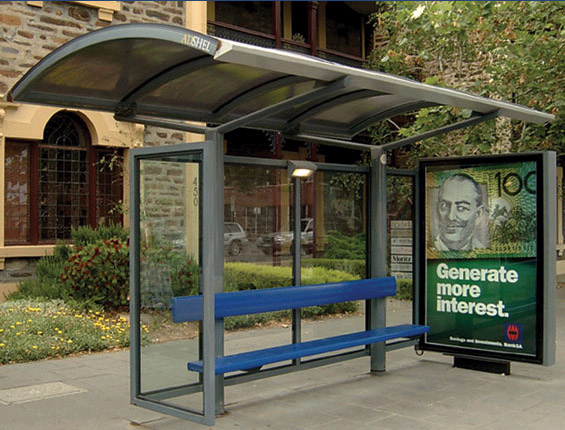
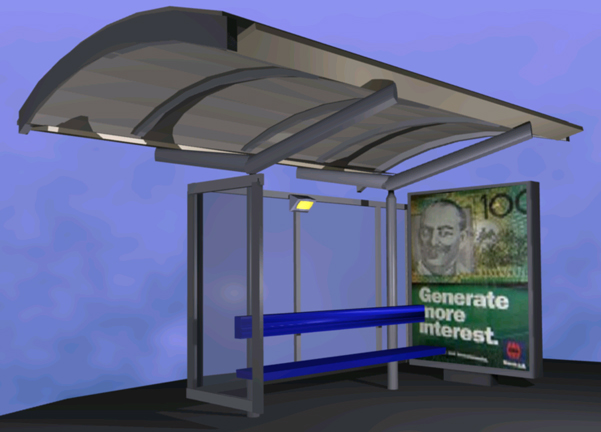
I am pleased to present a history of my efforts working with Blender to recreate the structure of a bus stop and showcase my final product. I chose an architectural piece which presented a challenge in capturing space and a sense of public and private confinement. The final rendering maintains the sterility of the mainly greyscale colour scheme with an almost humorous addition of the " generate more interest" advertisement in bright greens and yellow tones. The playful blue seat gives the structure a human scale, reminding the audience of its user.
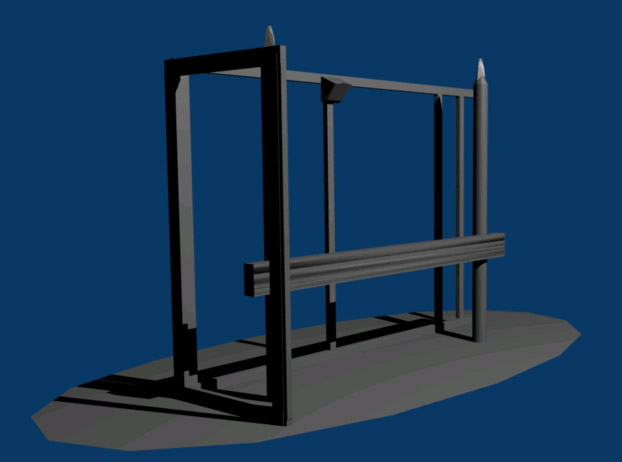
The process began with simple forms, creating the base structure to establish scale. The image below illustrates the initial form. It isn't much to look at, but even getting to this point was a major accomplishment for someone who is new to 3d modelling.
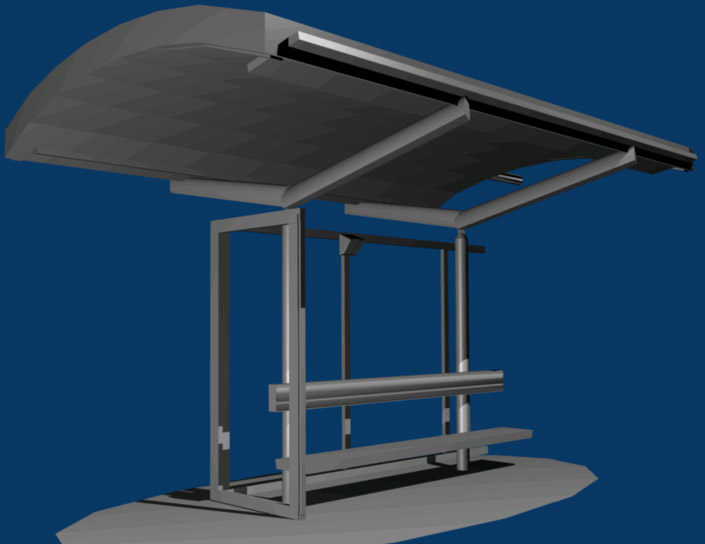
As I got a handle on the structure I began to think of perspective, lighting and the interplay of shadowing. The difficulty here was fitting the roof on to the base in a way that looked realistic. I struggled with lighting the slope to properly reflect the angles and the shape. Another challenge included melding several cylinders with the backrest of the bench to give it the look of shaped wood. Once I had learned the Boolean operators in Blender, it was a tricky job to set the "bumps" at just the right depth to produce the effect I was looking for.
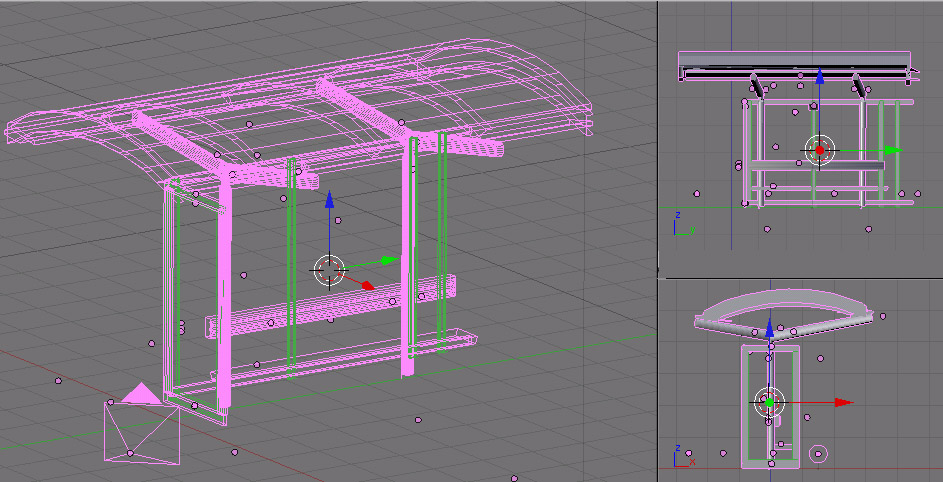
This wire frame image indicates the use of grouping and joining to manage the large number of objects and surfaces.
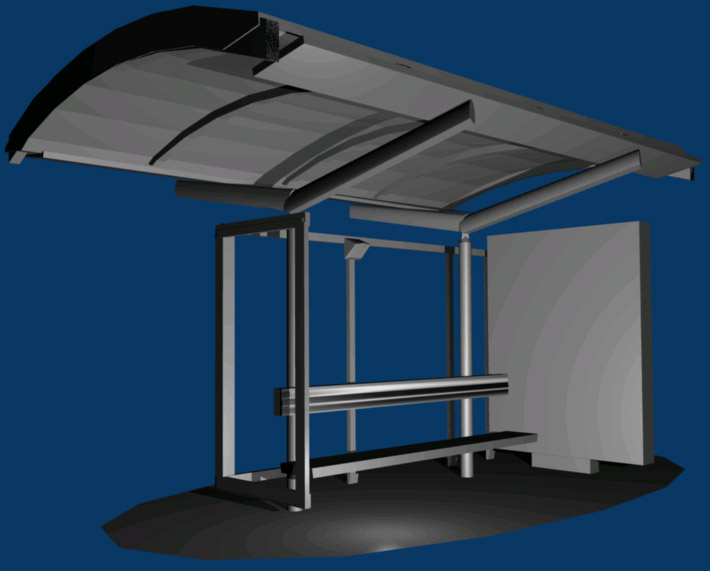
With the model complete I began focusing on lighting. Viewing the structure in this more finalizes state allowed me to catch a number of imperfections and glitches. I cleaned these up and jumped into texturing to finish off the piece.
As a last minute addition I chose to include glass for the windowed edges of the bus shelter. They hardly show up in the final rendering, but the help to contain the space and give it depth. It was a pain to get the transparency working correctly, but I think it was worth it. The interior lamp was also a late addition. While I always provided for the structure, only at this stage did it actually become an object with unique lighting. To create the sharp splash of yellow I used a separate plane embedded into the lamp head, and lit it from the front with a focused spot light. It was a little extra work, but the effect works out to reduce the impact of the lamp as a source of lighting itself, while maintaining the pretence of a light fixture. A number of small modifications helped shape the structure. The roof needed to be tweaked to allow more light to enter the interior and the base was thinned to open up the space. Although it doesn't look like it, every piece is actually carefully coloured. While most of the structure is made of a polished steel, the predominant tone is grey, but effort was made to include the subtle hints of sky blue and smudged surfacing of the reference image. The sky was added as a diffused colour scheme rather than a texture. The idea was to avoid using imported material, and keep the image honest.
Thank you for sticking with me on this journey into the world of 3d modelling with Blender. The reference image was taken from: http://www.versalux.com.au/product/decorativeExterior.asp The html template was provided for free online, along with the embedded images by freetemplates.com. The URL is: http://www.freewebtemplates.com/template.php?id=7
|