Ricardo Cardoza
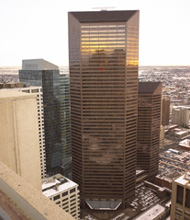
For my project I wanted to do something really simple. Having decided that, I figured something with basic shapes and no curves or complex surfaces would be the thing. Finally, I decided the Petro-Canada Center building located in the Calgary downtown core would be just the ticket. I thought it would be downhill from here. But alas, I was wrong, for even this simple structure proved to be difficult for me. I should stress that I did not go for photo realism or duplication for my scene. I simply wanted to see if I could take an object and represent it. These are the original images of the Petro-Canada building:
This is a front view of the building.
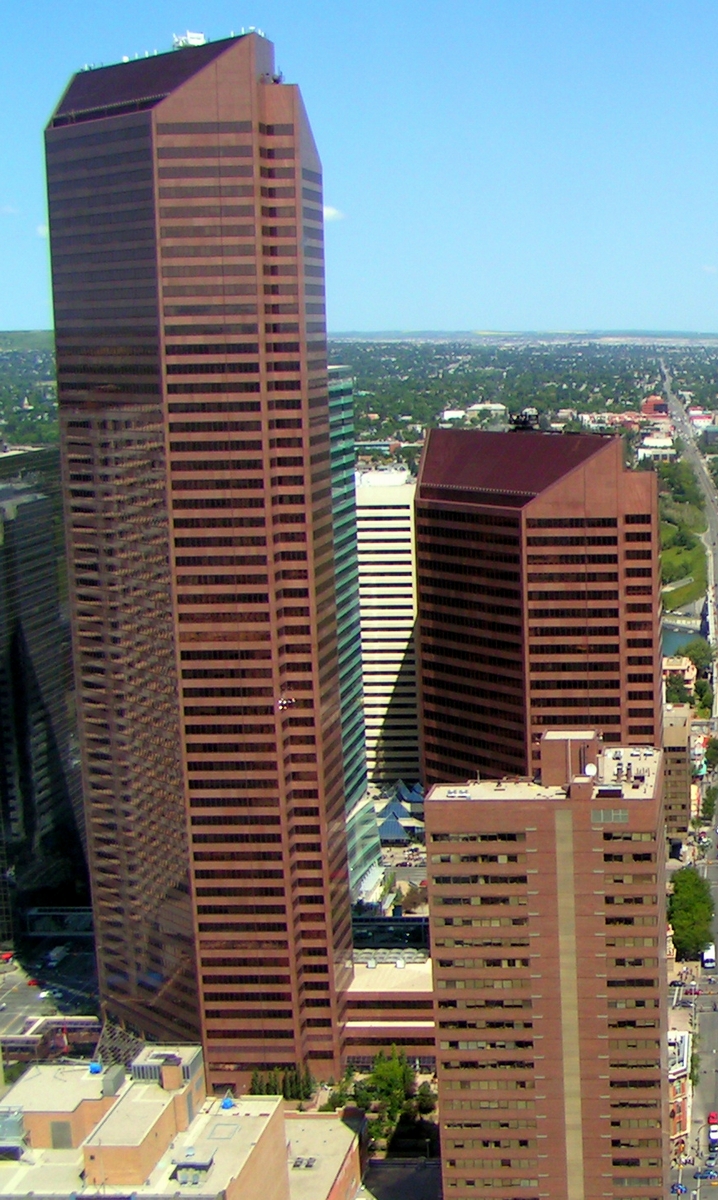
This is a side view of the building.
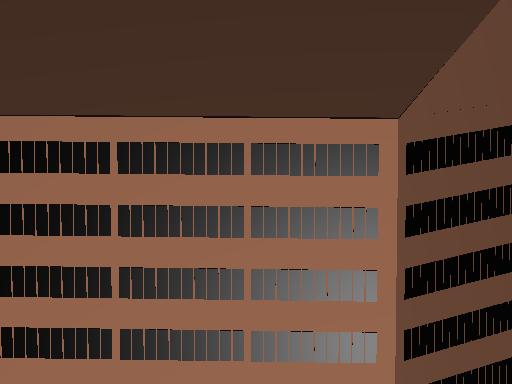
Although I created one Pov-Ray scene (or source file), I rendered a few images from different angles just to show a little bit of detail. Now without further ado these are the images I generated from my Pov-Ray scene.
As you can see, I just wanted something simple and decided to model just the front view of the building. Kind of looks like any template building you'd encounter in the Sim City 3000 game doesn't it? And No, I didn't rip them (Maxis or EA Games) off. For that reason I rendered different views:
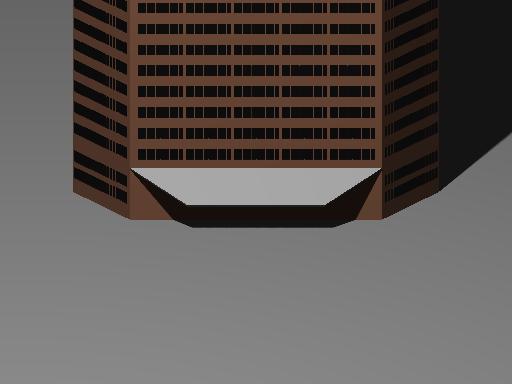
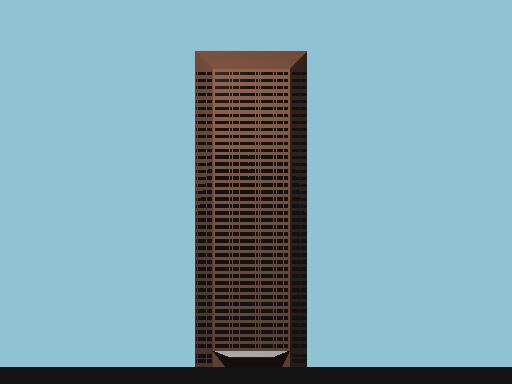
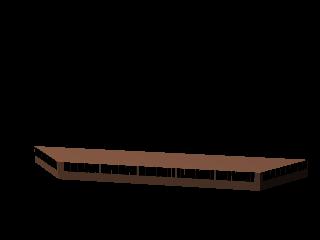
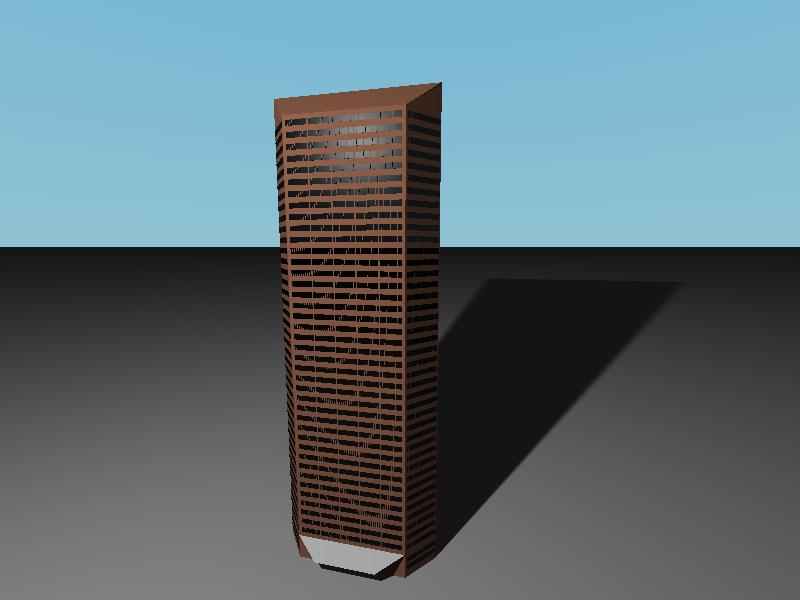
These are a couple of orthographic views. The left image is the base of the building and the right one is of the entire building. It's much easier for me to visualize things in orthographic but its' not very realistic.
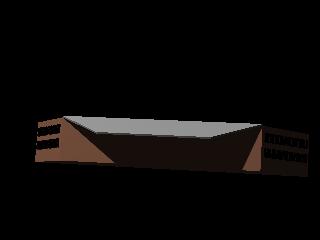
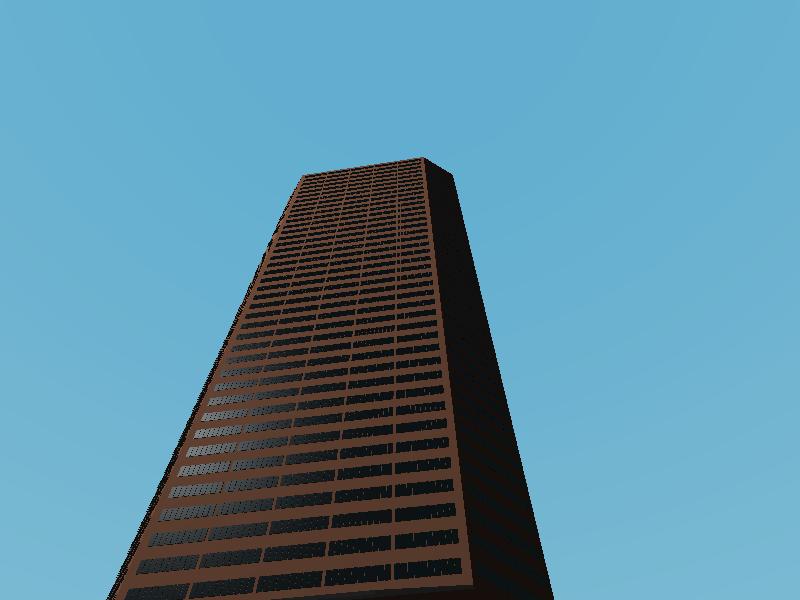
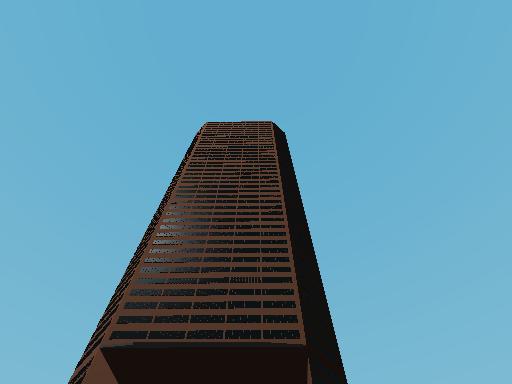
These are a couple perspective views. The left image is of the top of the building and the right one is of the base of the building. In perspective view things are harder for me to visualize (especially when coding them in Pov-Ray) but the result seems more realistic (to me anyways.)
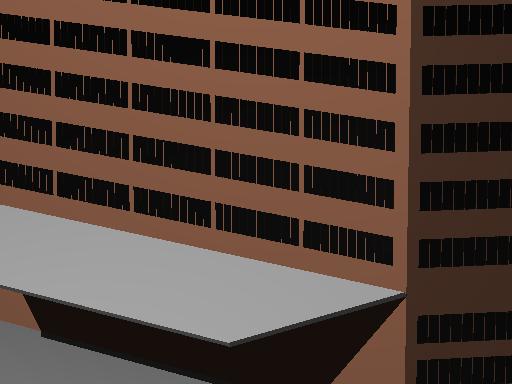
These are views of the entire building as seen by a person standing near the base of the building. To get these images, the perspective view comes in handy. The only difference between them is that the in the right image you can see the lobby entrance.
ABOUT THE POV-RAY EXPERIENCE:
Some of the fundamentals about Pov-Ray that I had to learn before I felt one iota of comfort before making a Pov-Ray scene include:
The building is composed of three main parts: the tower base, tower layer, and the tower top.
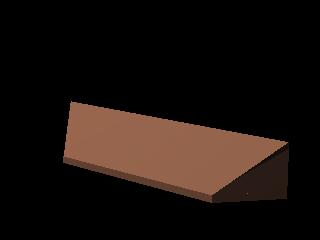
From left to right: tower base, tower layer and tower top.
The tower base: first I created a cross-section piece from a prism object and further used the piece for the tower layer part and the tower top part because the tower is basically a large prism. I added what appears to be the roof part of the lobby entrance (what I call it for lack of a better name) which is a very thin prism object too. For the windows of the tower base as well of the rest of the tower I made these very, very, thin boxes which I simply grouped in groups of 10 for the front and 20 for the sides and called them window panels. I added a phong finish and reflection to each of these window panels. These 'window panels' I then super-imposed on the prism object. This whole ordeal was difficult for me because I had to get the translations and rotations just right. It took me a while.
Tower Layer: For this part I basically used the same cross-section prism piece from the tower base and basically superimposed the window panels created earlier in the front and on the sides. I call this part the tower layer because its height represents one floor of the tower. I created 40 of these and stacked them (by translating them upwards) and these make up the body of the tower.
Tower Top: For this part I used the cross-section piece created earlier for the base and implanted a couple of triangular planes on the sides and a quadrilateral plane on the front which I had to rotate into place. (This was very difficult and time consuming.) Before I settled on planes I tried doing some CSG manipulations but I couldn't get it the way I wanted. Planes turned out to be easier in the end. So yes, this tower is completely hollow at the top. What a farce eh?
Finally I added a horizontal plane to resemble the ground, and a sky sphere object to resemble a somewhat realistic sky in the background. Not much going on in this sky though.
Texture and lighting: I tried a lot of textures but many of the included textures I found were not satisfactory. I was looking for something that might resemble bricks and mortar at the very least but I didn't find anything like that. The closest thing I found was not that great either. It was a stone texture that looked more like car rust. Finally I decided that since we don't get a real close-up of the tower anyways the tan color pigmentation would suffice. If I ever do one of these Pov-Ray scenes again, I'll try to learn textures in more detail. For lighting, I went with point lighting and area light source so that the the shadows don't appear too sharp which is more realistic in some ways (but on the other hand, I don't know much about lighting so I probably got this feature wrong.)
I would have to say that the hardest thing about creating this entire scene in Pov-Ray without the help of a 3D-interface is transforming objects with rotations, translations and scaling and putting them together. It took me a while to realize that any object I create is created with respect to the origin (coordinates) and should be transformed as such. Another thing is tweaking the camera object and projection. You could create the most realistic looking objects but if you don't have the right camera view or lighting then it's all in vain.
All in all, I enjoyed the experience because I've never done anything like it. I figure once you learn all of Pov-Ray's features then it would be a fun hobby to create complex images if you have time to spare. When you consider, how much work is involved in creating a simple scene you have to admit those hall of fame Pov-Ray scenes on the official Pov-Ray web site are phenomenal.
SOURCES:
I obtained the original images of the Petro-Canada Center from these web sites:
Image 2
Image 1