How I Tie My Shoes
When I was young, I invented my own way of tying my shoes. It became
quite natural for me, and I had never given much thought about this
until some people commented that I tie my shoes in a
"weird" way. I tried to look all over the web, convinced that someone
else must do it the same way and my invention must have been known
by someone else. Well, I can't find anything and so I have decided to
create a small web page to illustrate how I tie my shoes.
If you have seen this before, let me know!
Since I have put up this web page, I have had two people e-mailing
me saying that they know someone who ties shoes in the same way.
History
I was first taught to tie my shoelaces by first making the standard
overhand knot, followed by taking the two ends and forming a loop each
end by folding it against itself, then use the end of the loops as if
they were the original laces and do an overhand knot again. This has
the advantage that it is easy to do and undo, but it gets undone
easily.
Then I learned the standard way: overhand knot, form one loop at one
end, form a little hole by putting the other end over the loop, and
pull a loop on the long end through the hole. As far as I know this
is the way most people tie their shoes. It is slightly more
difficult to do, but just as easy to undo. I found that it is a bit
less prone to getting undone, but when it does get undone, everything
comes loose and the shoe is no longer tight.
One day (I don't know exactly when, but probably when I was around
10-12), I thought to myself: "if you can start with two loops on the ends
and make a knot, and you can start with one loop, then why not try
starting with no loops?" It didn't take long for me to figure out how to
tie and untie my shoes in this new way. It is definitely a bit harder to
tie and untie, but with practice it takes no longer than the standard way.
Moreover, when it gets undone only half of the knot gets undone, so the
shoe is still tight. No need to worry about shoes falling off my feet!
Little things like this bothered me a lot when I was a kid :-). This has
been the way I tie my shoes ever since.
Instructions
I am a really poor artist; it is almost impossible for me to draw
pictures so that people can actually understand what I am doing. I
tried my best and I hope that it will help.
We will label the two ends A (right) and B (left).
Do an overhand knot, so that A is on the left and B is on the
right.
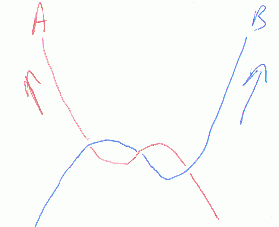
Put A over B to form a small hole. Fold A onto itself to form
a loop. Insert the loop through the hole. Pull on the loop and B
to tighten.
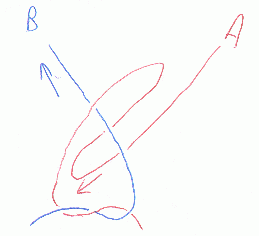
This is roughly what it would look like just before the knot is
tightened.
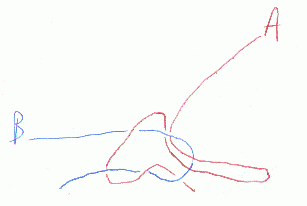
Now we have one loop (from A) in the knot (due to my poor
artistic abilities, I'll just use a box to represent this knot).
At this point the B end is still unfolded.
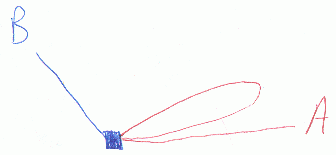
Put B over the loop to form a small hole. Fold B onto itself
to form a loop. Insert the loop through the hole. Pull on both
loops to tighten. This is basically the last step with the roles
of the two ends reversed.
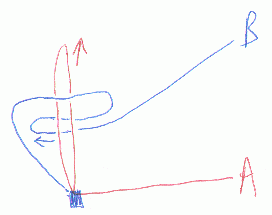
This is what it looks like at the end.
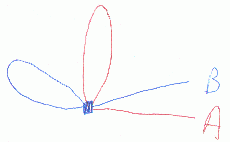
To undo the knot halfway, pull on B. If you want to undo the knot
completely, pull firmly on A. Typically, when the knot becomes undone,
half the knot will still be tight. In that case, repeat Step 3 to redo
the knot.
Howard Cheng


