Brad Bax CPSC 3710 Term Project
The Windmill FarmA Pov-Ray Project
.jpg)
[1024x768][1280x1024]
![[1024x768]](final-2.jpg)
![[1280x1024]](final-2(highres).jpg)
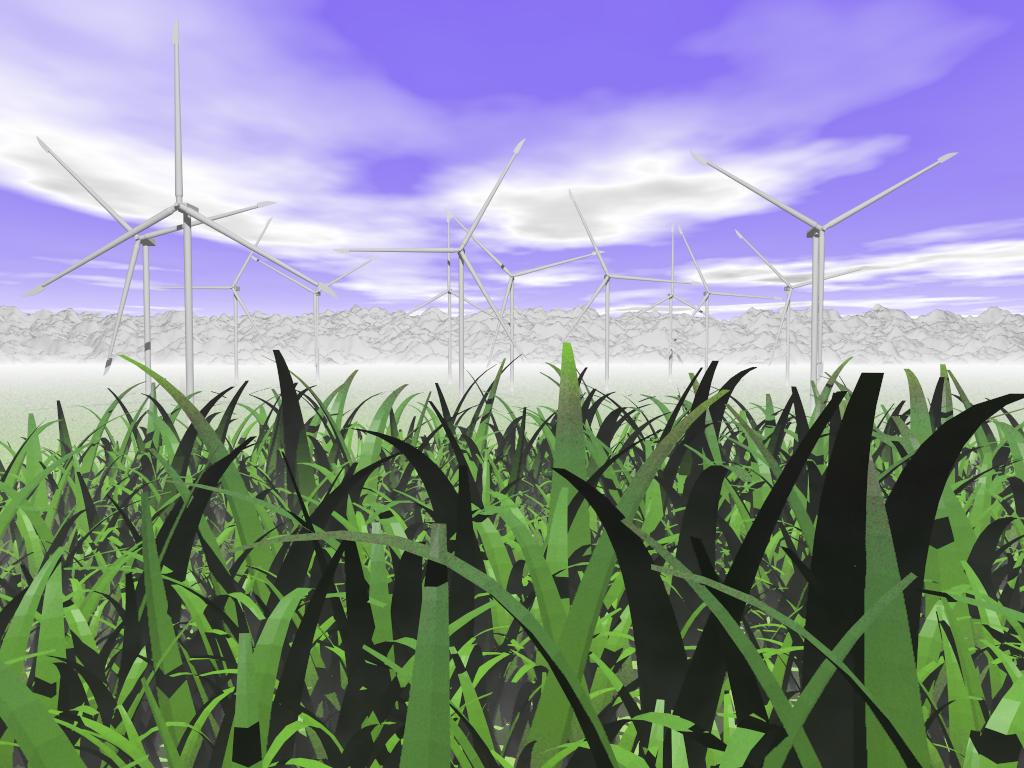
Why the Wind Farm?Evertime I would make the trip from Fort McMurray, Calgary or Red Deer to Lethbridge, I have always been amazed by the sight of the wind farm. Since they are a fairly common "landmark" in Southern Alberta, they made an easy choice. |
Original PicturesAs you can tell, I made up the scene. The turbines are based on these two pictures...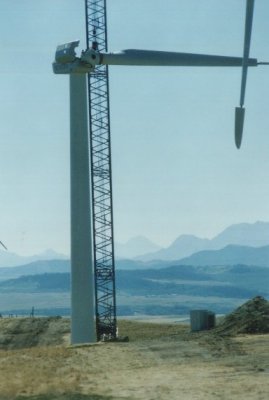
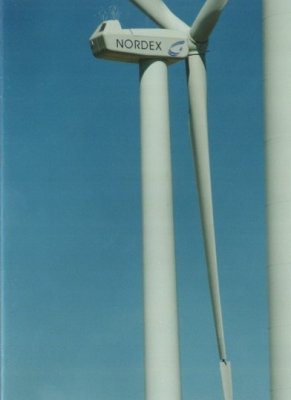 |
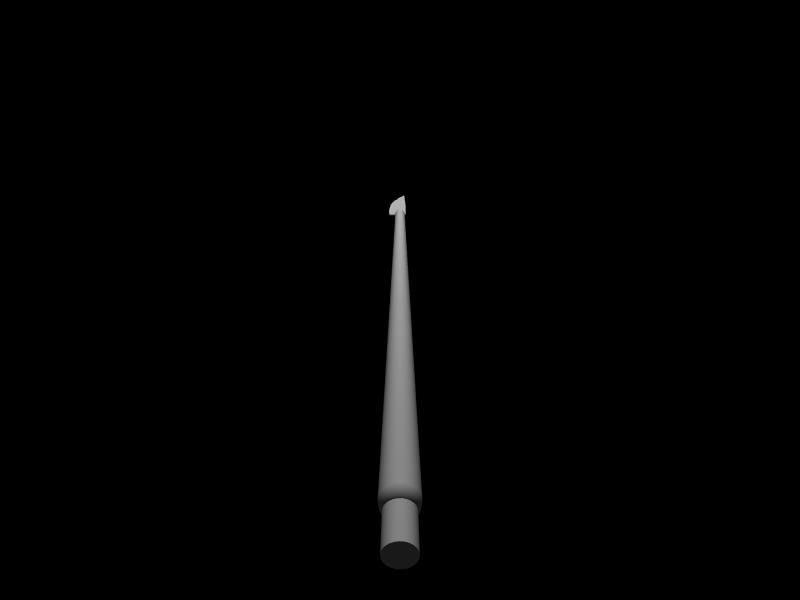
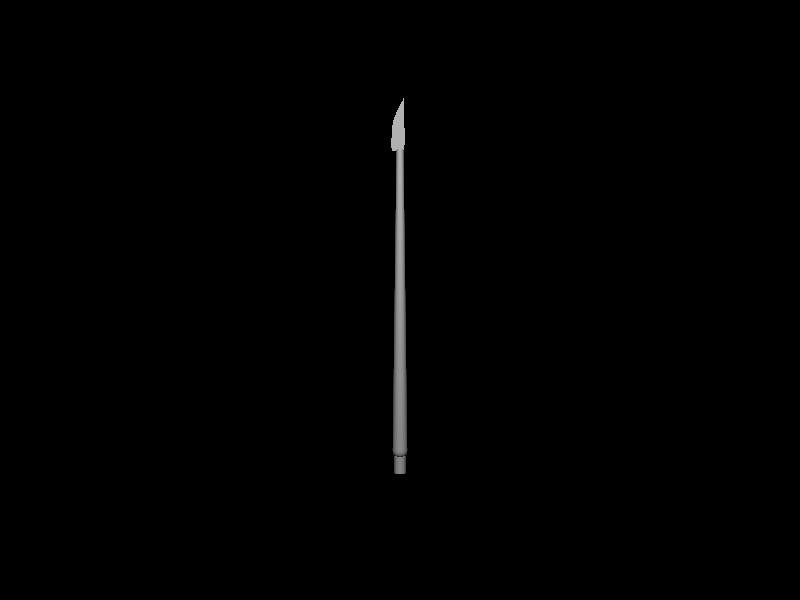
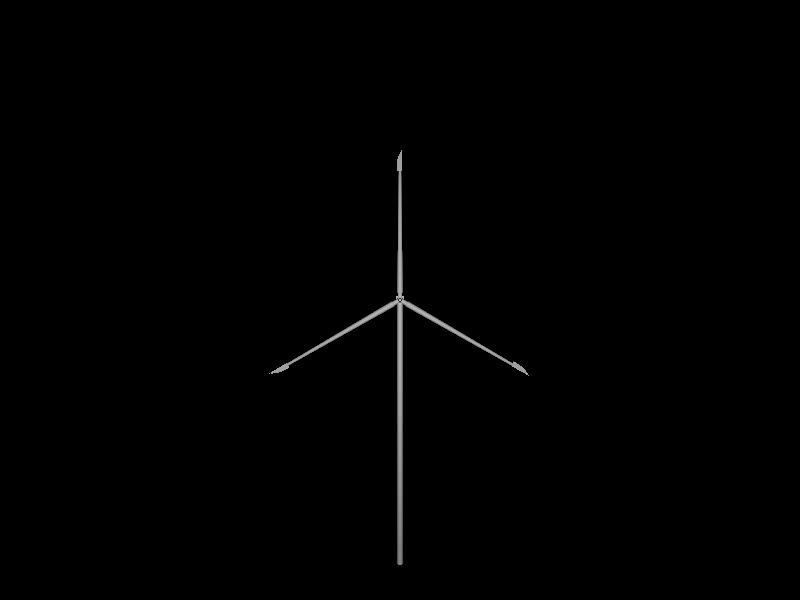
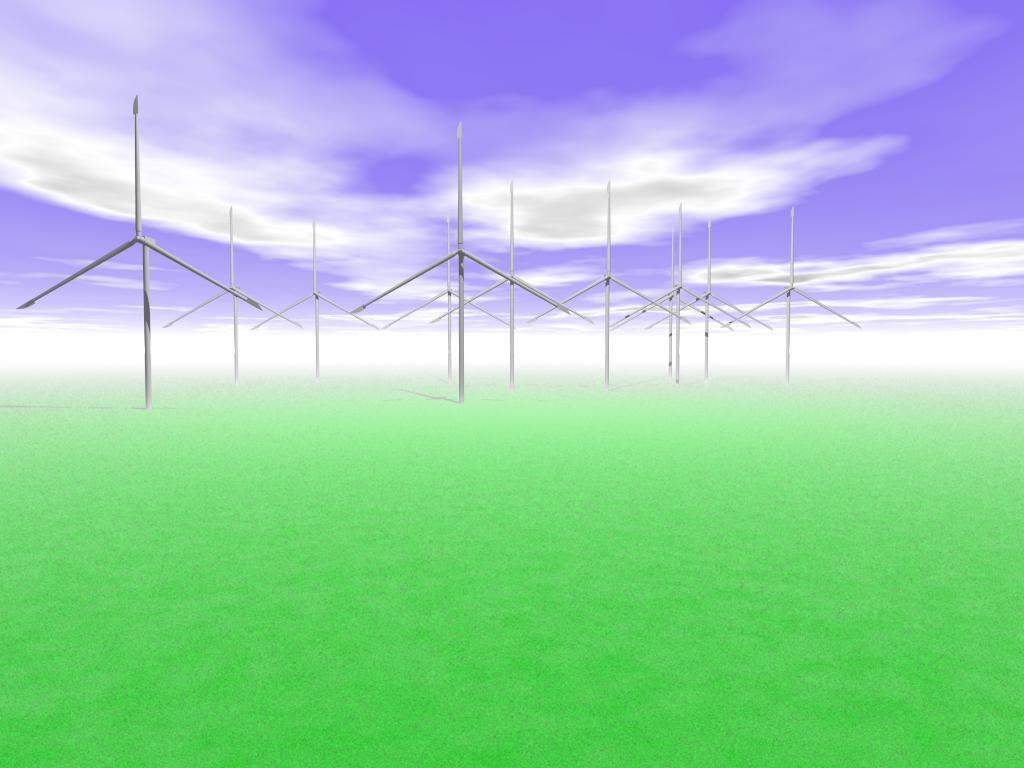
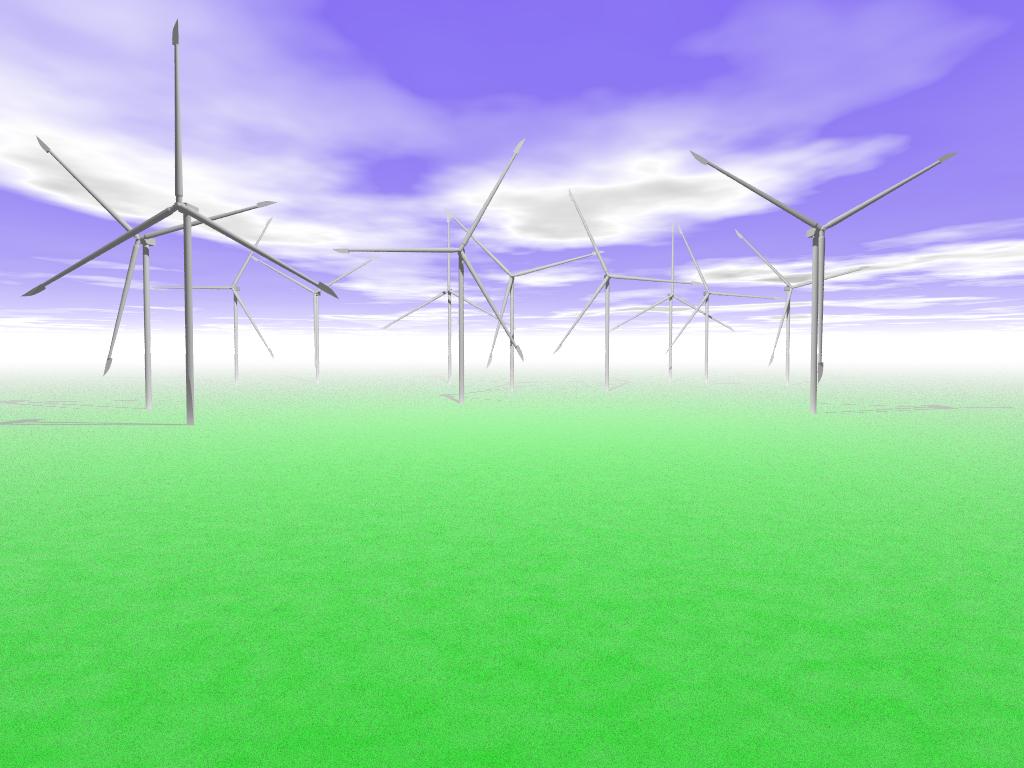
DevelopmentThis was done completely in POV-Ray...The Windmill The first thing I created for the turbine was a wing (which would be copy/pasted to make up three blades). This was created by creating a cone to represent the main part of the wing (adjusting the radius at each end appropriately). I then cut a torus in half, and placed it at the end of the wing to create a smooth transition. A cylinder was then placed on the end of that to create the end of the wing. Torus/Cylinder. I then used a cubic spline to create the wing tip. The resulted in our Completed Wing. The blades themselves were then copy/pasted to make up three blades. They are joined together with a small cone at 120 degree increments (0 - 120 - 240). I assume this is how they do it in reality since this is the only way to divide the three blades evenly. The cone then connects to the "nacel" which is just a box. This box is connected to the "tower" and we have our completed windmill. The Scene I started by creating a basic plane for the "ground" and the "sky" and laying out 11 windmills. The color map for the sky was originally borrowed, but I didn't like it and made a lot of color alterations. Fog is used to create the illusion of a horizon. Fog is also run through the scene to make it look like a foggy morning. The initial render with sky, ground and windmills can be seen here. An after picture from the color changes can be seen here (also note that I added a few windmills and changed some positions). My initial attempt at grass can be seen here. My first serious attempt at grass though came from the script (refer to the references). With the grass in place, I used a height map to generate a mountain range, and turned in 10 degrees around the X axis. Before lighting and color corrections can be seen here. I then stretched and twisted the height map into the correct dimensions to fit my background (as much as scale 1200 on the x-axis hehe). Lastly a WHOLE bunch of color tweaking and lighting corrections, and the picture was almost complete. [640x480] [1024x768] [1280x1024] As always I wasn't happy though, and started using the Tree generator (made by the same person as the grass generator) to attempt to make the scene look more real. I had previously failed to sync the colors, lighting, and positioning of the tree in the scene to make a good looking picture. Another day of playing around, and I was finally able to adjust the tree into place and match the colors/lighting in such a way that everything looked proper... note a huge change in lighting (and you can't tell, but the tree itself largely changed from their original use). Note: I just want to state officially that, unlike the grass, I never even made an attempt to generate my own tree... They are far too complex for the time we had. Final Renders: [640x480] [1024x768] (and also my desktop now hehe) [1280x1024] |
![[640x480]](final(small).jpg)
![[1024x768]](final.jpg)
![[1280x1024]](final(highres).jpg)