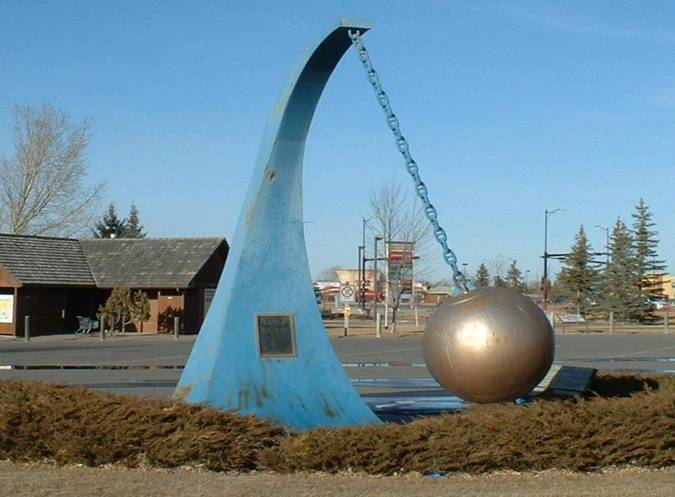
I choose Giant Wind Gauge (Ball & Chain) as a landmark for my project. It is located on Scenic Drive the corner of Mayor Magrath Drive South (in the tourist information parking lot), Lethbridge. Lethbridge is one of the sunniest and warmest cities in Alberta but it is also the frequent beneficiary of a phenomenon called the Chinook, a warm west wind providing above freezing breaks throughout the winter season. I found the image from City of Lethbridge web site.
Before starting my project work at first i took a short tour on POVRay, 3DS MAX DESIGN 2010 and Google's SketchUp. After then I set my mind to work with Autodesk 3ds Max Design 2010 30 Day Trail version. Autodesk 3ds Max, formerly 3D Studio MAX, is a modeling, animation and rendering package developed by Autodesk Multimedia and Entertainment.
Steps of Designing Giant Wind Gauge(Ball & Chain)
The giant wind gauge basically consists of three parts: Frame (the body part), Ball and Chain. First of all, my main concern was regarding how could I keep the actual shape and dimensions of wind gauge's each part as it is in real time. I have tried to follow up the original dimension which I got from here . Then, I just started my work with frame first.
The measurements of dimensions that i have used for designing frame, ball and chain are mentioned below:
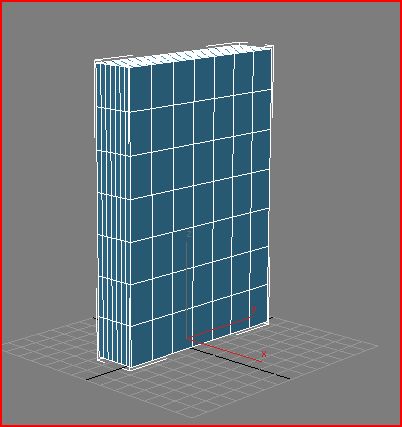
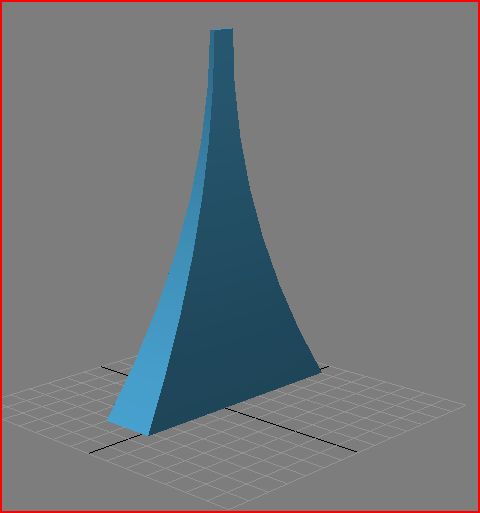
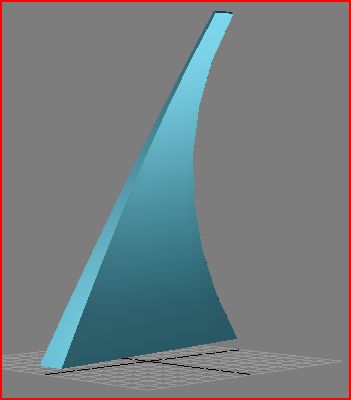
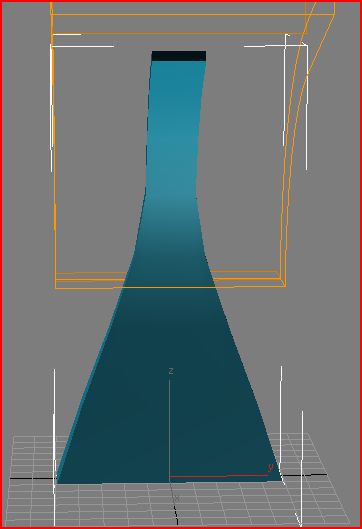
For creating frame, a box object is used which got its final desired shape by applying different modifiers such as Taper, Bend, FDD 4x4x4 and Edit mesh one after another. In below some screen shots of frame creation phase have been illustrated. And side by side some angle views of the frame have been shown in " Frame from Different Angle"
After that, the ball and chain portion have been designed. Since the ball is in spherical shape, I used a Sphere object for it and apply copper metallic material for coloring.
Since the chain of wind gauge looks like an anchor chain, Ring Torus object is perfect for its each link. Turning a torus into an Edit Poly and activating all of its vertex sub-objects, I just gave proper shape and made clones for other links. For joining each cloned link of chain, i have rotated and moved into positions as much as I needed.
Since the chain is made of metal, to provide its realistic look , I have applied Reactor - “a plug-in" for 3ds Max that allows to control and simulate complex physical scenes. Reactor supports fully integrated rigid body which is highly essential for this chain out looking. I have used Rigid Body Collection. Some pictures of chain creation phase is in "Chain Creation Steps" page.
The next step was texturing surrounding region which contains grass, road, tree, sky and house. It was one of the hardest part of my project. Because choosing the most closer texture for road, house, wall and roof, was a bit tough; not only that since the scene has been grown larger its object handling became harder. Solving this handling problem, I followed Layer Based Approach which provide a easy and efficient handle of each component of scene without interrupting other.
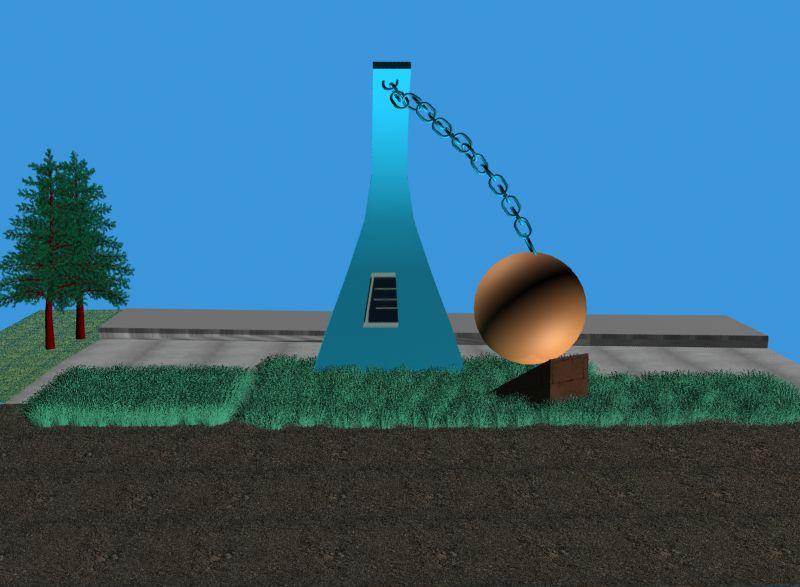
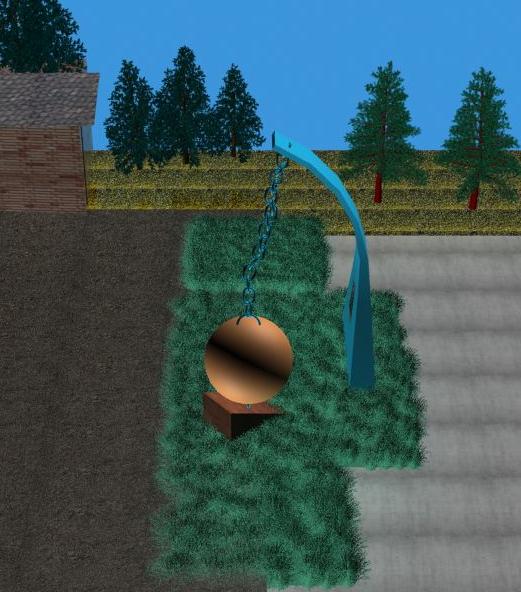
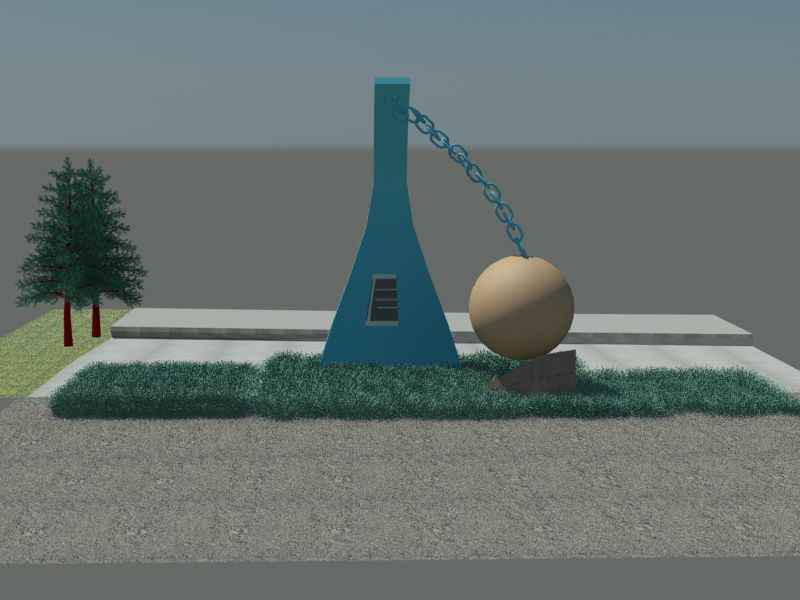
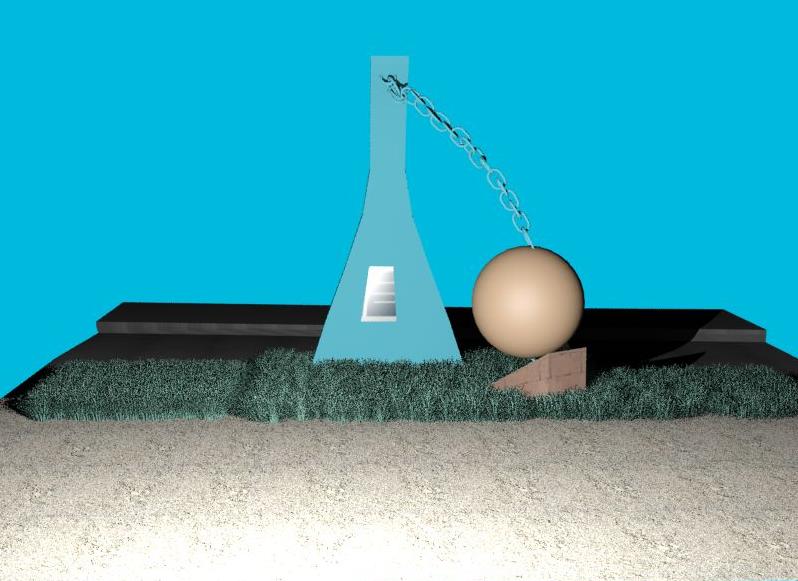
Some images of Rendered version of Giant Wind Gauge (Ball and Chain) with different camera angles are represented below.
For implementing Ray tracing impacts on my designed Giant Wind Gauge (Ball & Chain) landmark model, I have used Mental Ray Tracer of 3ds Max that let me to generate convincing global illumination in scene. Default lights provide basic illumination in the scene, with textures and materials applied, but the rendered image appears flat and not very realistic. So I need to add Daylight System to the scene. [Click here for more details]
I have also applied Photometric Lightning such as free light and target light afterwards to distinguish differences between Day lights and Photometric Lights.
Rendered Scene with Daylight System Positioned at 11am, 31 January,2010

Rendered Scene with Daylight System Positioned at Night [2 am]31 January,2010
Rendered Scene with Target Light

Rendered scene with Free Fight Street 400w Lamp (web)
To decide which landmark I would choose for this project was one of difficulty for me because I am quite new to Alberta and I do not know lots of places. Another problem was selecting the base shape for frame design. I tried with several shapes and at last selected box object as a base for creating Frame of Wind Gauge. Another thing that was partially difficult to getting the right textures so that I could get perfect look as I want.
I never worked before on any Ray Tracing project, so during this project work I become more interested about 3D world and computer graphics. Moreover for the first time I have used Autodesk 3ds max design, to learn about this tool I just go through its tutorials. Actual knowledge I got when I just proceed towards designing my model one after another phase and faced and solved different problems. Moreover, before stating work on 3ds Max, I gave a tour on POVRay and Google's SketchUp which enrich my working spirit in 3D graphics world. In future I have plan to add some animation and implement the local humour that have regarding this Giant Wind Gauge.