The Light of Knowledge
Project Outline For Graphics 3710
Jahson Simoneau
The project I decided to do was to use Blender and recreate the stairwell in the University of Lethbridge Library. When I was deciding what to do, I wanted to chose something that would be challanging and I did not want to do an external building. I saw lots of great architecture as I walked around the school. I was originally going to do the Student Union building but changed after I saw the stairwell because I knew the stairs themselves would have been a good test for learning.
I first started by making sure i had enough pictures of the area so I would not have to return for reference. I took about 60 pictures from different angles and views but i still had to return a couple of times for more reference. I then downloaded and installed Blender but before playing around with it on my own, I followed the tutorials from blender.org and learned the controls and interface. At first the controls were difficult to get used to but I had worked a little with other programs and I was able to catch on quickly with a little practice. After watching about 5 tutorials I started with the stairs themselves and figured I would build around that.
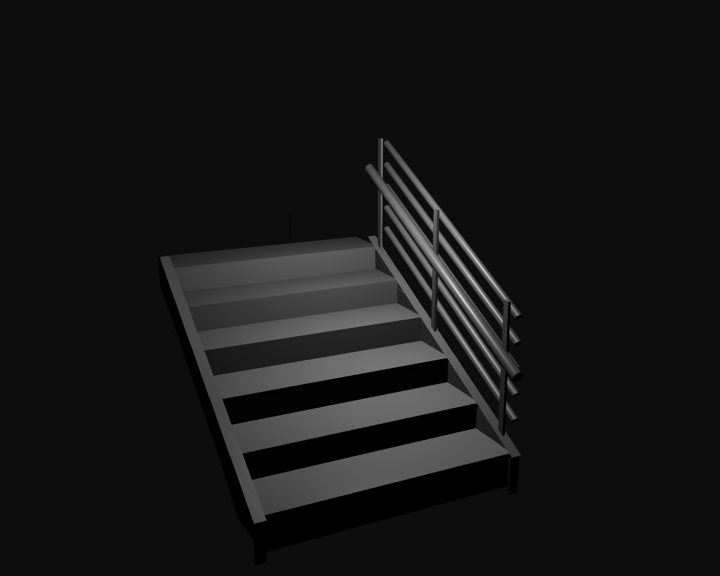
To create the steps, I made one step and the used an array modifier to add more stairs by offsetting them an equal amount. I added the sides of the steps by using a plane to close it off, erasing the faces i didnt need and moving the vertices to make it symetrical to the stairs. I used alot of copying and pasting to make the other stairs. The rails were all cylinders which i scaled and rotated then used another array modifier. One thing i had to add to the stairs later was a different object because i needed a different texture on the tops of the stairs. I indented the tops of the stairs with the extrude tool and added them later after i had realized my mistake. The posts for the stairs were also made from a cube then arrayed to match the height of the stairs. The walls were the last part to add because they kept getting in my way. I learned that you could hide them which helped alot to see what I was working on.
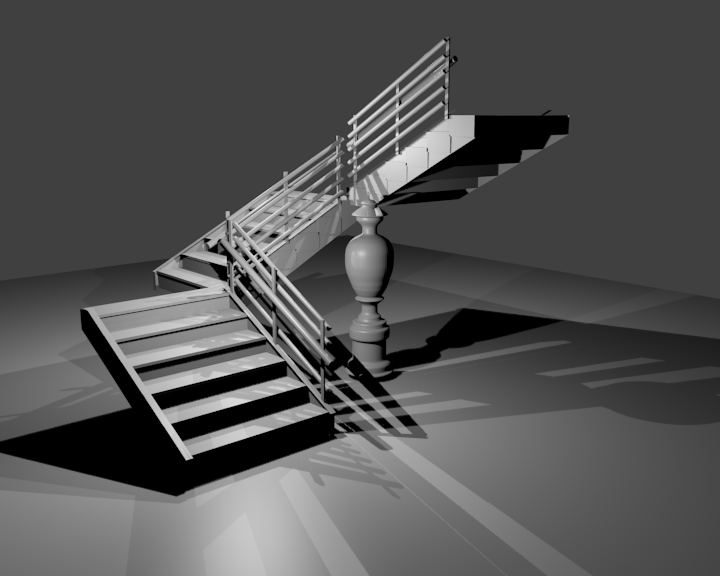
The vase was actually the second thing i did because I thought it would be difficult but after watching a tutorial on Youtube, I used the extrude tool and just kept extruding and scaling each level as I "traced" the vase from an image I had taked earlier. I then applyed a subsurface divison with a setting of 2 to smooth it out. The pictures on the wall were made from a flattened cube and then copied and pasted on all three sides that are used. I only made the stairs go up one level because the other level wouldn't be seen. One of the more difficult objects were the lights on the wall. I made those by spliting a cylinder in half and deleted the top and bottom. I extruded the sides to give it the wing shape them have then made a simple base to attach it to the wall. To make them gridlike I manually selected every second face and deleted them. This caused a problem with the shadowing but was fixed with turning the sampling up on the shadow render and setting it to constant QMC to reduce the noise.
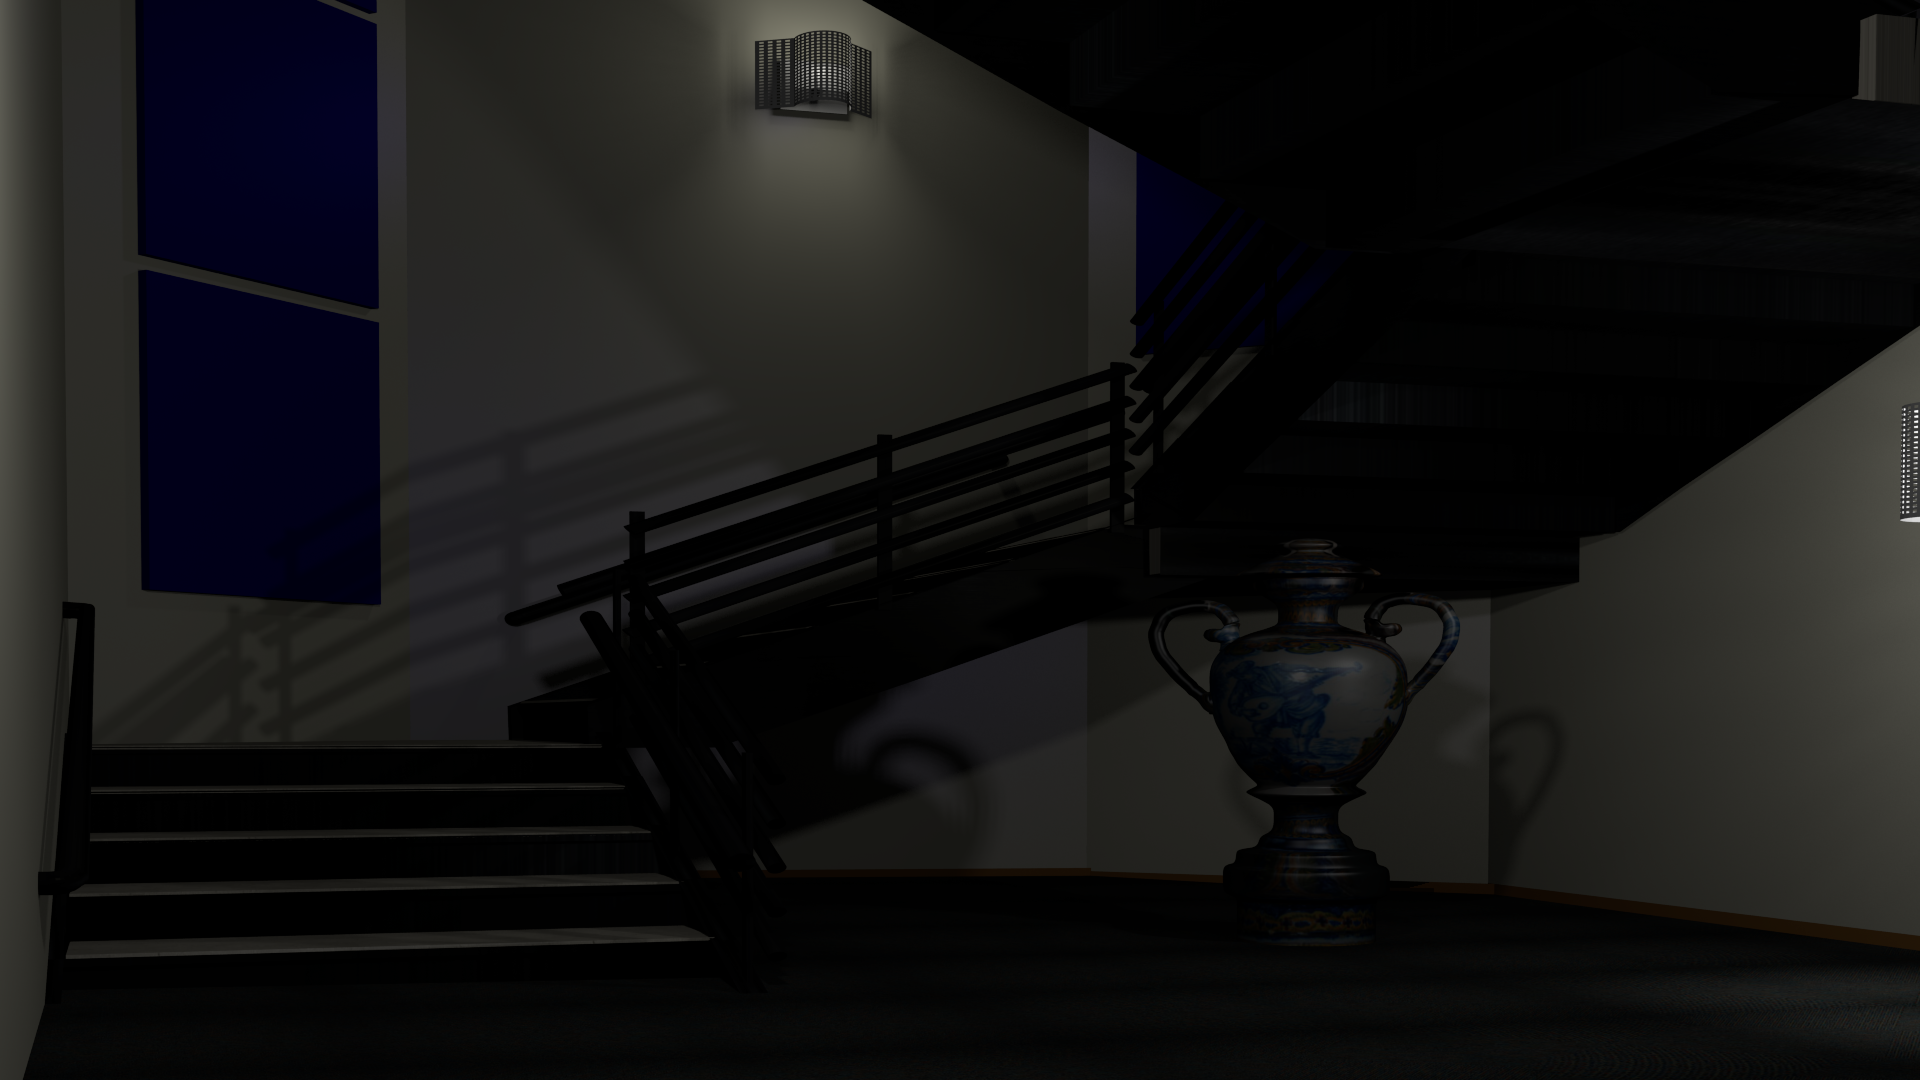
With most of the scene built I needed to add some textures to give it some color. The first texture i did was for the vase which is made from a texture image that I took and applied it to the vase. I did not use uv mapping but instead I resize and scaled it untill it fit as close as I could get it which ended up fitting rather well. For the material I also used an image texture for which I got from user rx0999 from photobucket. I added more specularity to make the metal shine from the lights in the room.. For the carpet and cement I used images I took myself then resized and scaled to make it look like it belonged. The walls, the pictures, the wallboards and are all just basic materials which I set the color and settings to try and match the scene. Once the scene was all put together I needed to do a final render. The setting I used were 16x quadratic antialiasing, shadows at 36 samples to clean up noise, and various resolutions. Rendering times were about 30 mins to 1 hour depending on resolution. The scene consisted of 90 objects with about 90k vertices and faces, and when rendering it was about 200k+ with the subsurface division on some objects.
I feel as though I learned alot from this project and I am definately interested in doing more with blender. I did have a number of problems as I worked on this scene which helped me to learn. I had some problems with the textures and lining them up properly, scaling them the proper amount, and at first getting them to render. For technical problems I only had blender crash twice but I was messing around with animation and smoke which crashed it...think I ran out of ram. I spent about 15-20 hours on this project over about a week and a half but also watched some tutorials in my spare time.