The very beginning
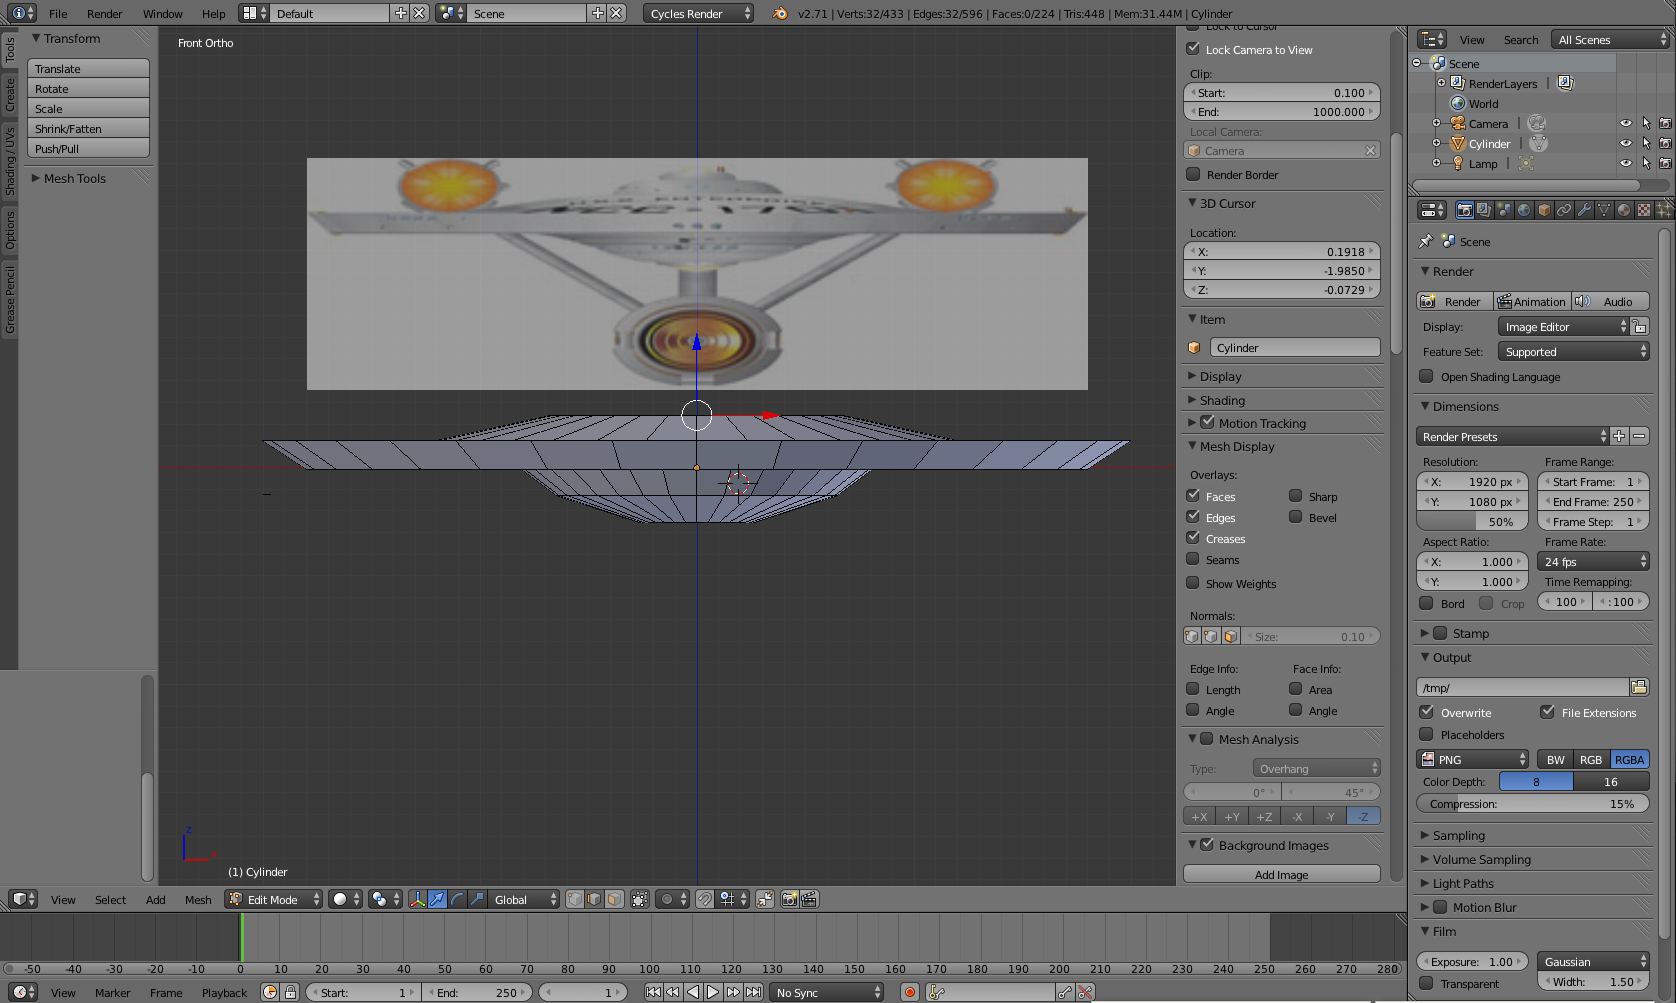
In the very beginning there was nothing. Then I started the saucer section by taking a cylinder and squishing it. My primary mode for getting the angles was a magic trick I like to call the "extrude and scale" I would extrude a small amount of face and then scale it upwards so that it created an angle. I did this enough so that a sort of smoothness started to show.
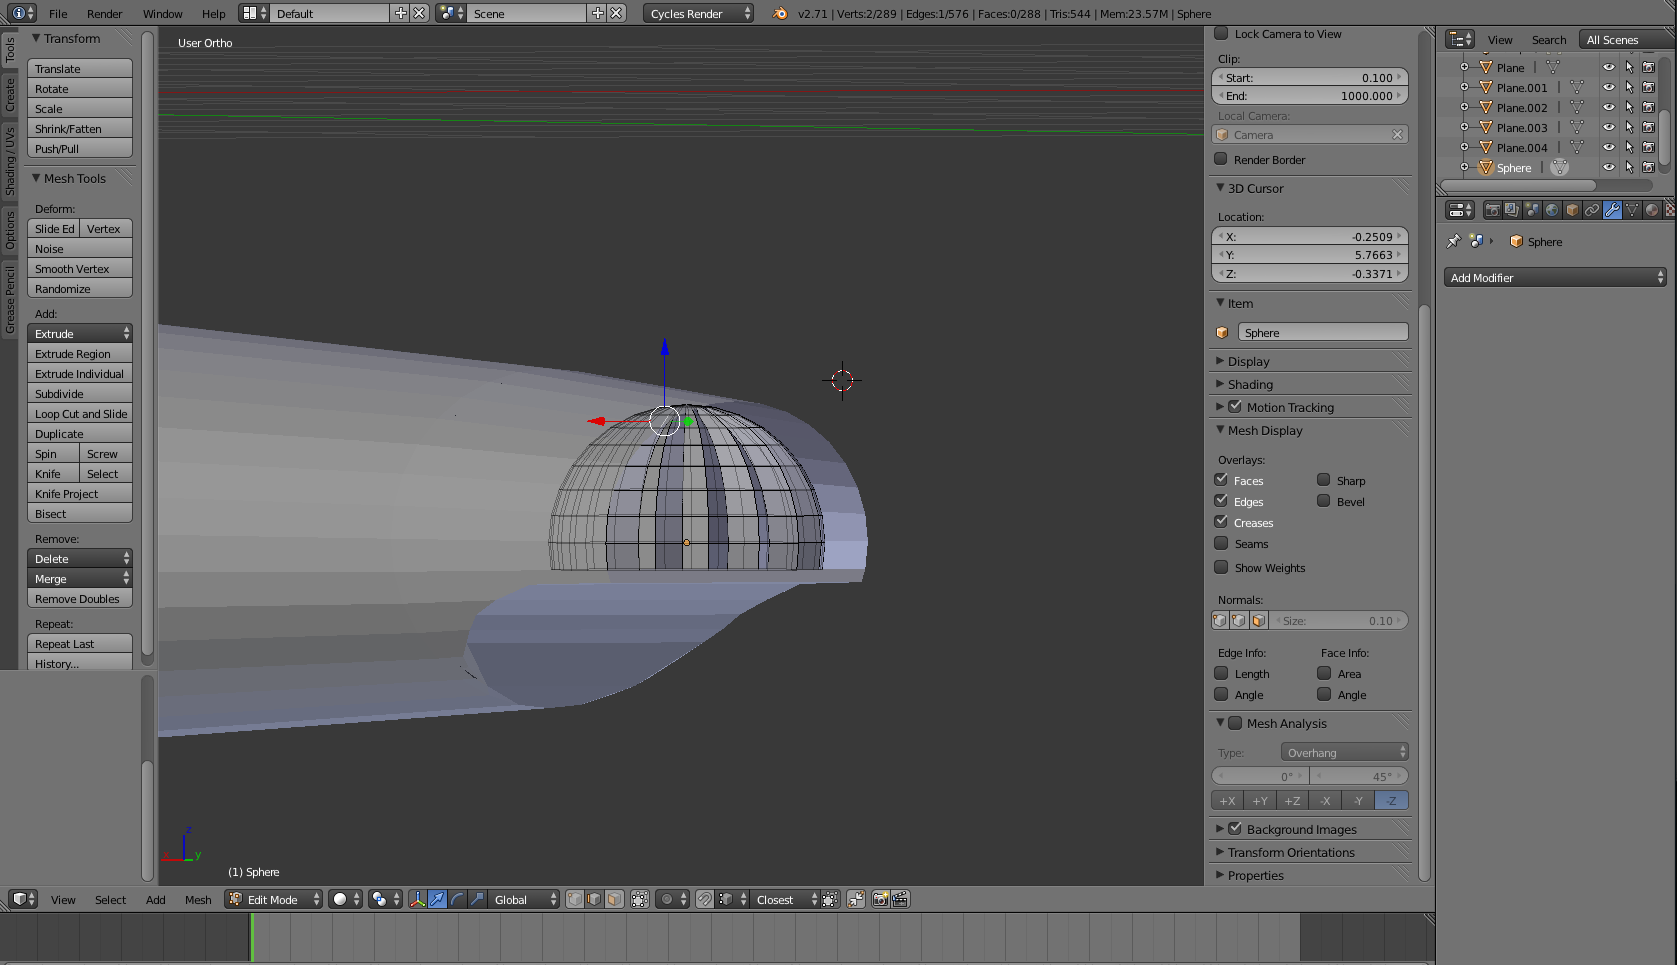
Next came the bridge. This was especially difficult. I used a sphere and then scaled it into a tear drop shape. Then I just played with scaling until I liked the way it looked.
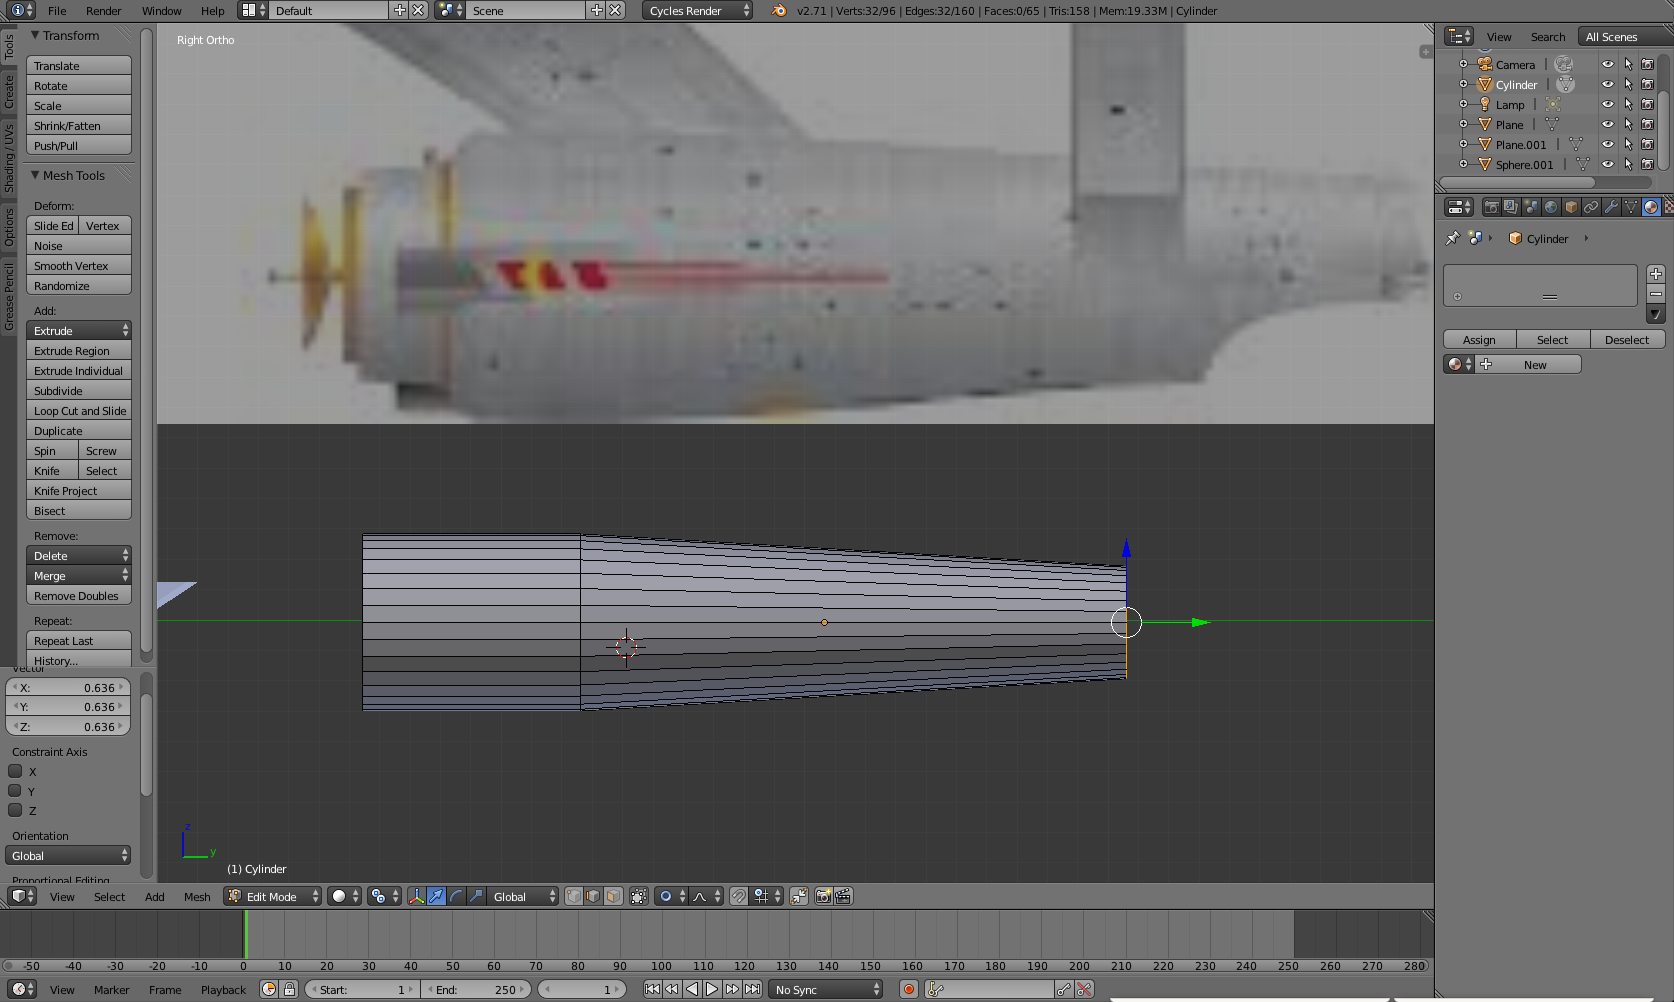
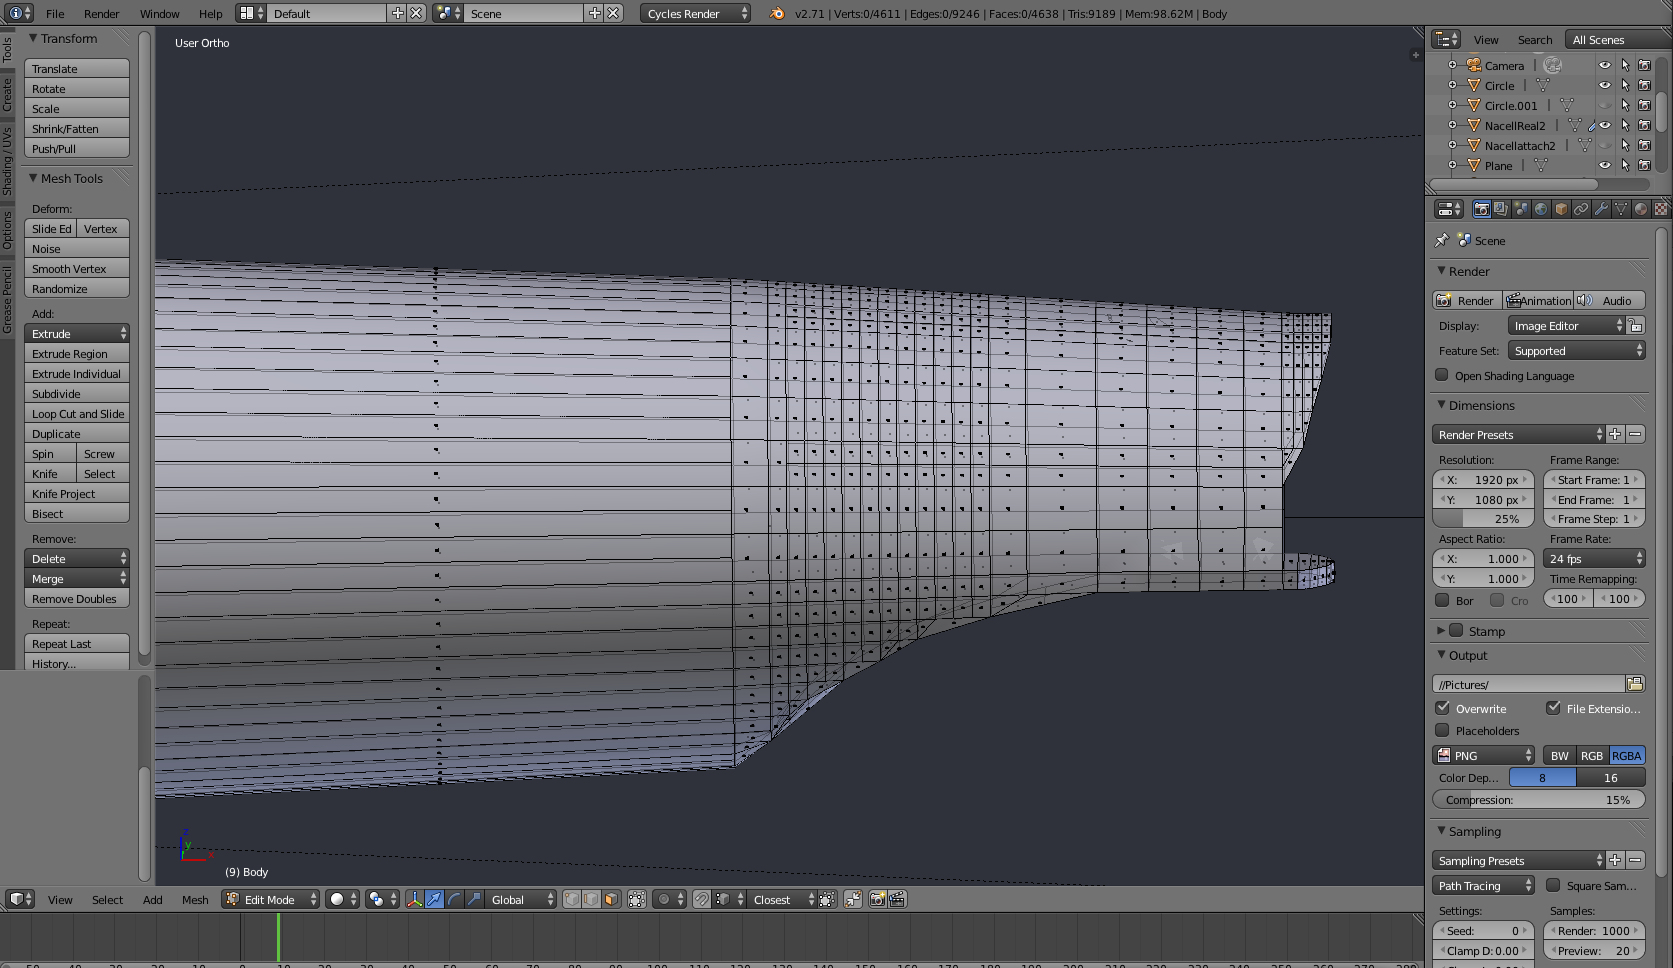
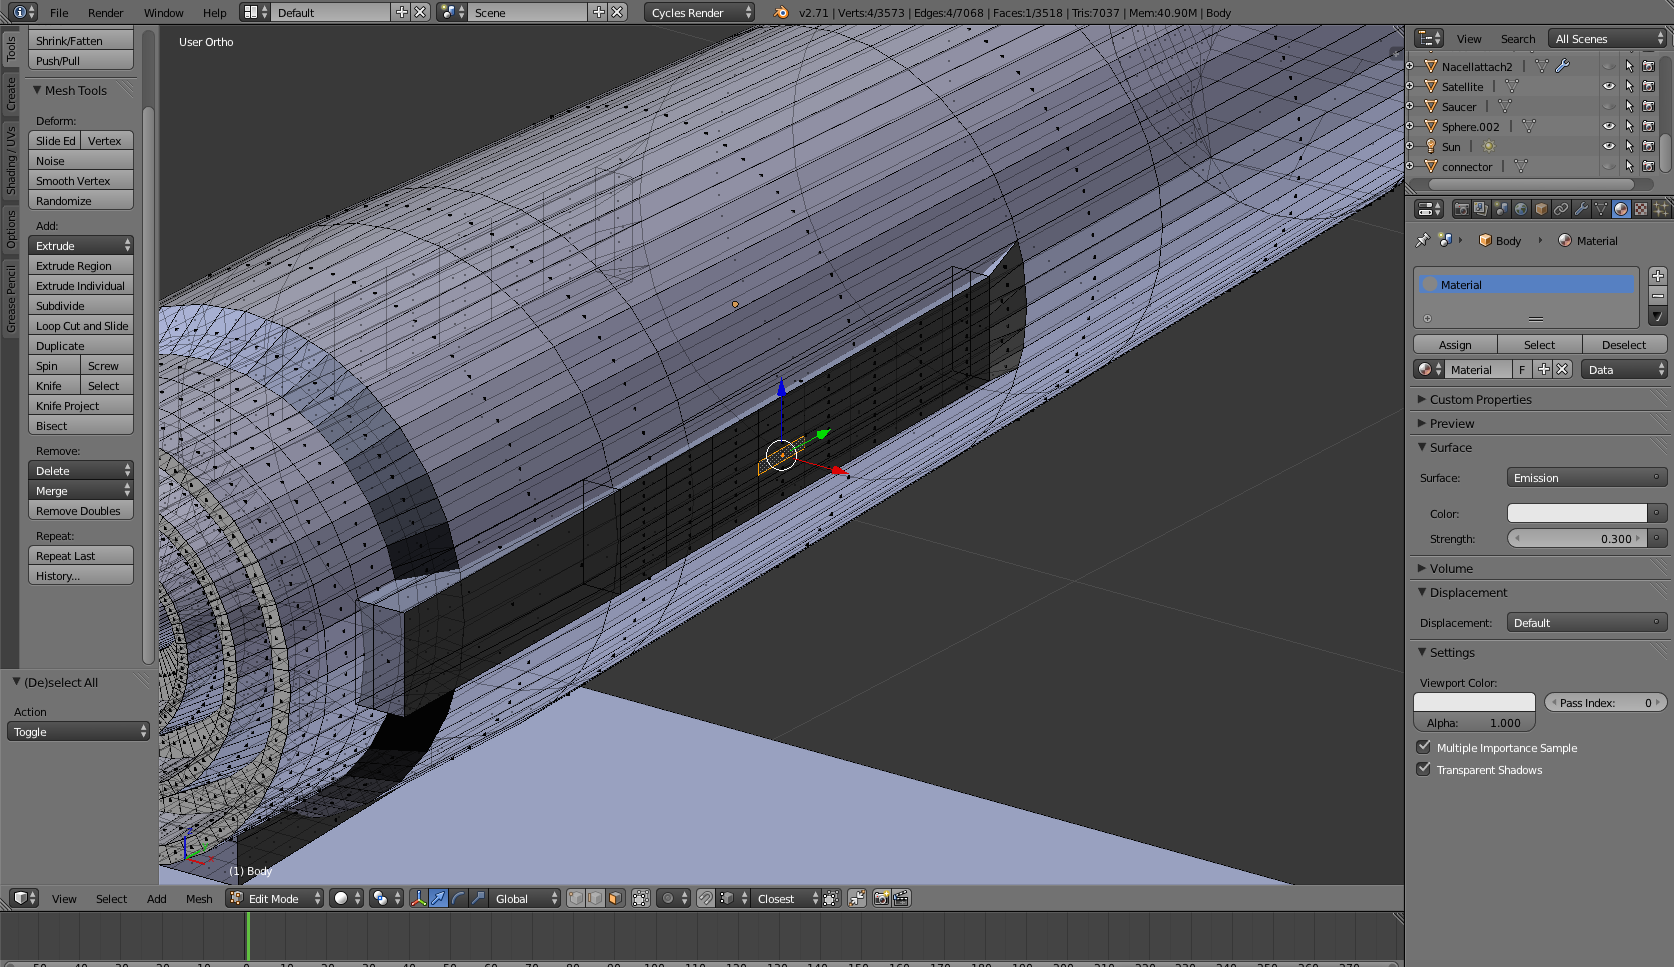
Next came the body of the ship. This part was probably one of the hardest for me, but you can read more about that in my difficulties. I started with a cylinder and began to scale it down towards the end. I ended up using a ruler on my screen, not my proudest moment -- to get the ratios correct.
To get the nice curve at the end of the body I loop cut approximately 3 bajillion times.
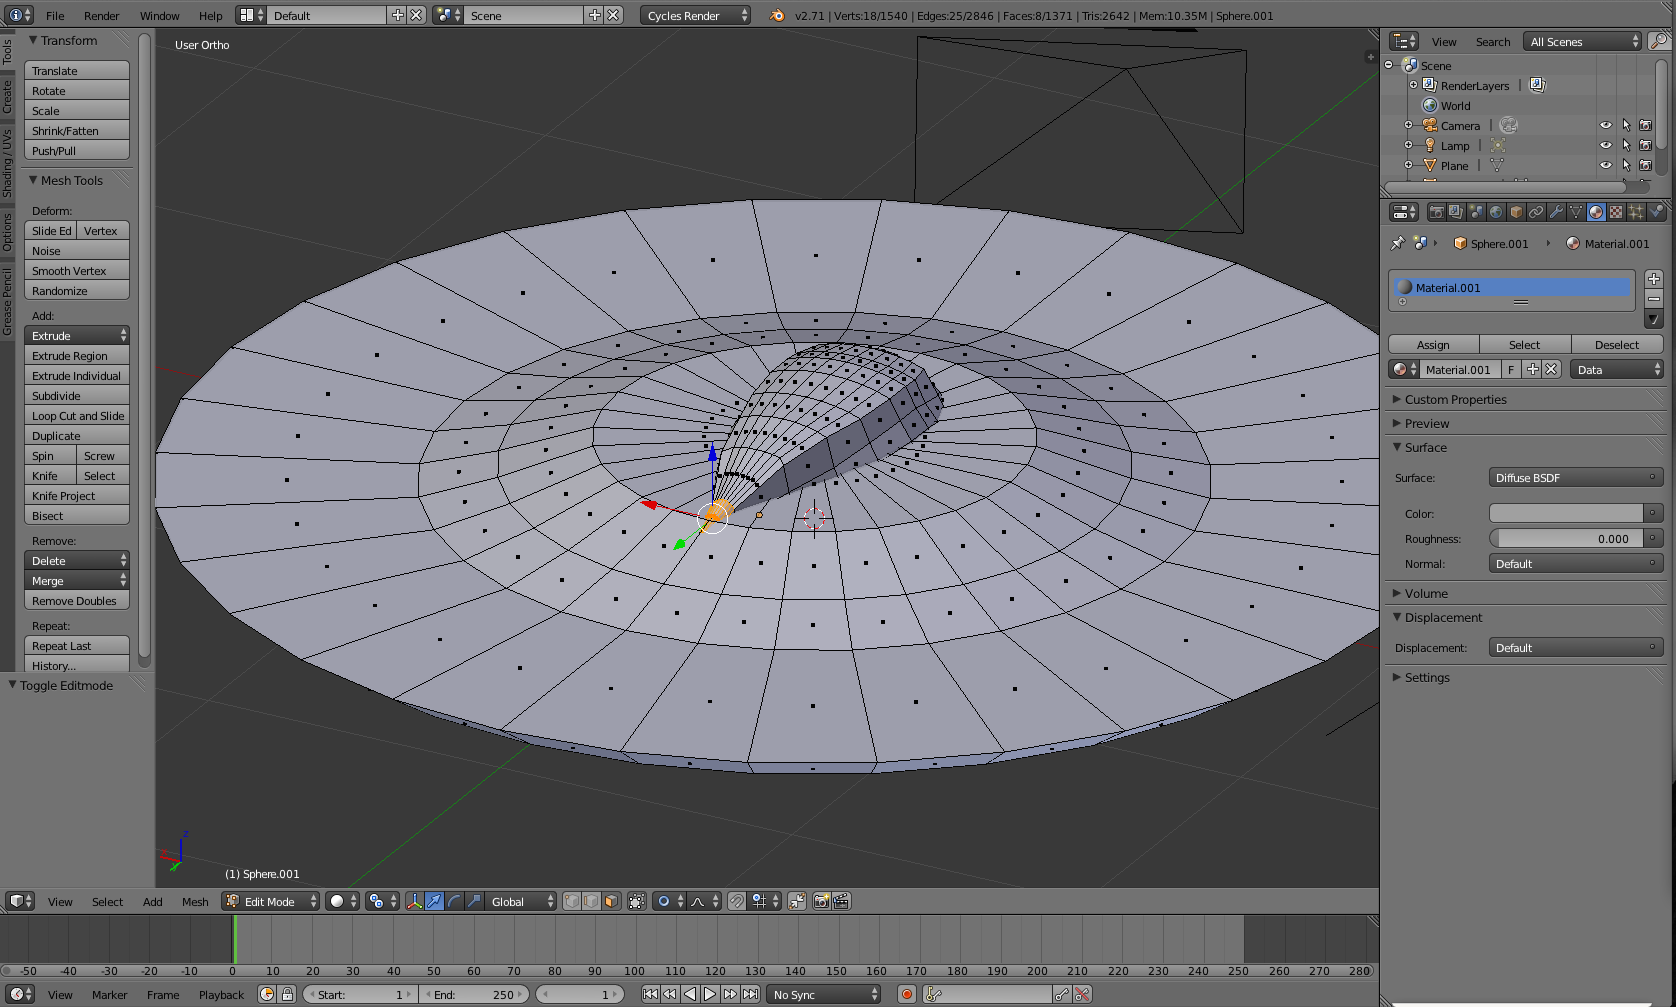
The Shuttle bay was created by cutting a sphere in half and grabbing each second edge and pulling it in. A good end result with the lighting.
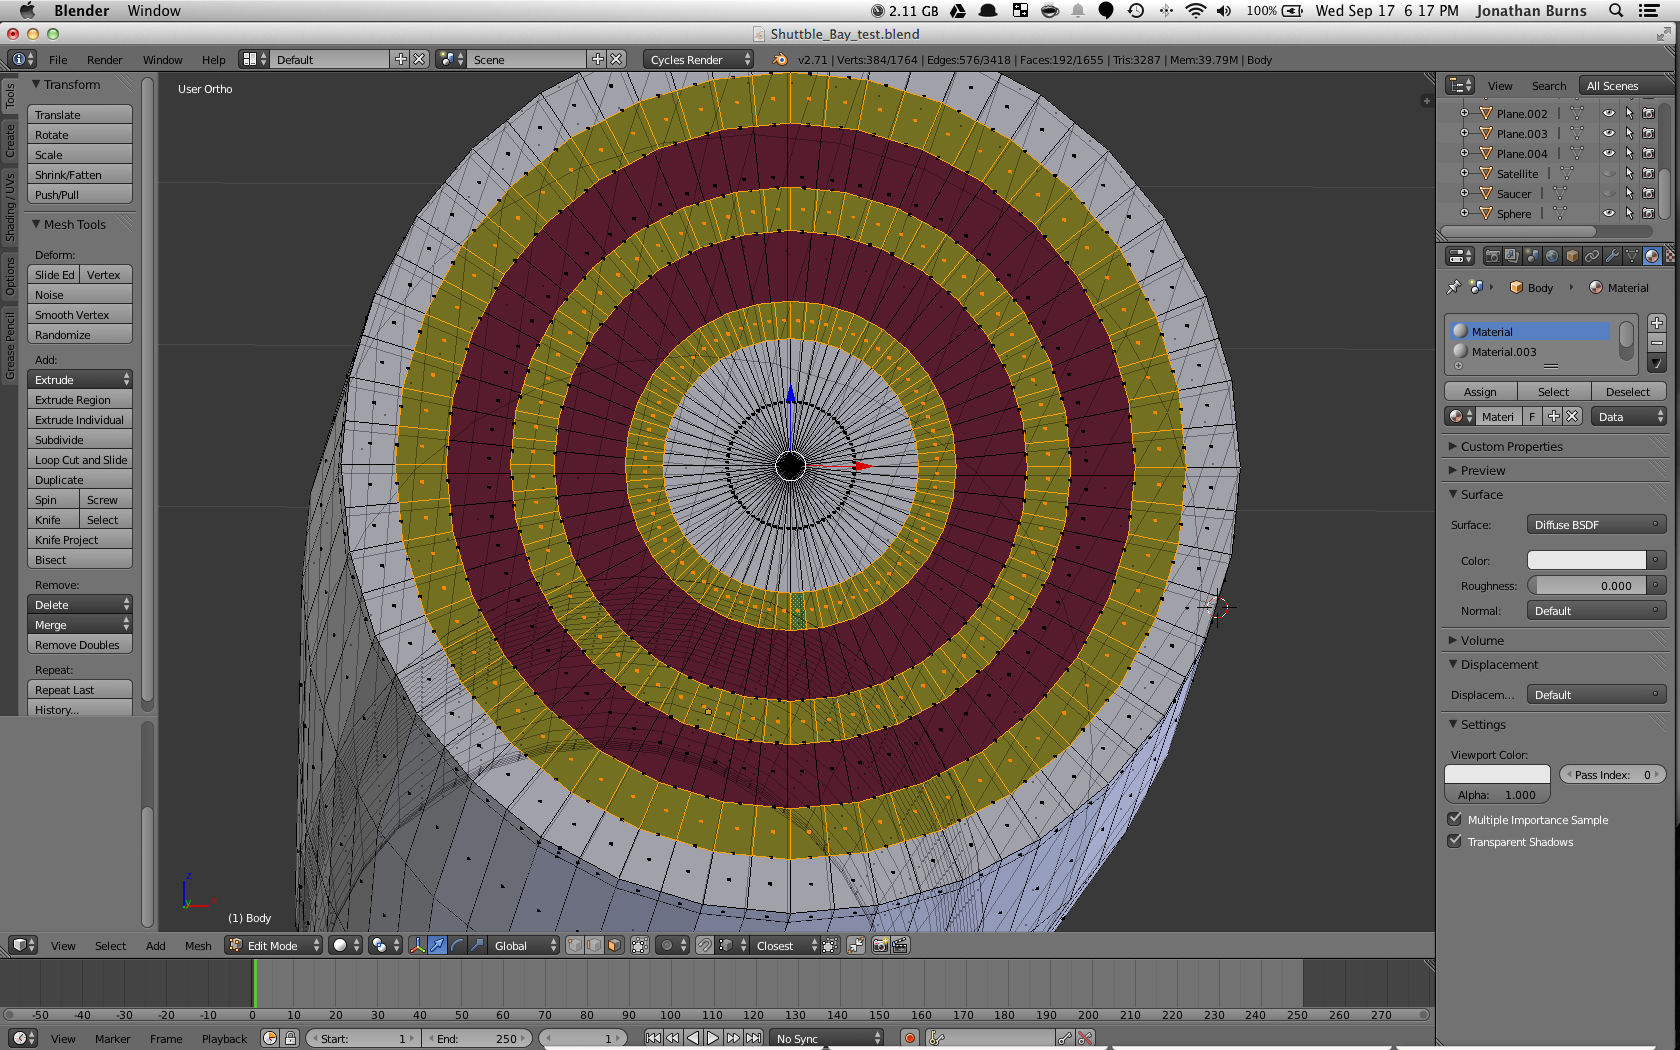
The next part of the body was the sort of satallite array (the internet tells me that this is a Navigational Deflector...thanks internet). This was slightly more complicated than I thought it would be. I loop cut the face a bunch and then scaled some parts of it inwards for depth.
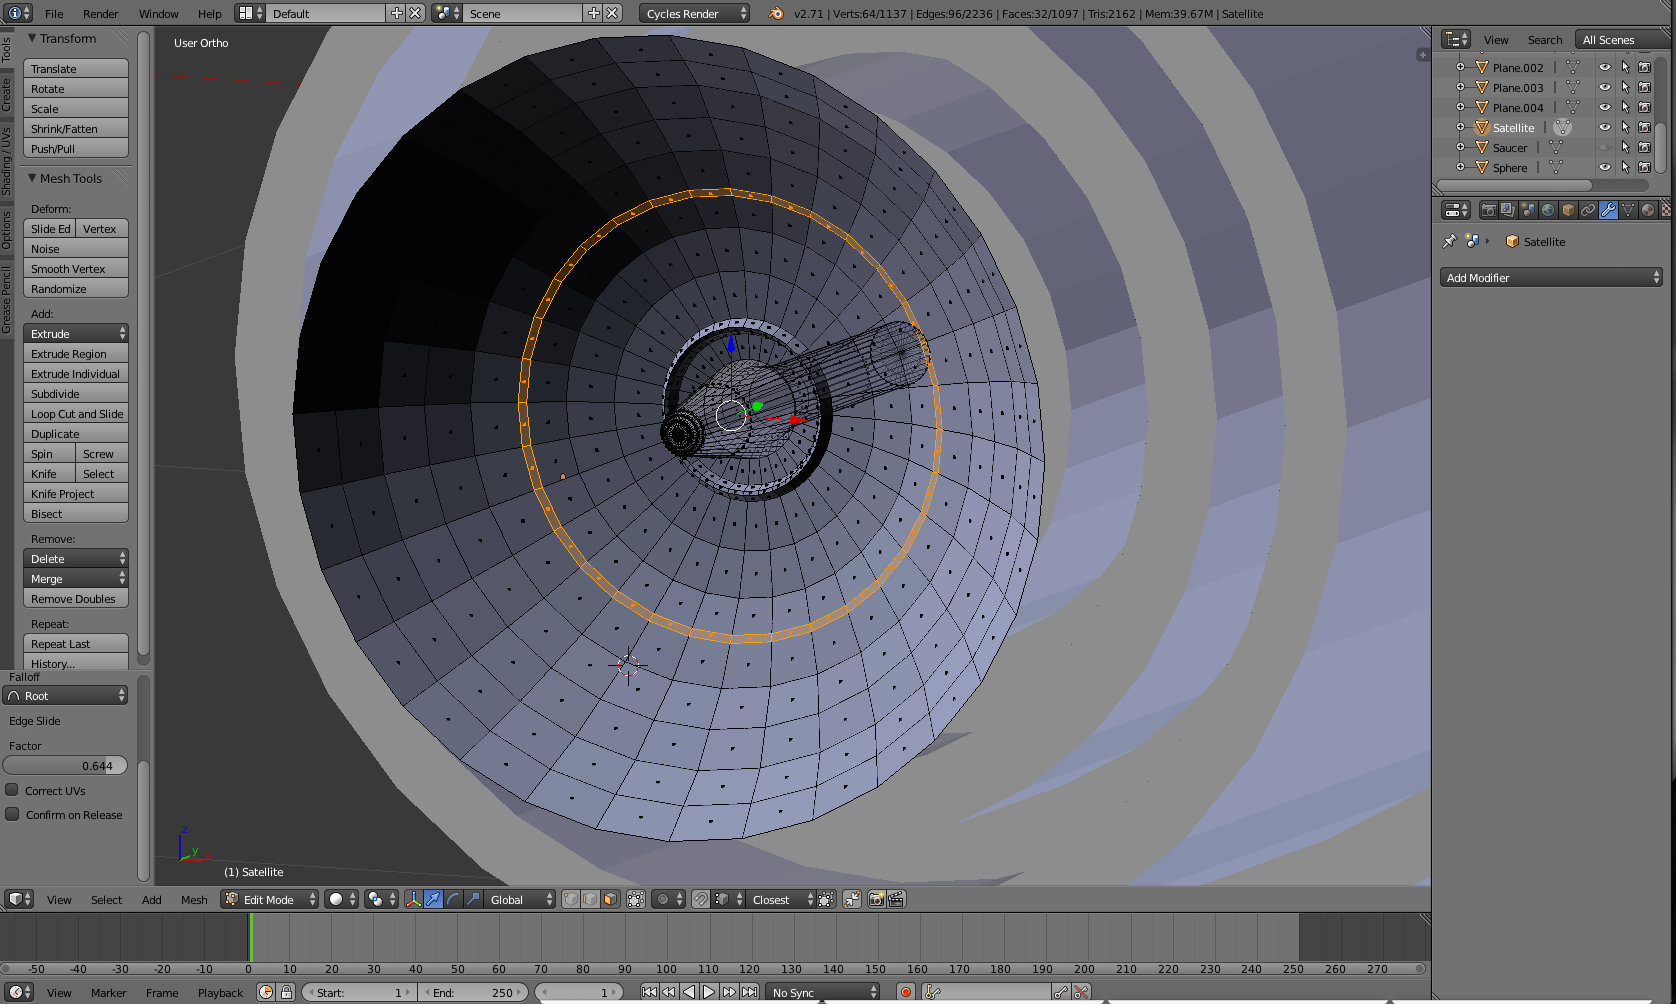
The satellite was a lot easier. I cut part of a sphere and scaled it a bit and then loop cut a lot. To get the pointy bit I picked the very middle vertex and pulled it out. For the ridges I just extruded some of the faces that went around the sphere and smoothed them a bit.
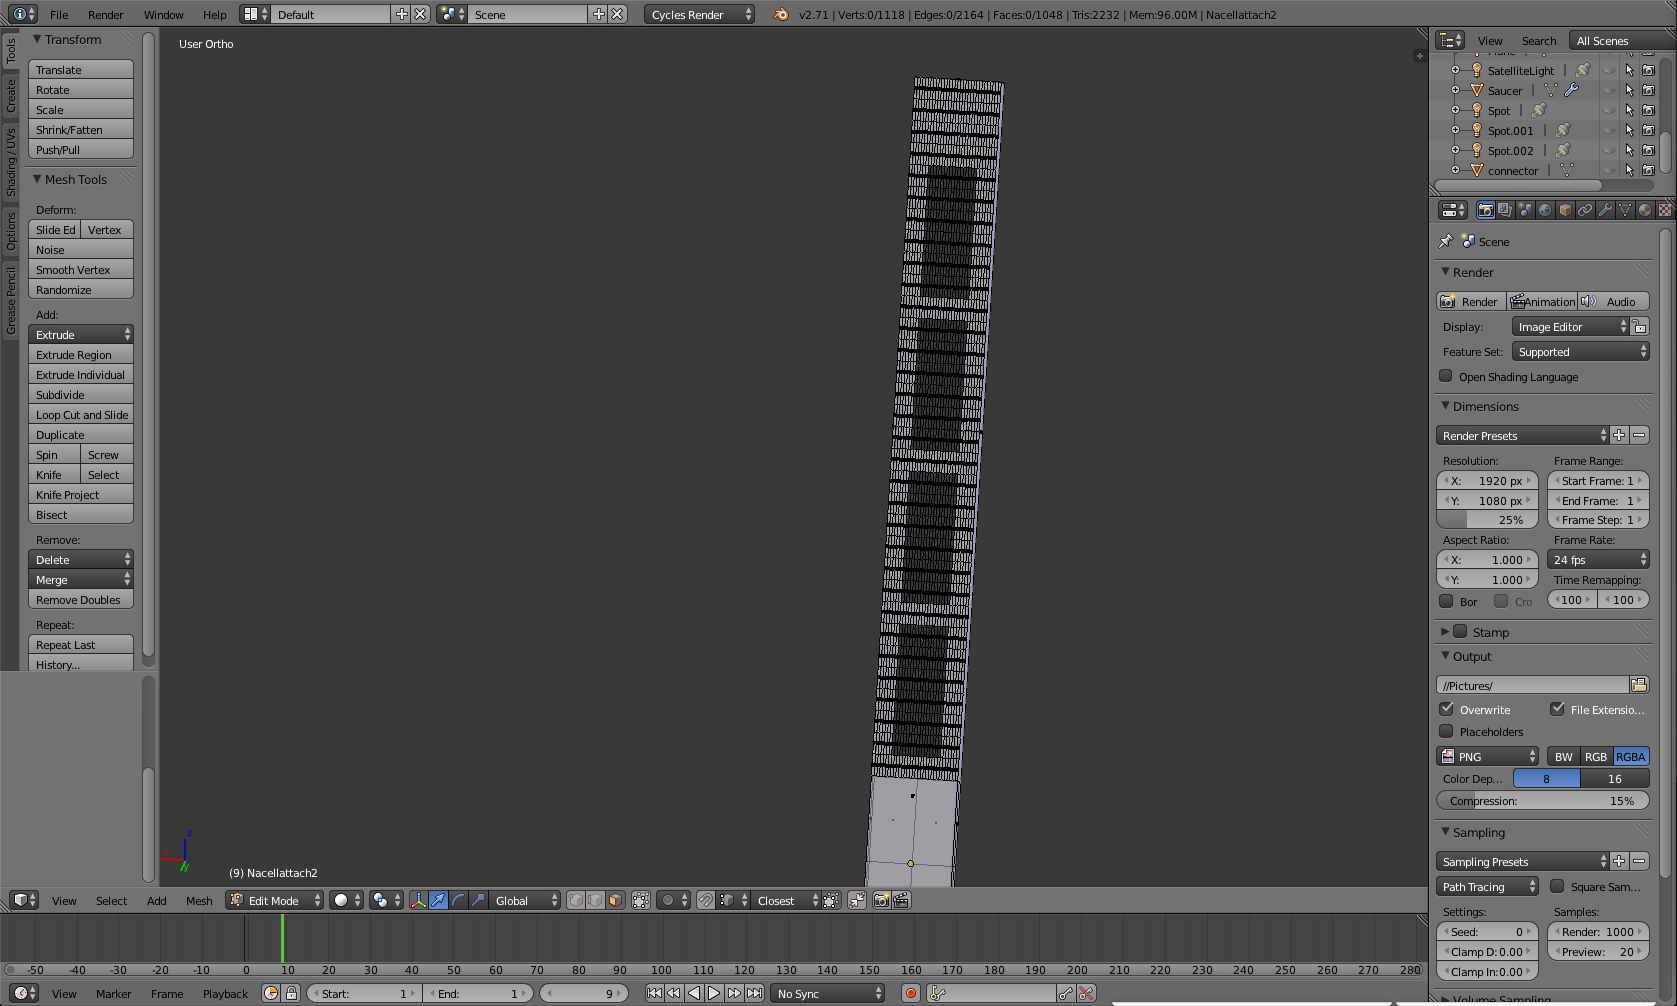
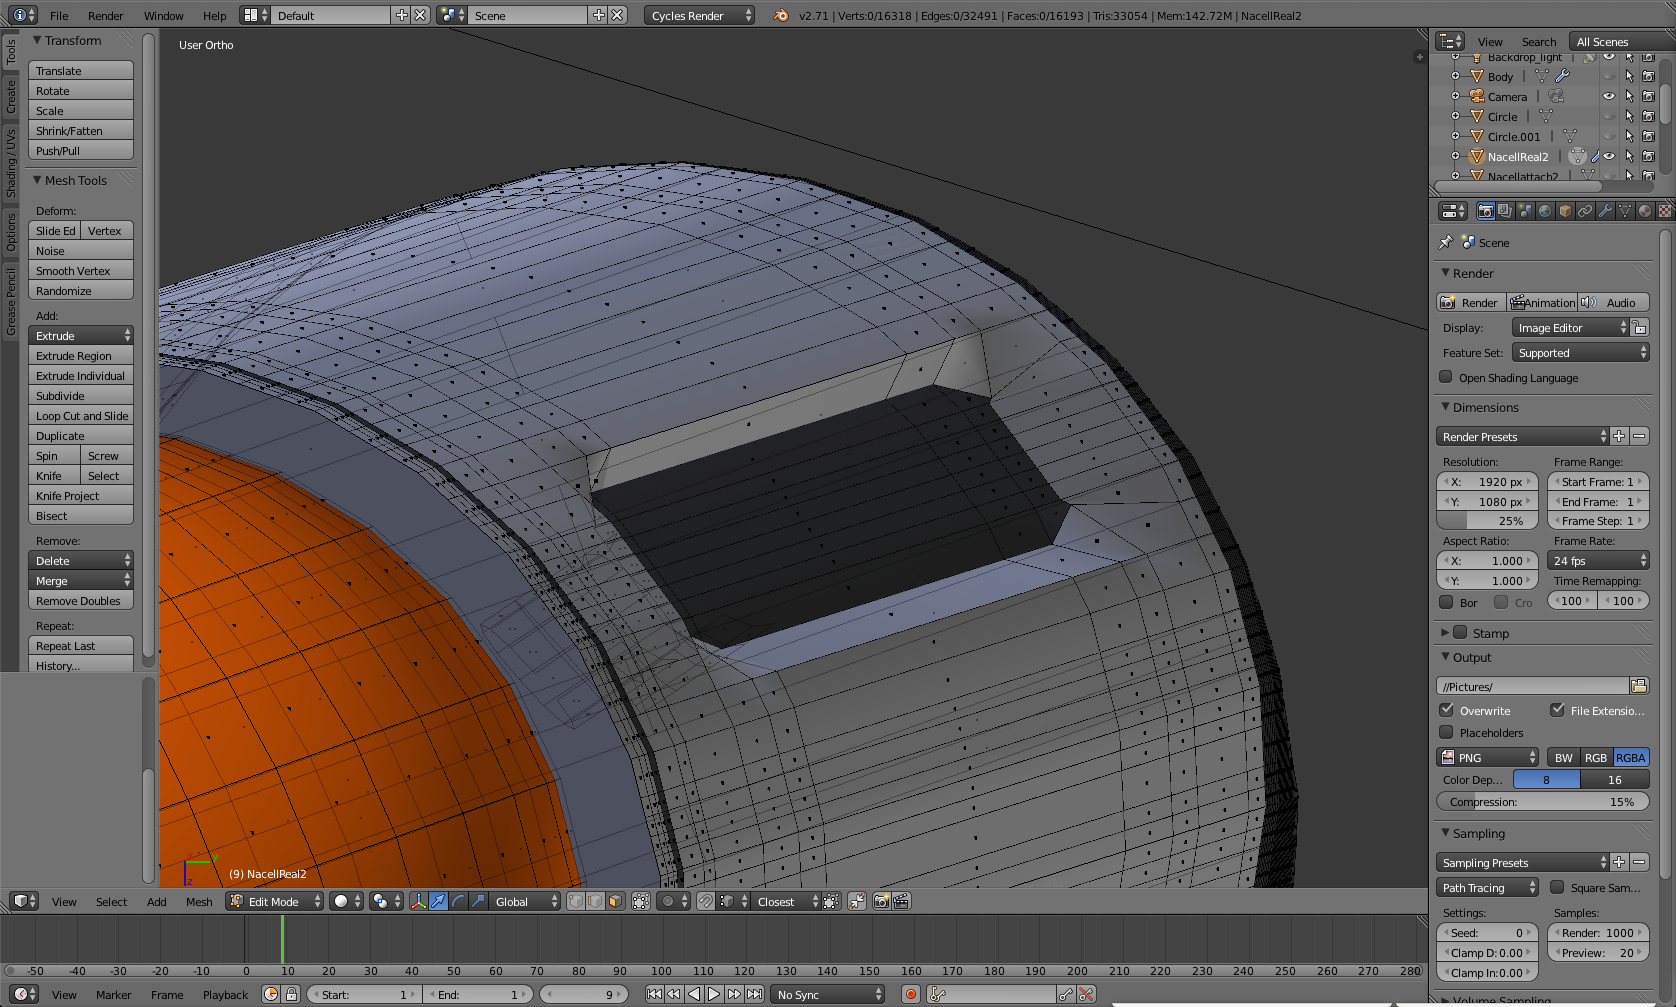
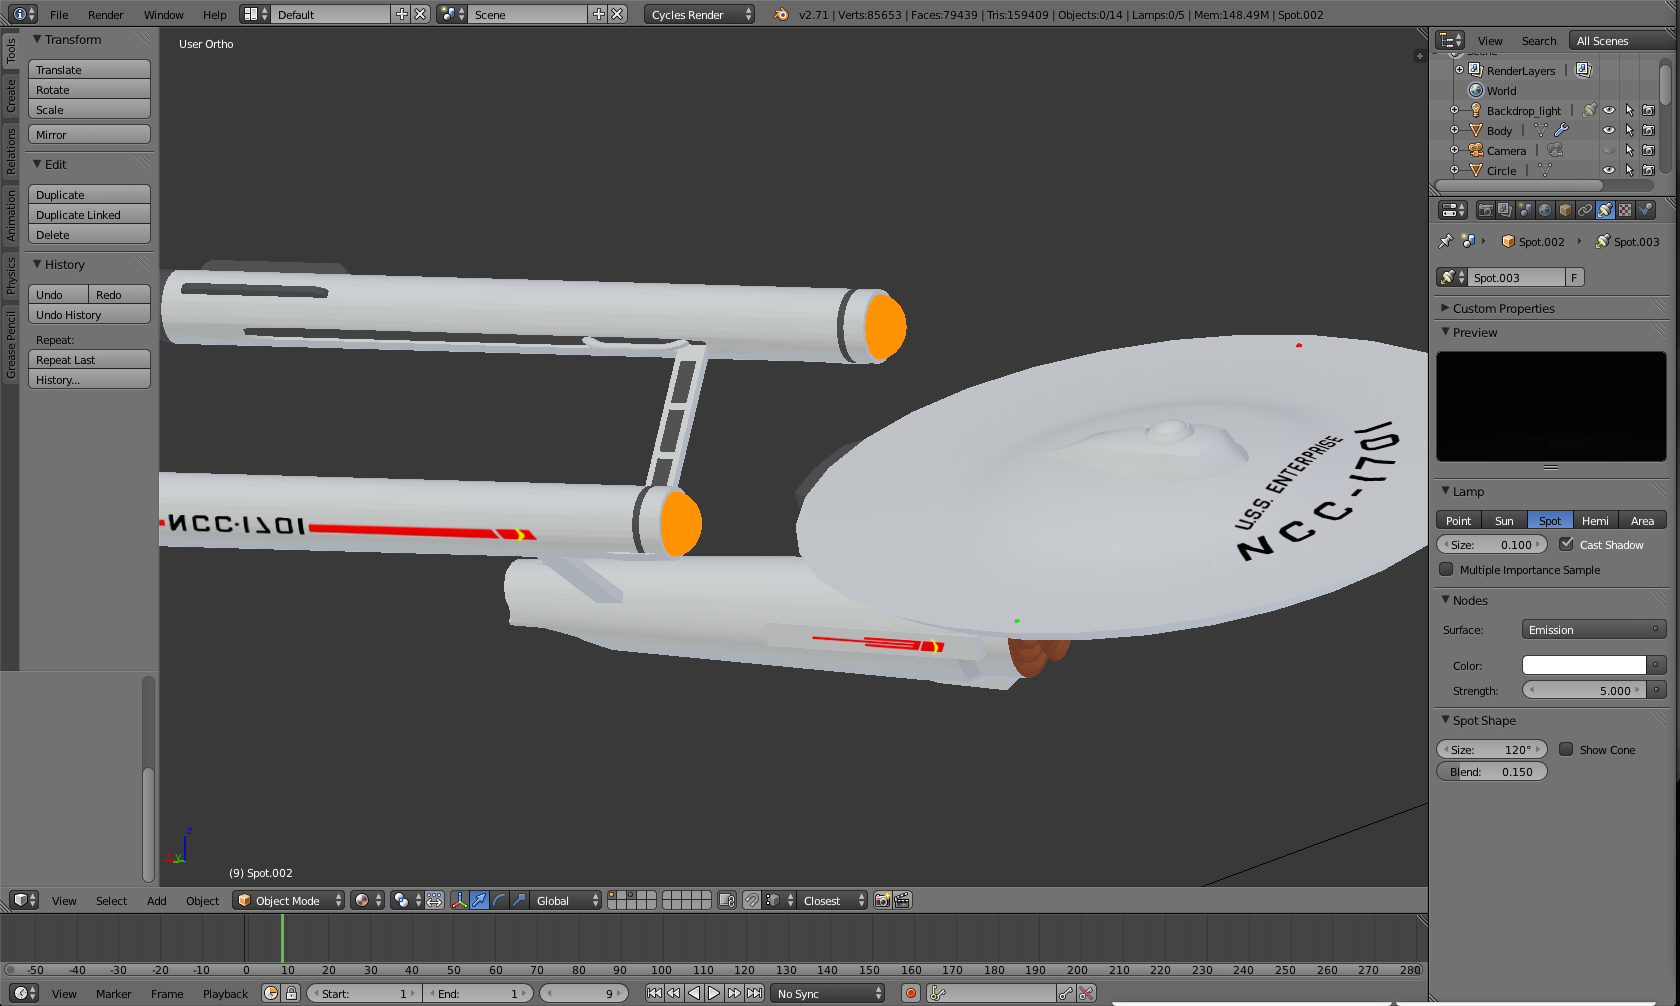
Both nacelles were made at the same time using a mirror modifier. I began with a cylinder and scaled it outwards along the y-axis. Then I squished a sphere and stuck it in one end to act as the glowly part.
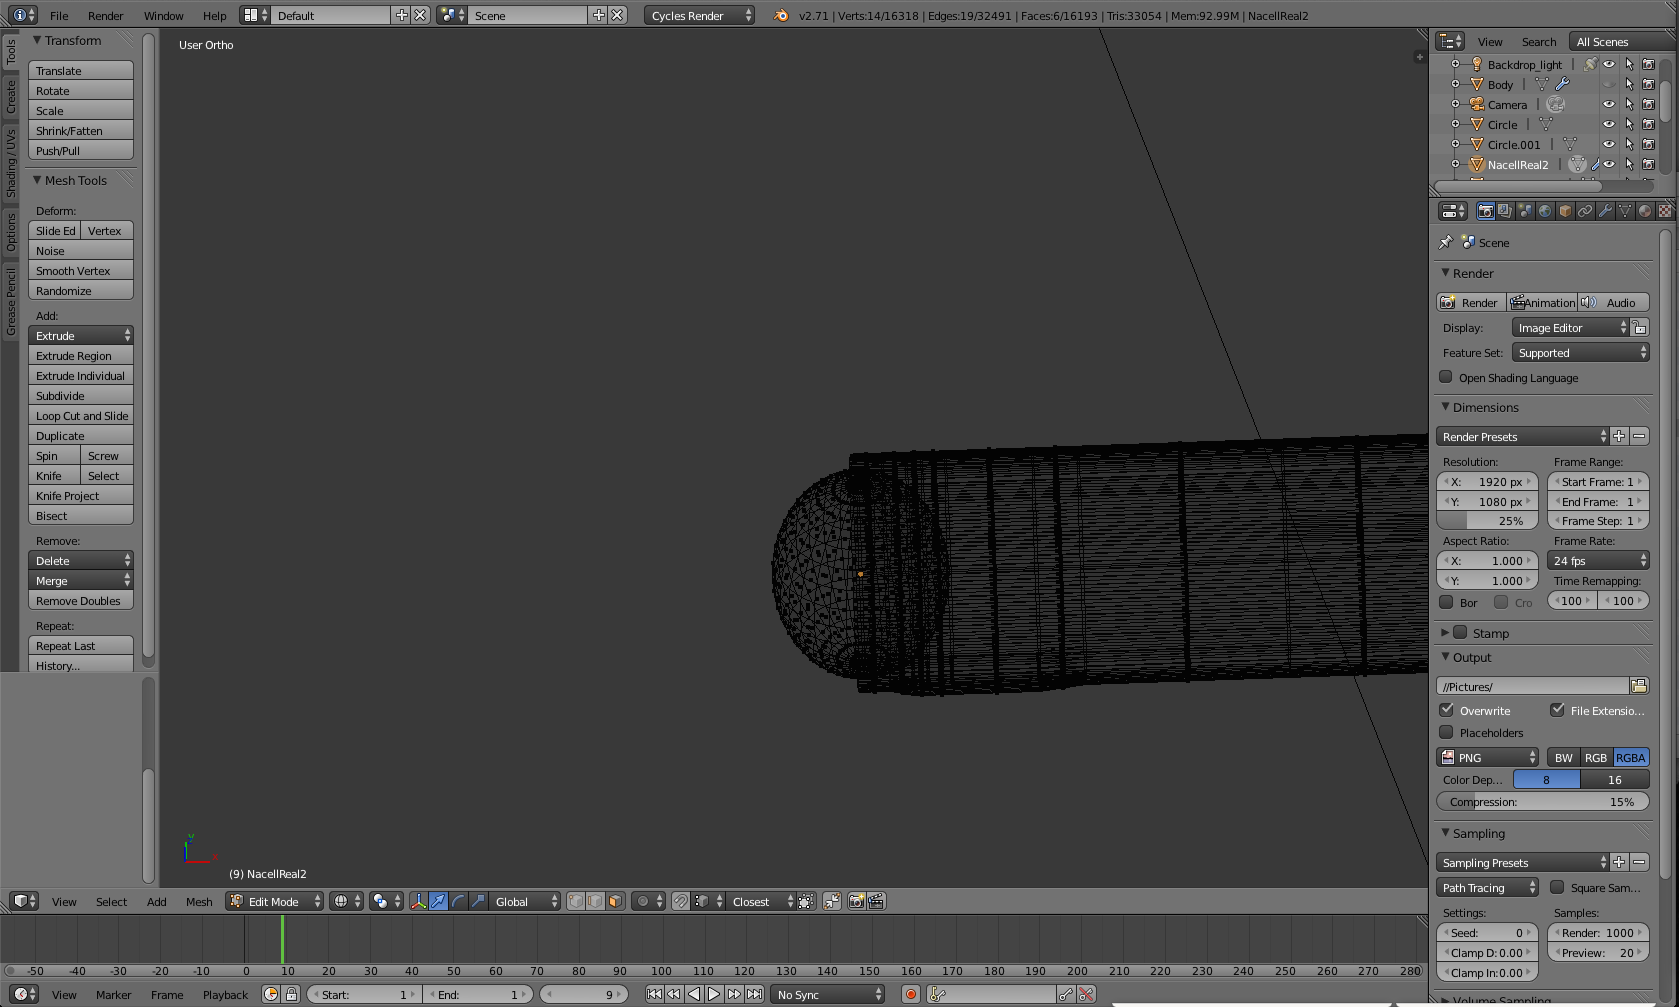
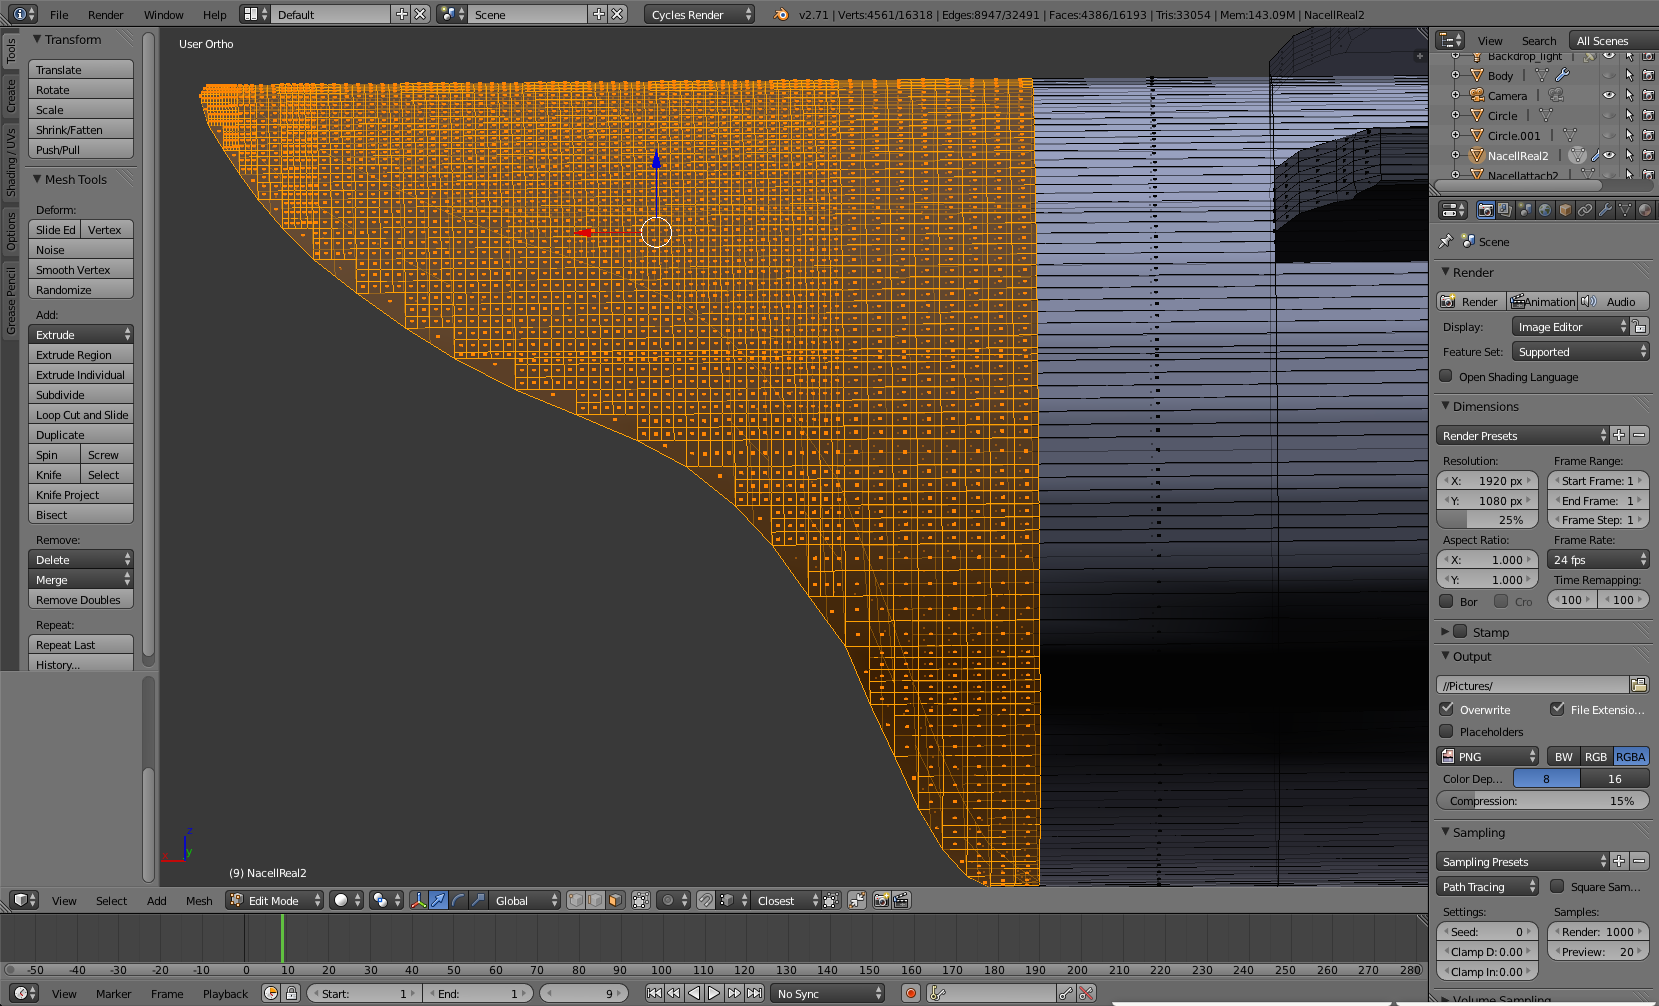
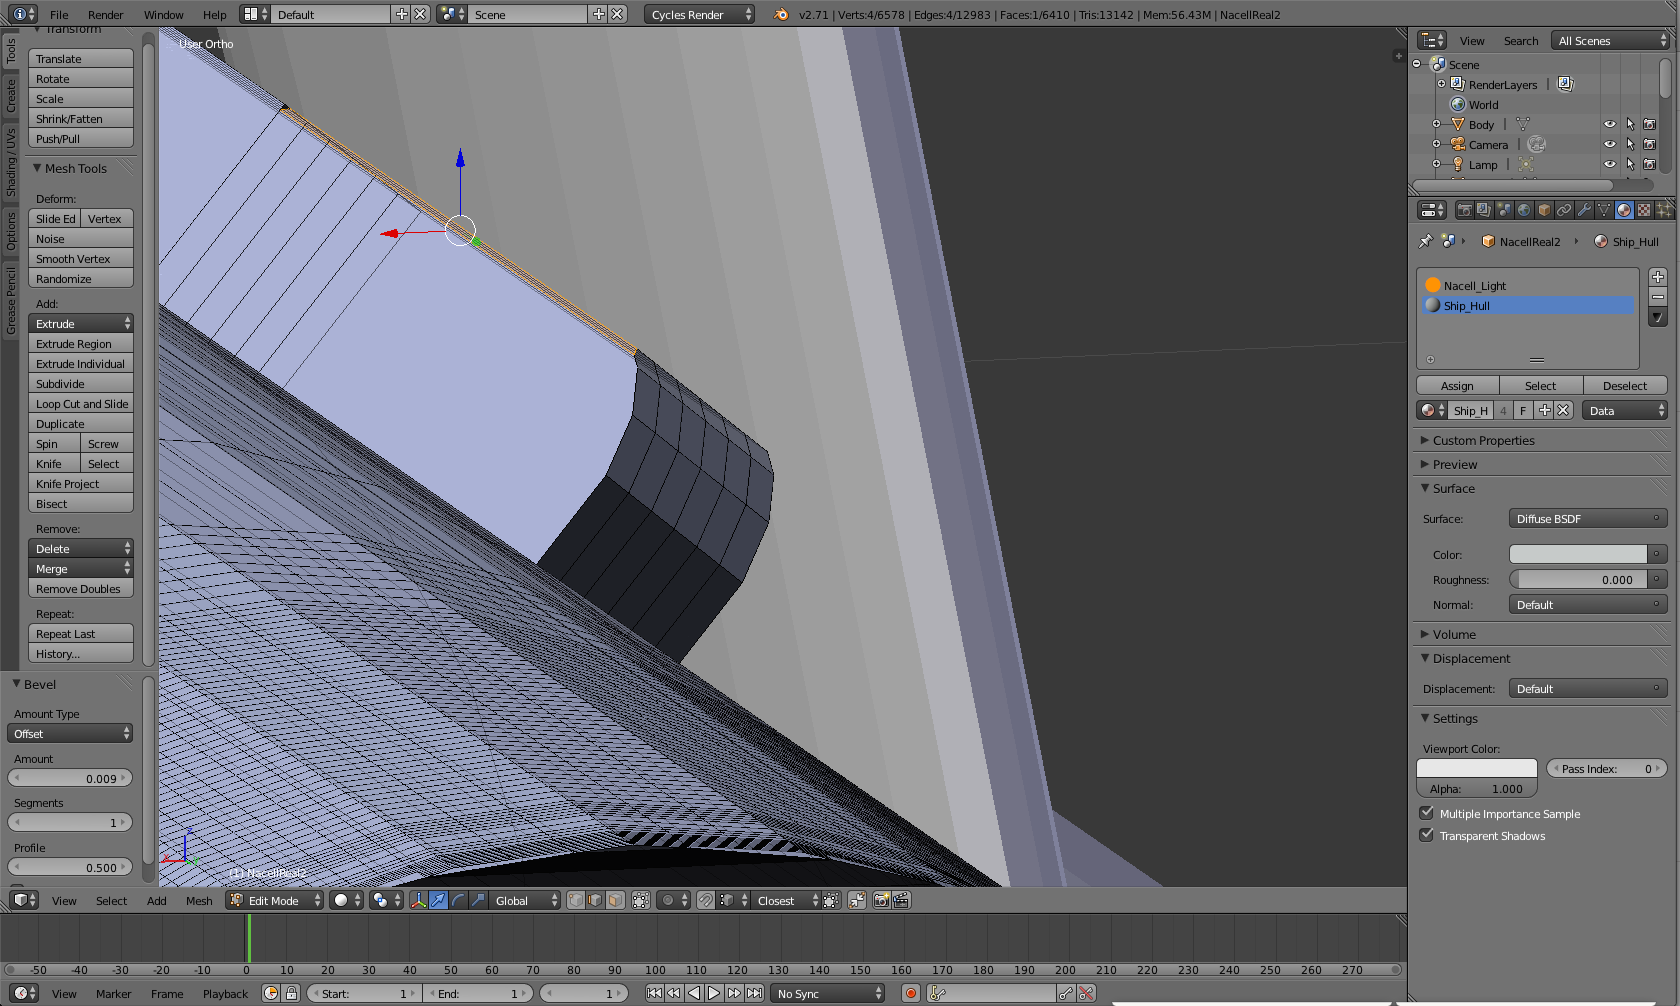
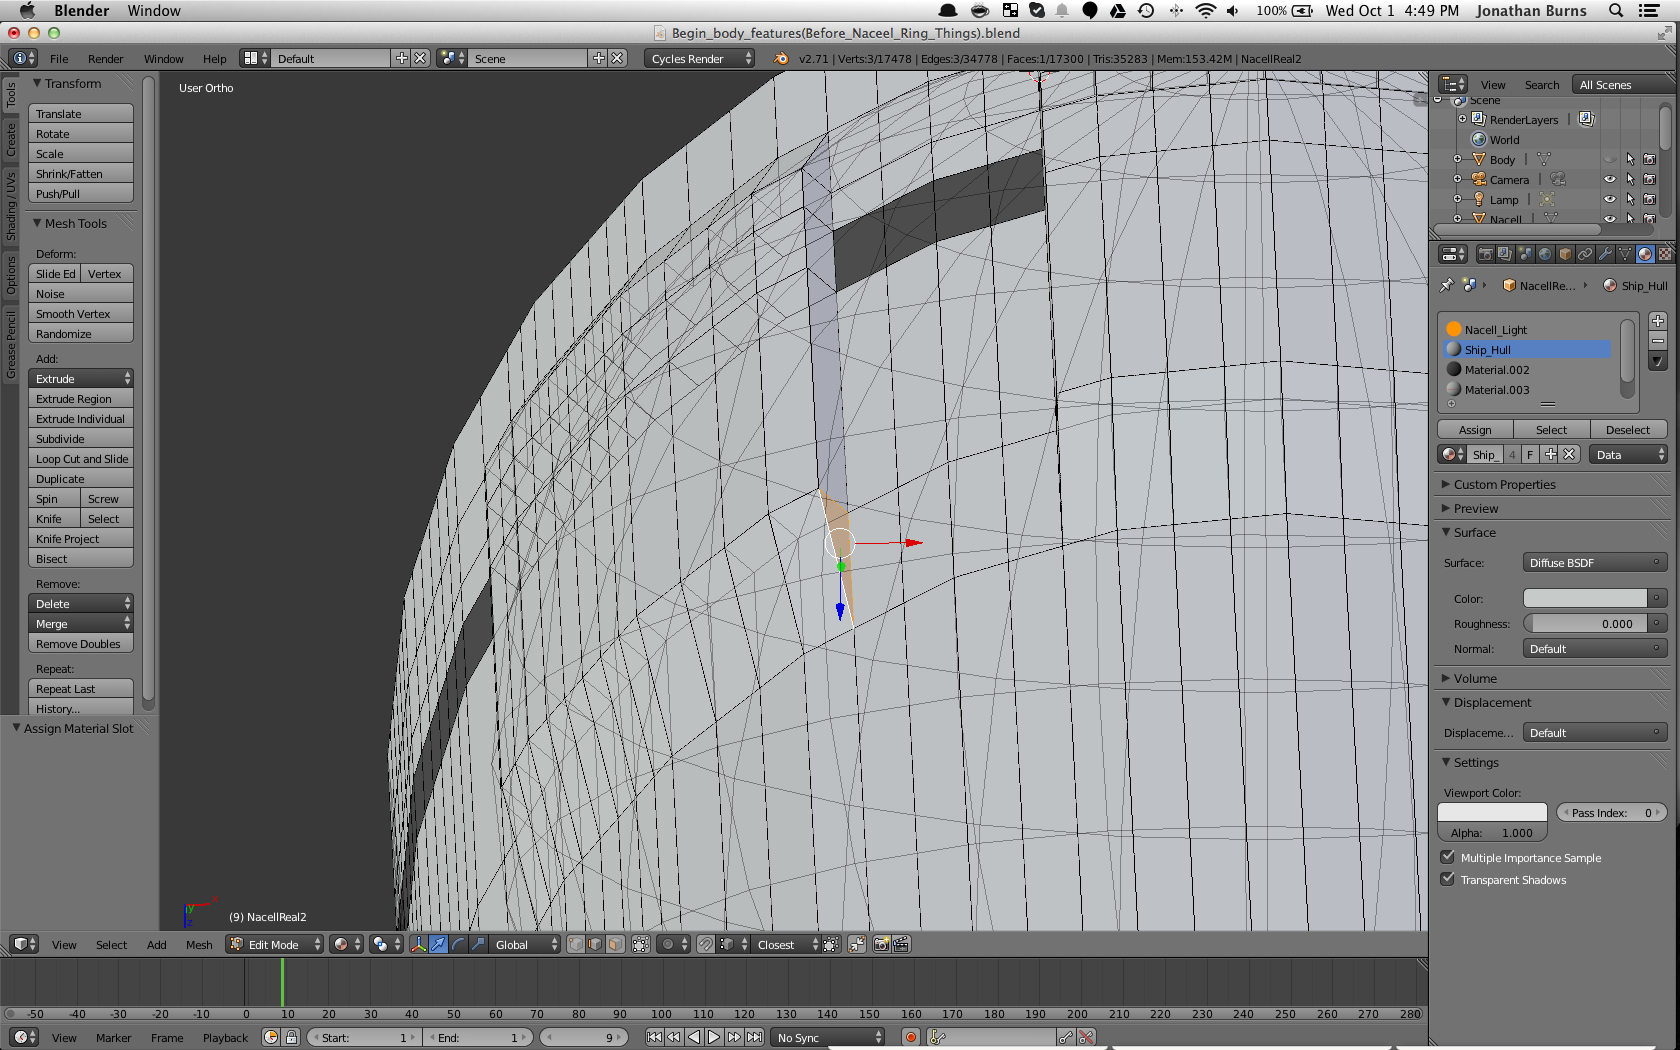
The next part I worked on was the end of the nacelles. And the cause of most of my troubles. To get the nice smoothing I had to implement the same methodology as the curvy part of the body. This ended up taking a very long time.
The connection between the body and saucer: possibly the easiest part of the entire project. I took a cylinder and scaled it super down on the x-axis.
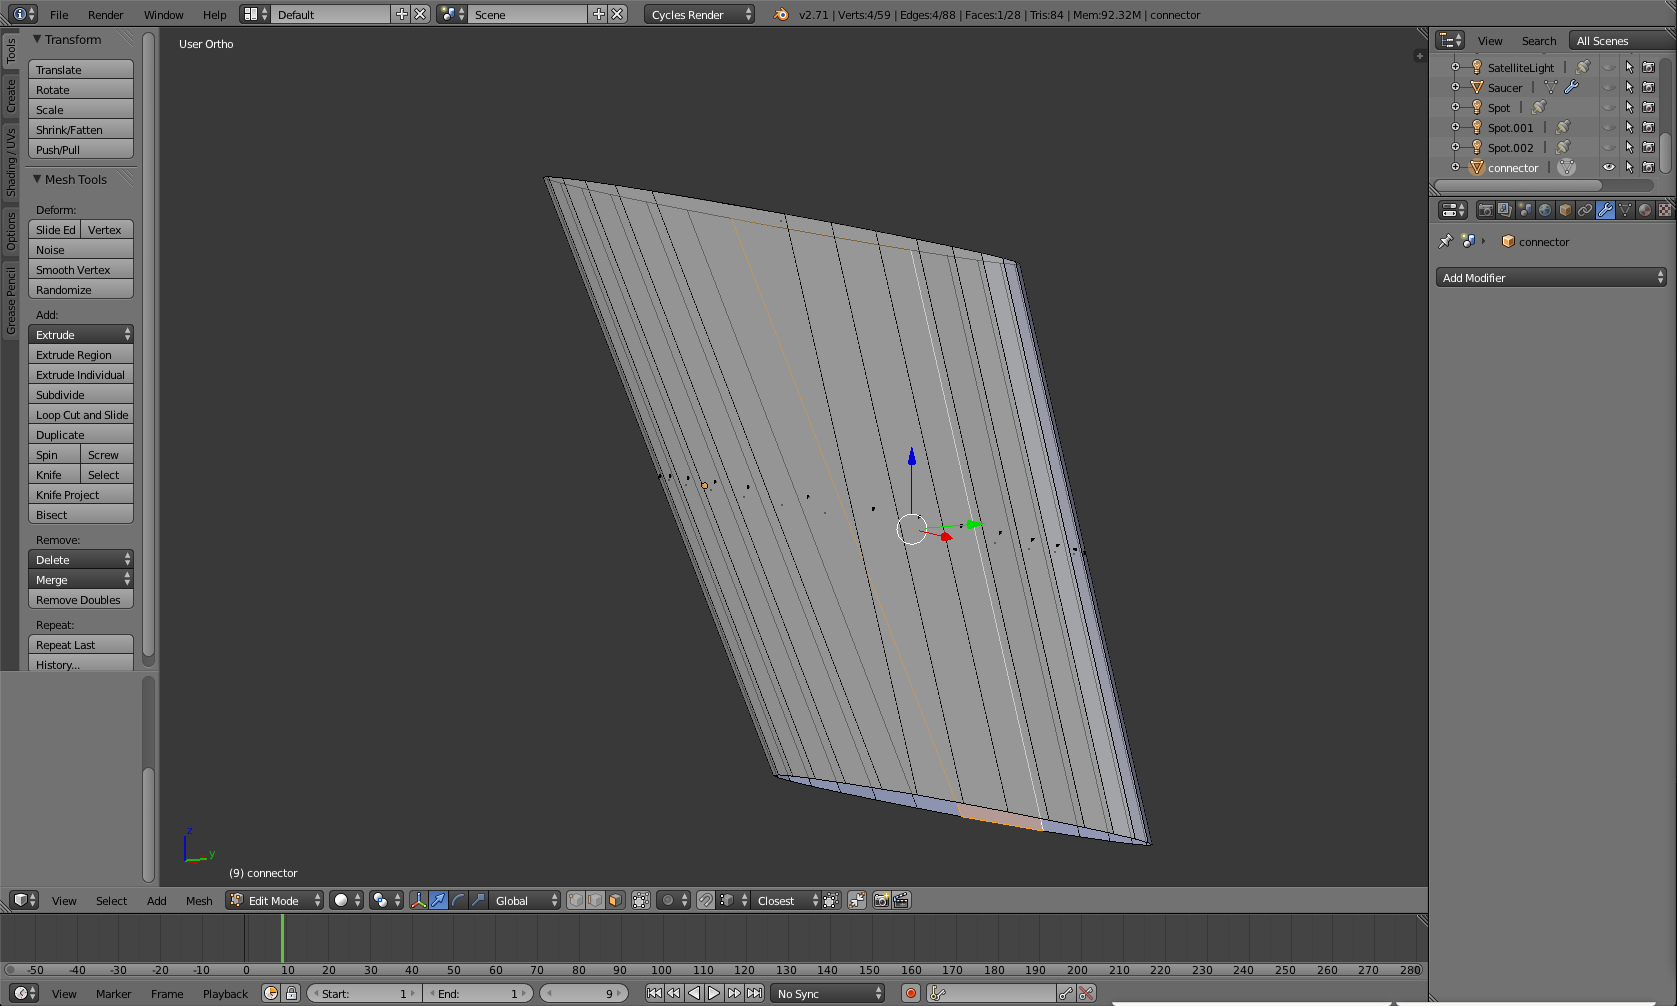
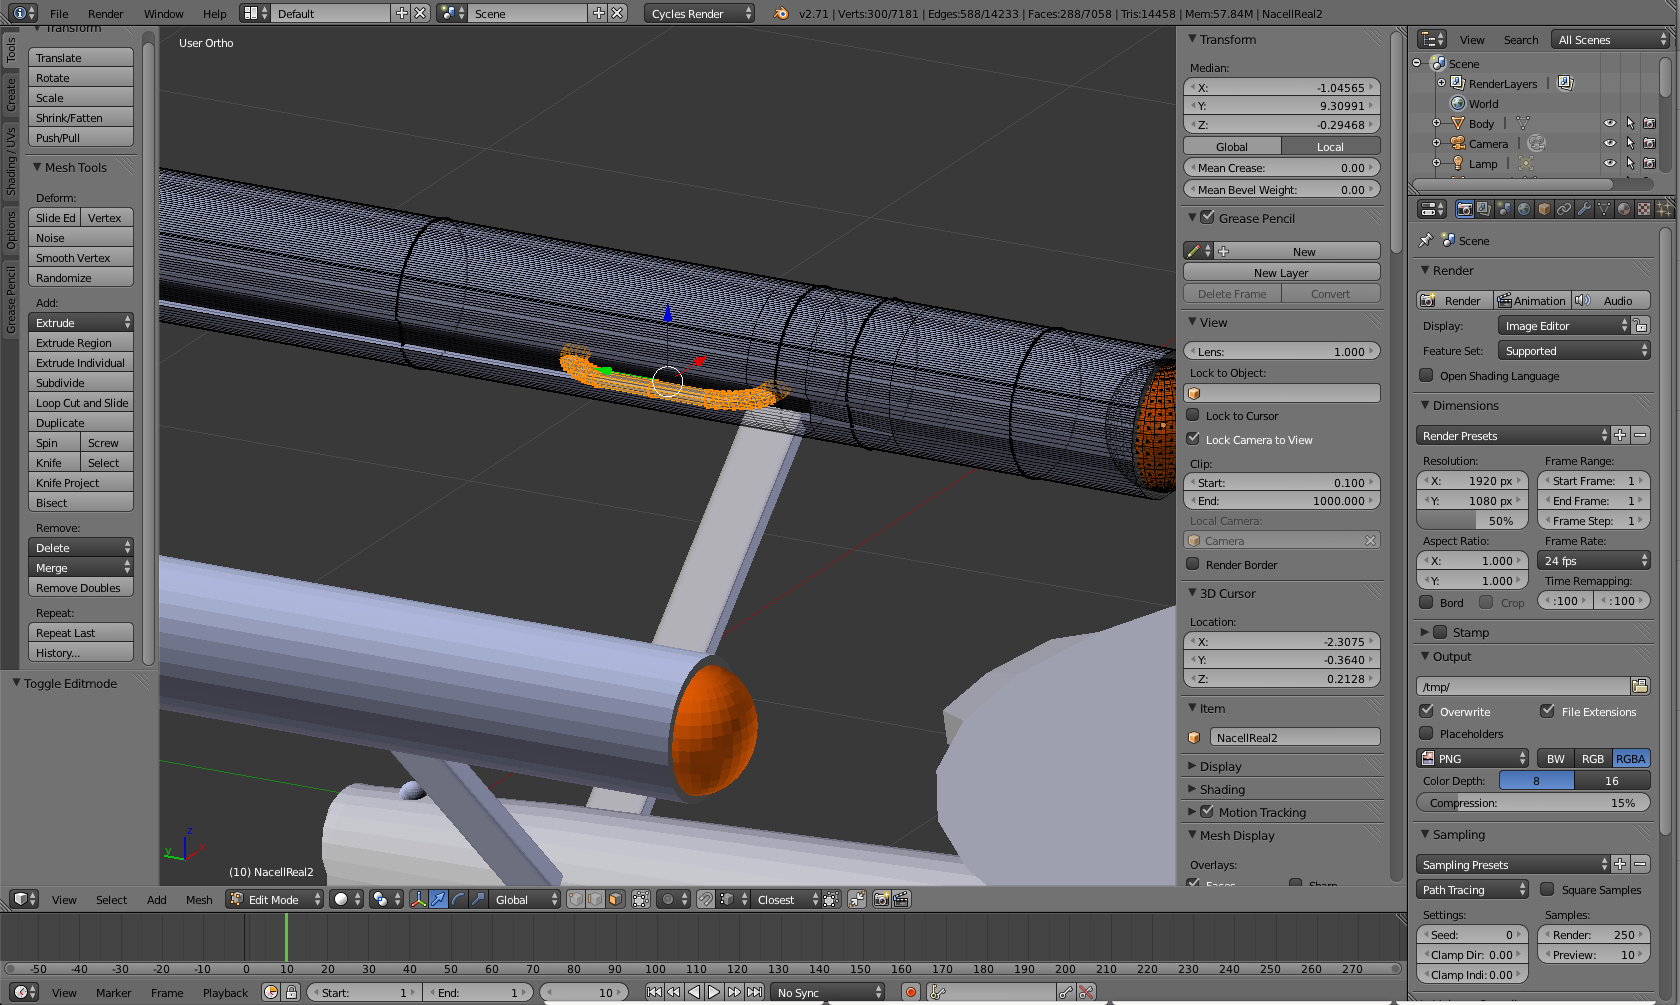
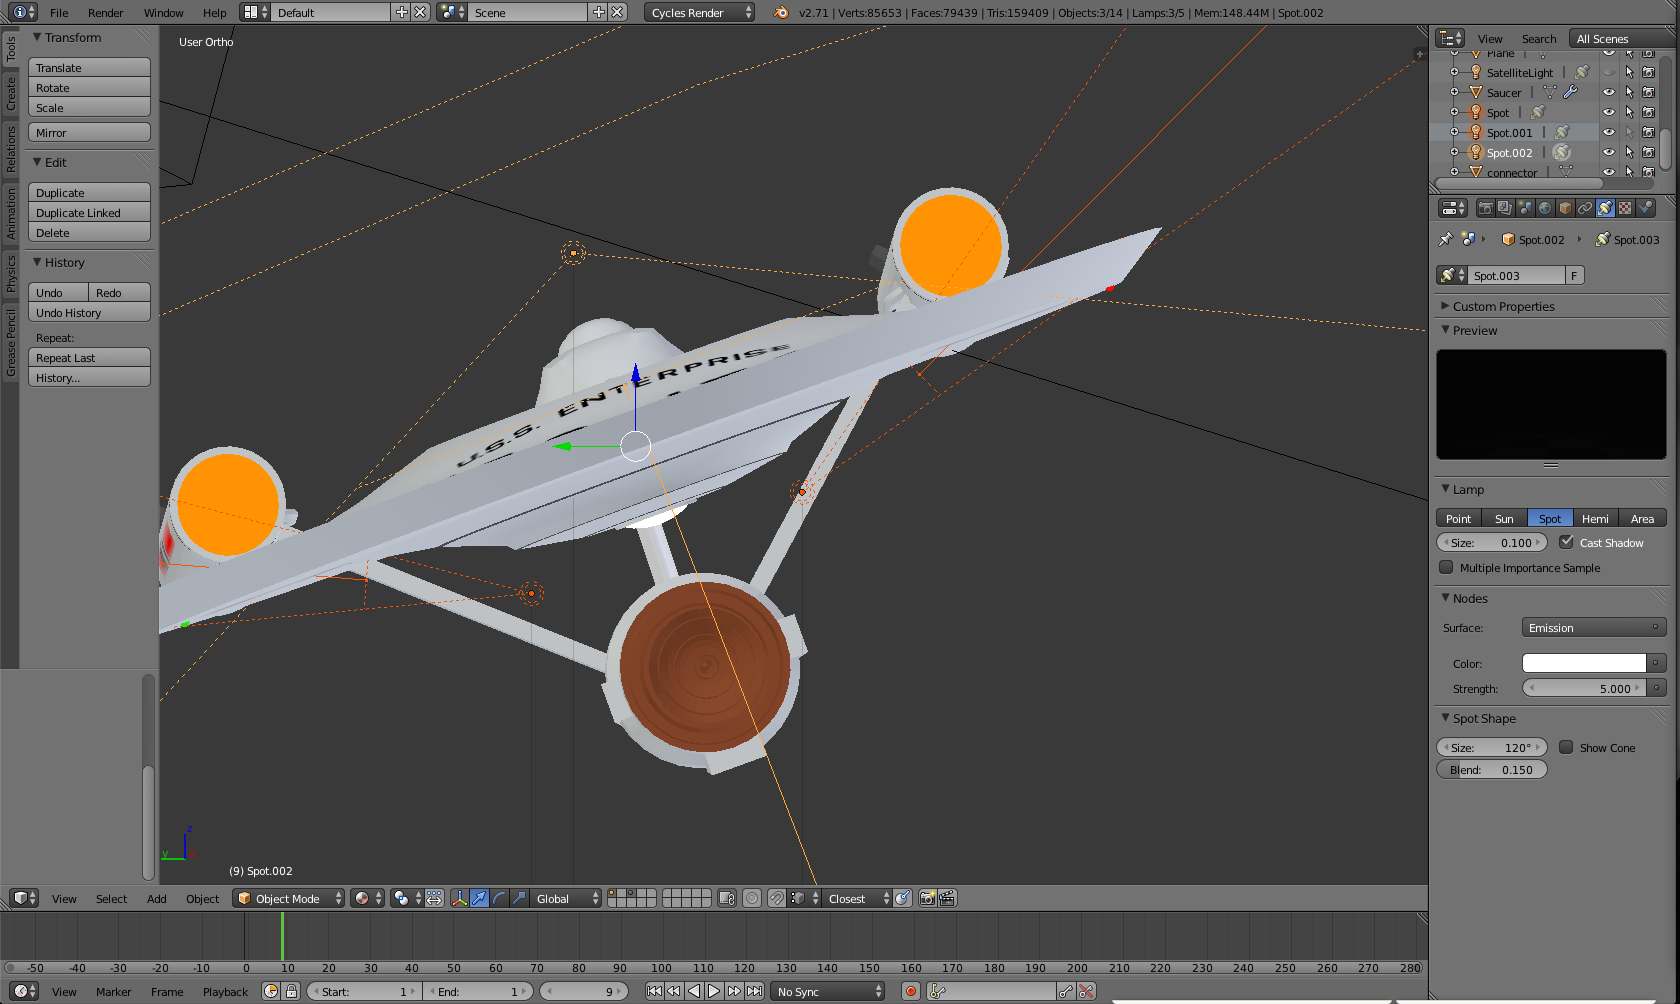
The rods that connect the nacelles and the body were a bit tough. I originally extruded part of the nacelle but this caused me a ton of grief. It meant that I was unable to rotate the connectors at all without rotating the nacelle, which meant if I didn't get the angle right on the first shot I would have to re-do it (hint: I didn't). I ended up just adding some nice stretched cubes with a bevel modifier on them.
The Finishing Touches
That was basically all the development for the U.S.S Enterprise. I have a couple shots of some finishing touches to discuss.
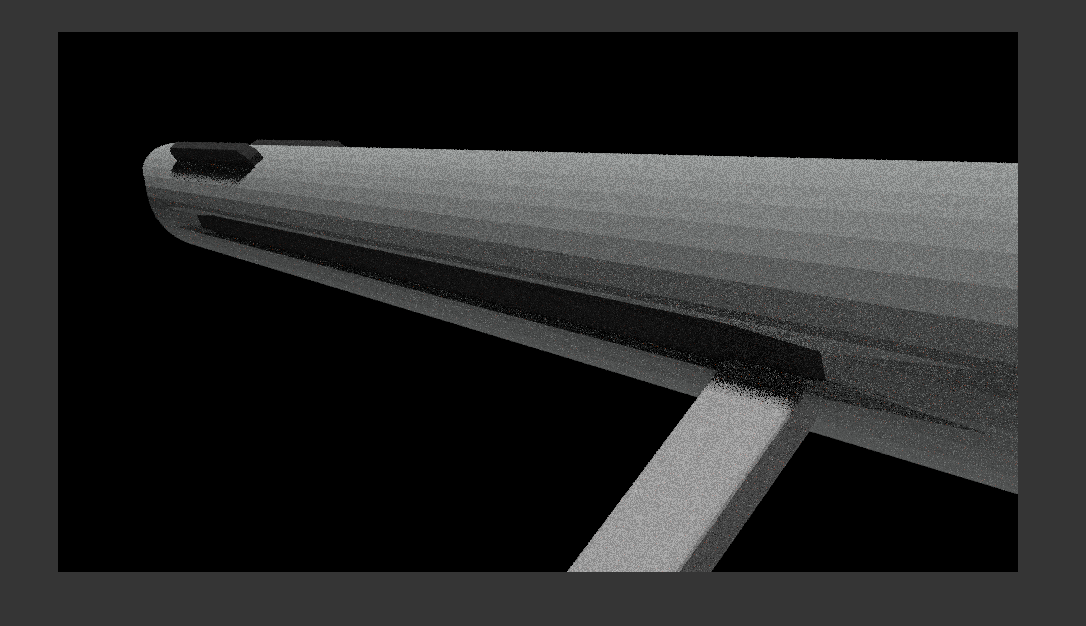
The bars that accent the body were a bit of a problem. My first idea was to simply extrude the faces I wanted and add faces between the higher, extruded edges and the lower, body level edges. This was not too be. In rendered mode it looked rather terrible. So I instead added new objects, cubes, and fit them to my specifications
Some simple navigational lights on the sides of the saucer. While it doesn't show up terribly well, these do actually emit light.

There are wings on the ends of the nacelles. I assume this has a reason other than aesthetics.
The little indent on the nacelles was done by simply grabbing some faces and pulling in. This was a very trial and error approach as none of my previous attempts, such as trying to get part of a sphere to fit in nicely, worked very well.
The pipe on the side of the nacelle is just a torus.
There are small covers at the very front of the nacelle. It's a small detail, but I like how they ended up.
Textures and decalling.
The textures really pull everything together. For the the text I originally planned to use a Boolean modifier after turning the text into a mesh. There was some problems with this, mainly it looked horrible. So I decided to change everything to textures. The decals and text come from a set designed for a physical model. Props for how useful it was, I cited the creator in my thank you page. To apply them I used GIMP to colour the background of the textures the same colour as my hull, then I selected the parts I wanted them to cover and used the image texture material option. Using the UV unwrap tool I was able to make them look rather nice.
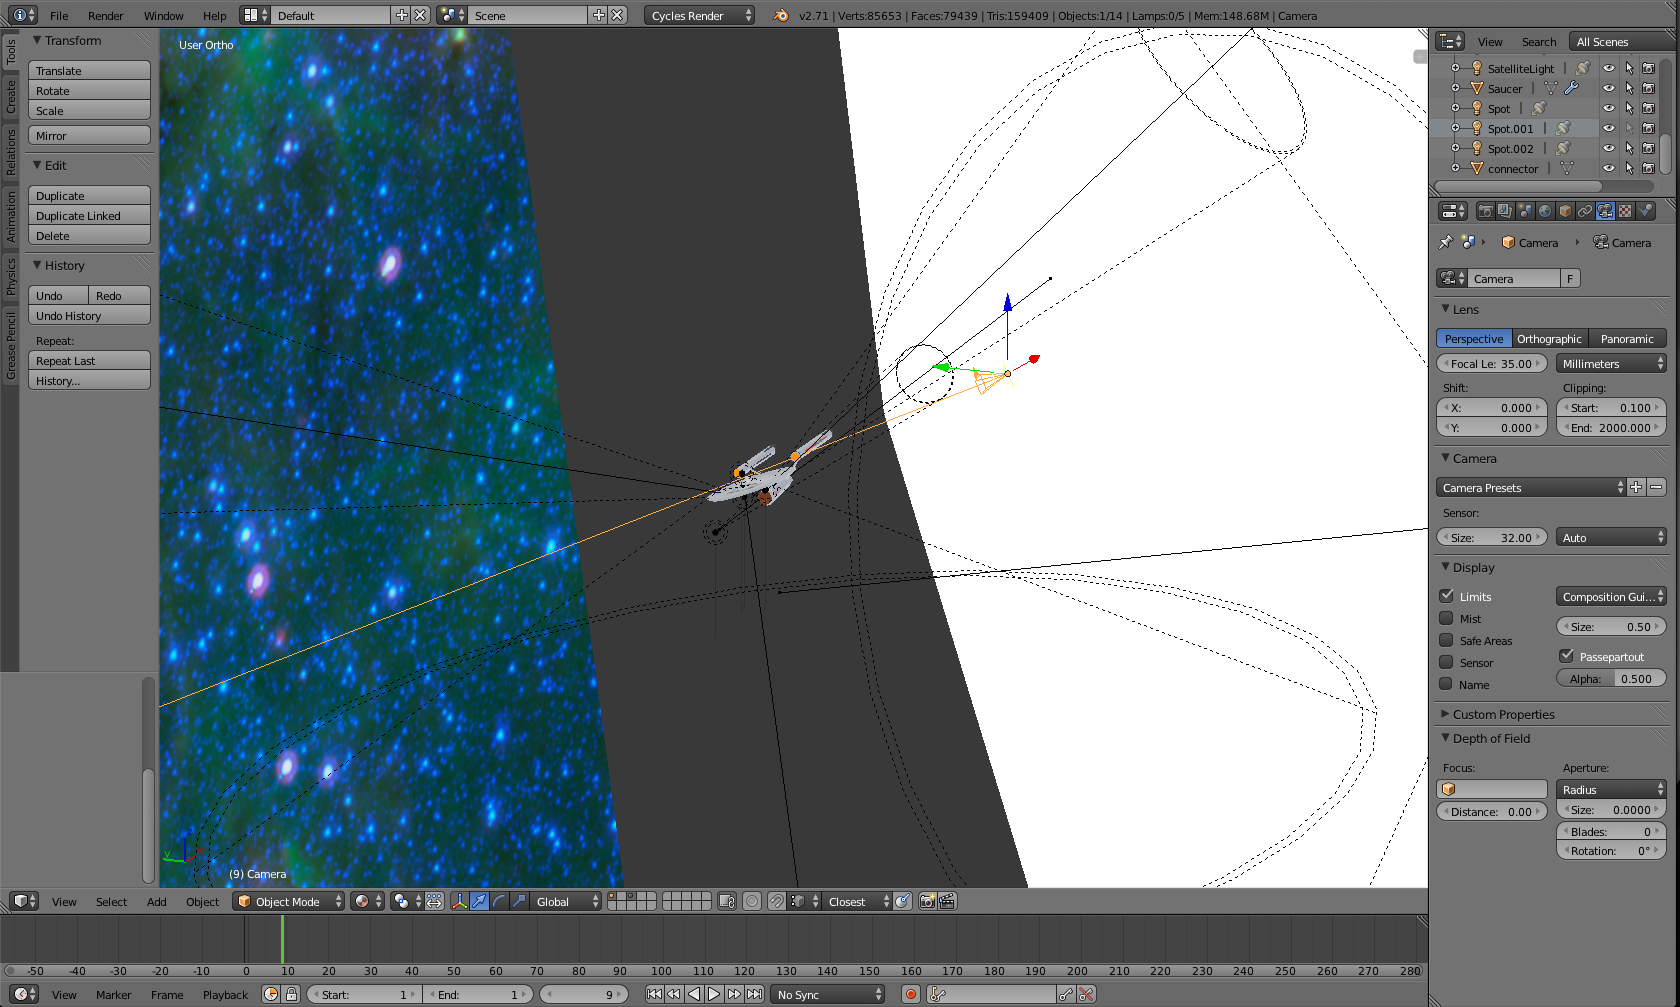
The lights on the saucer section that light up the name plates is done using spot lamps. It was a bit of a pain to get the two bottom ones to line up with each other because they cannot be mirrored (as they are lights) nor can they be joined. However the end result looked really nice.
The materials for all the parts are pretty basic. The hull was just something I played around with until I got it to look nice. The darker shade was also trial and error.
The rendering was my next big undertaking. To make it look nice I had to get the lighting perfect because I wanted some striking scenes.
Some Final Thoughts
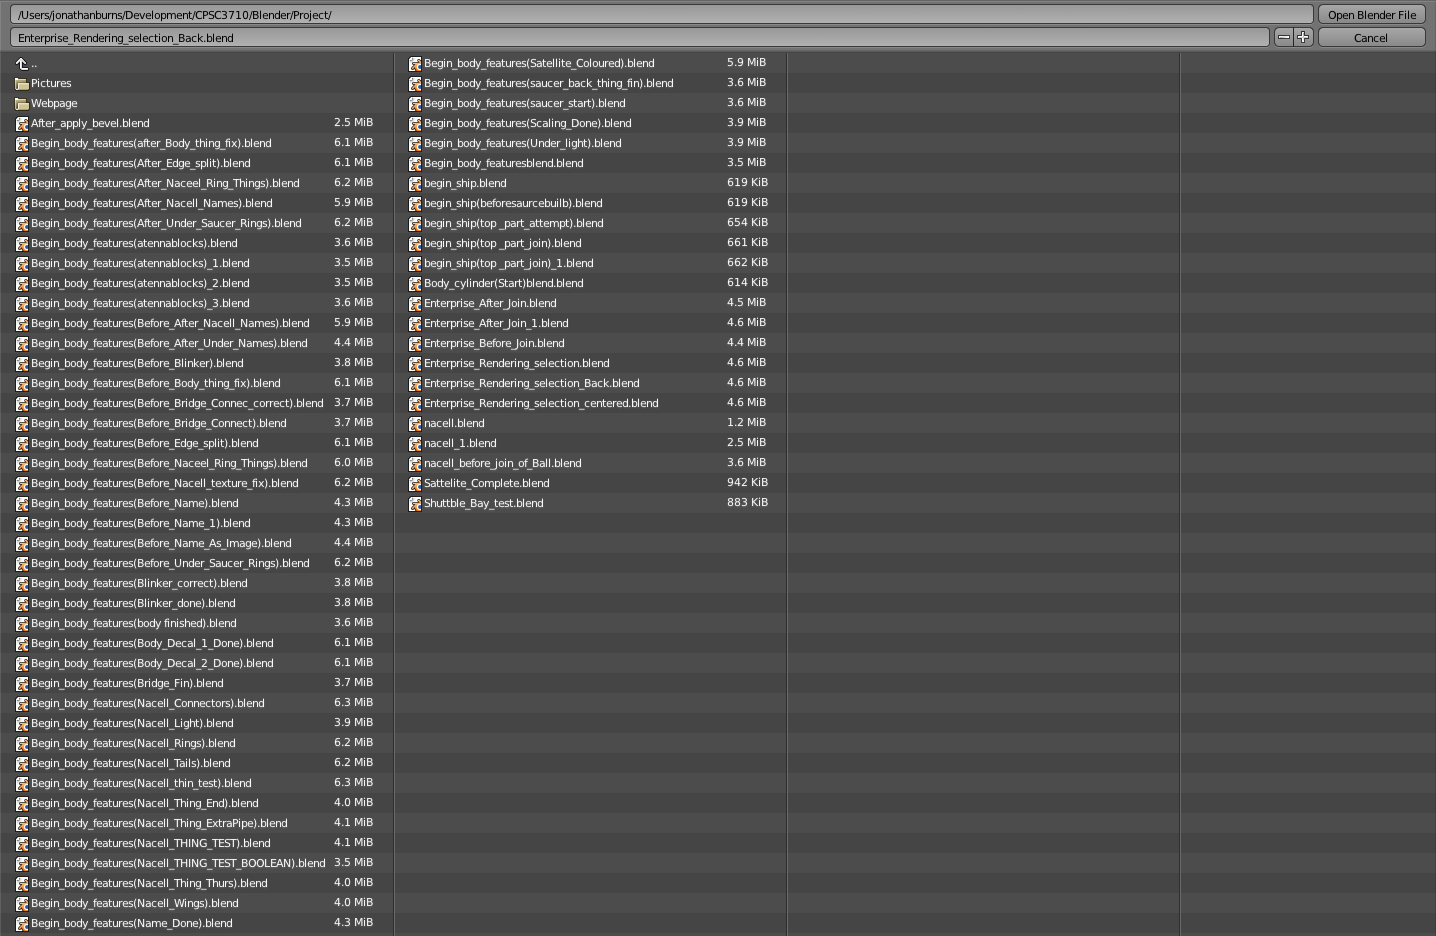
The development for this ship was a huge undertaking for me. Given the time frame, I had to learn Blender as I went, which made the process pretty difficult. I'm sure if anyone who is good at Blender is reading this they've shaken their head at me a couple of times. I am rather happy with the end results though. The final picture I'll leave you with is a listing of all the Blender files I ended up with for this project. I tended to make a new save after every big event, and I tended to be rather poor at naming.