Blender in General
Blender is not an easy program to use. It's an incredibly powerful tool, and with that power comes an equal amount of complexity. Probably the biggest difficulty I had with this project was simply learning how to use Blender to the best of its abilities, a goal that could easily takes years. I started off following some tutorials; these were especially helpful. But even after going through four or five tutorials I still found myself in many moments of confusion. Sometimes an accidental series of button presses would completely change the camera view and it would take me between half an hour and an hour to return it to the normal view. Those were the most frustrating of the difficulties. The other difficulties came from how to create the shapes and curves I wanted. The best example of this is the nacelle and body end pieces. These were similar in design so I'll talk about them at the same time.
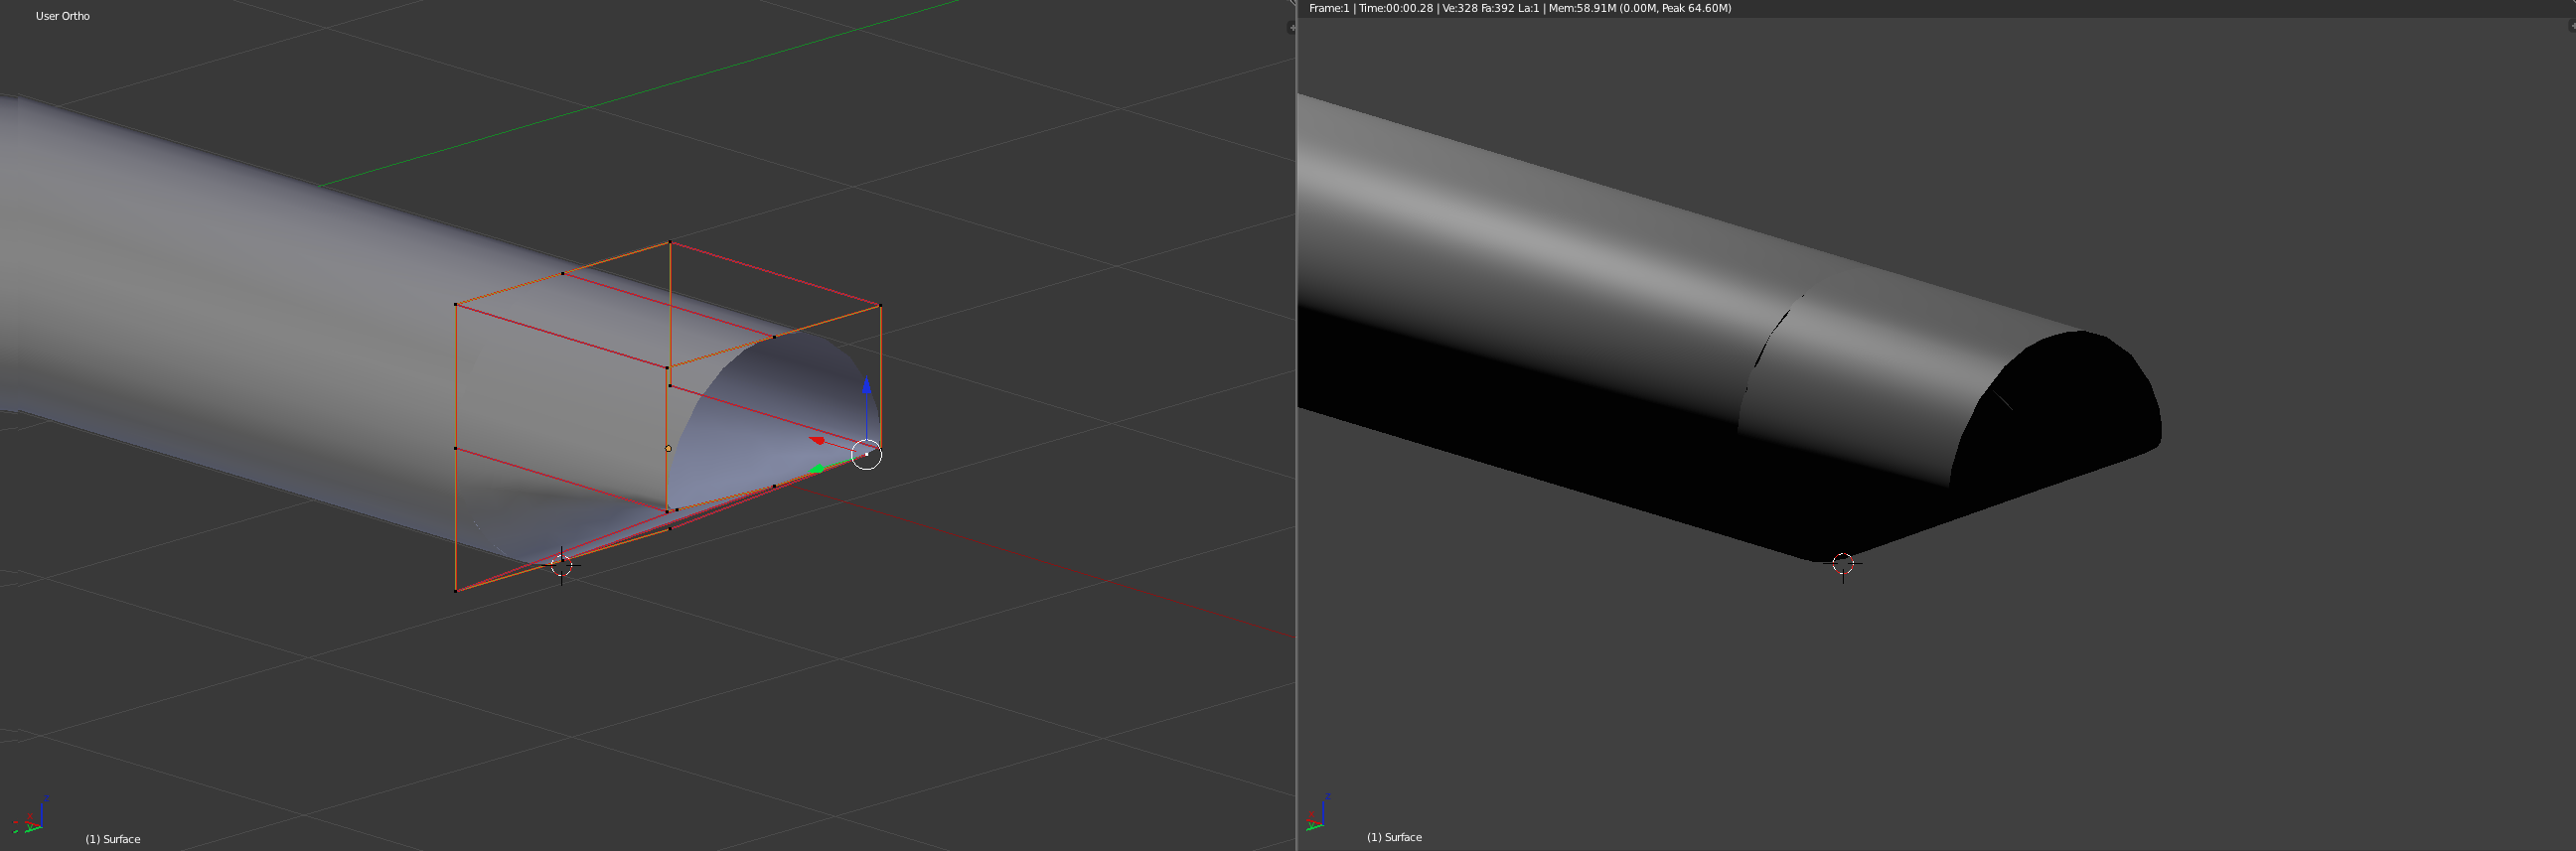
The design of the back pieces needed to curve upwards, starting steep and flattening out towards the top.
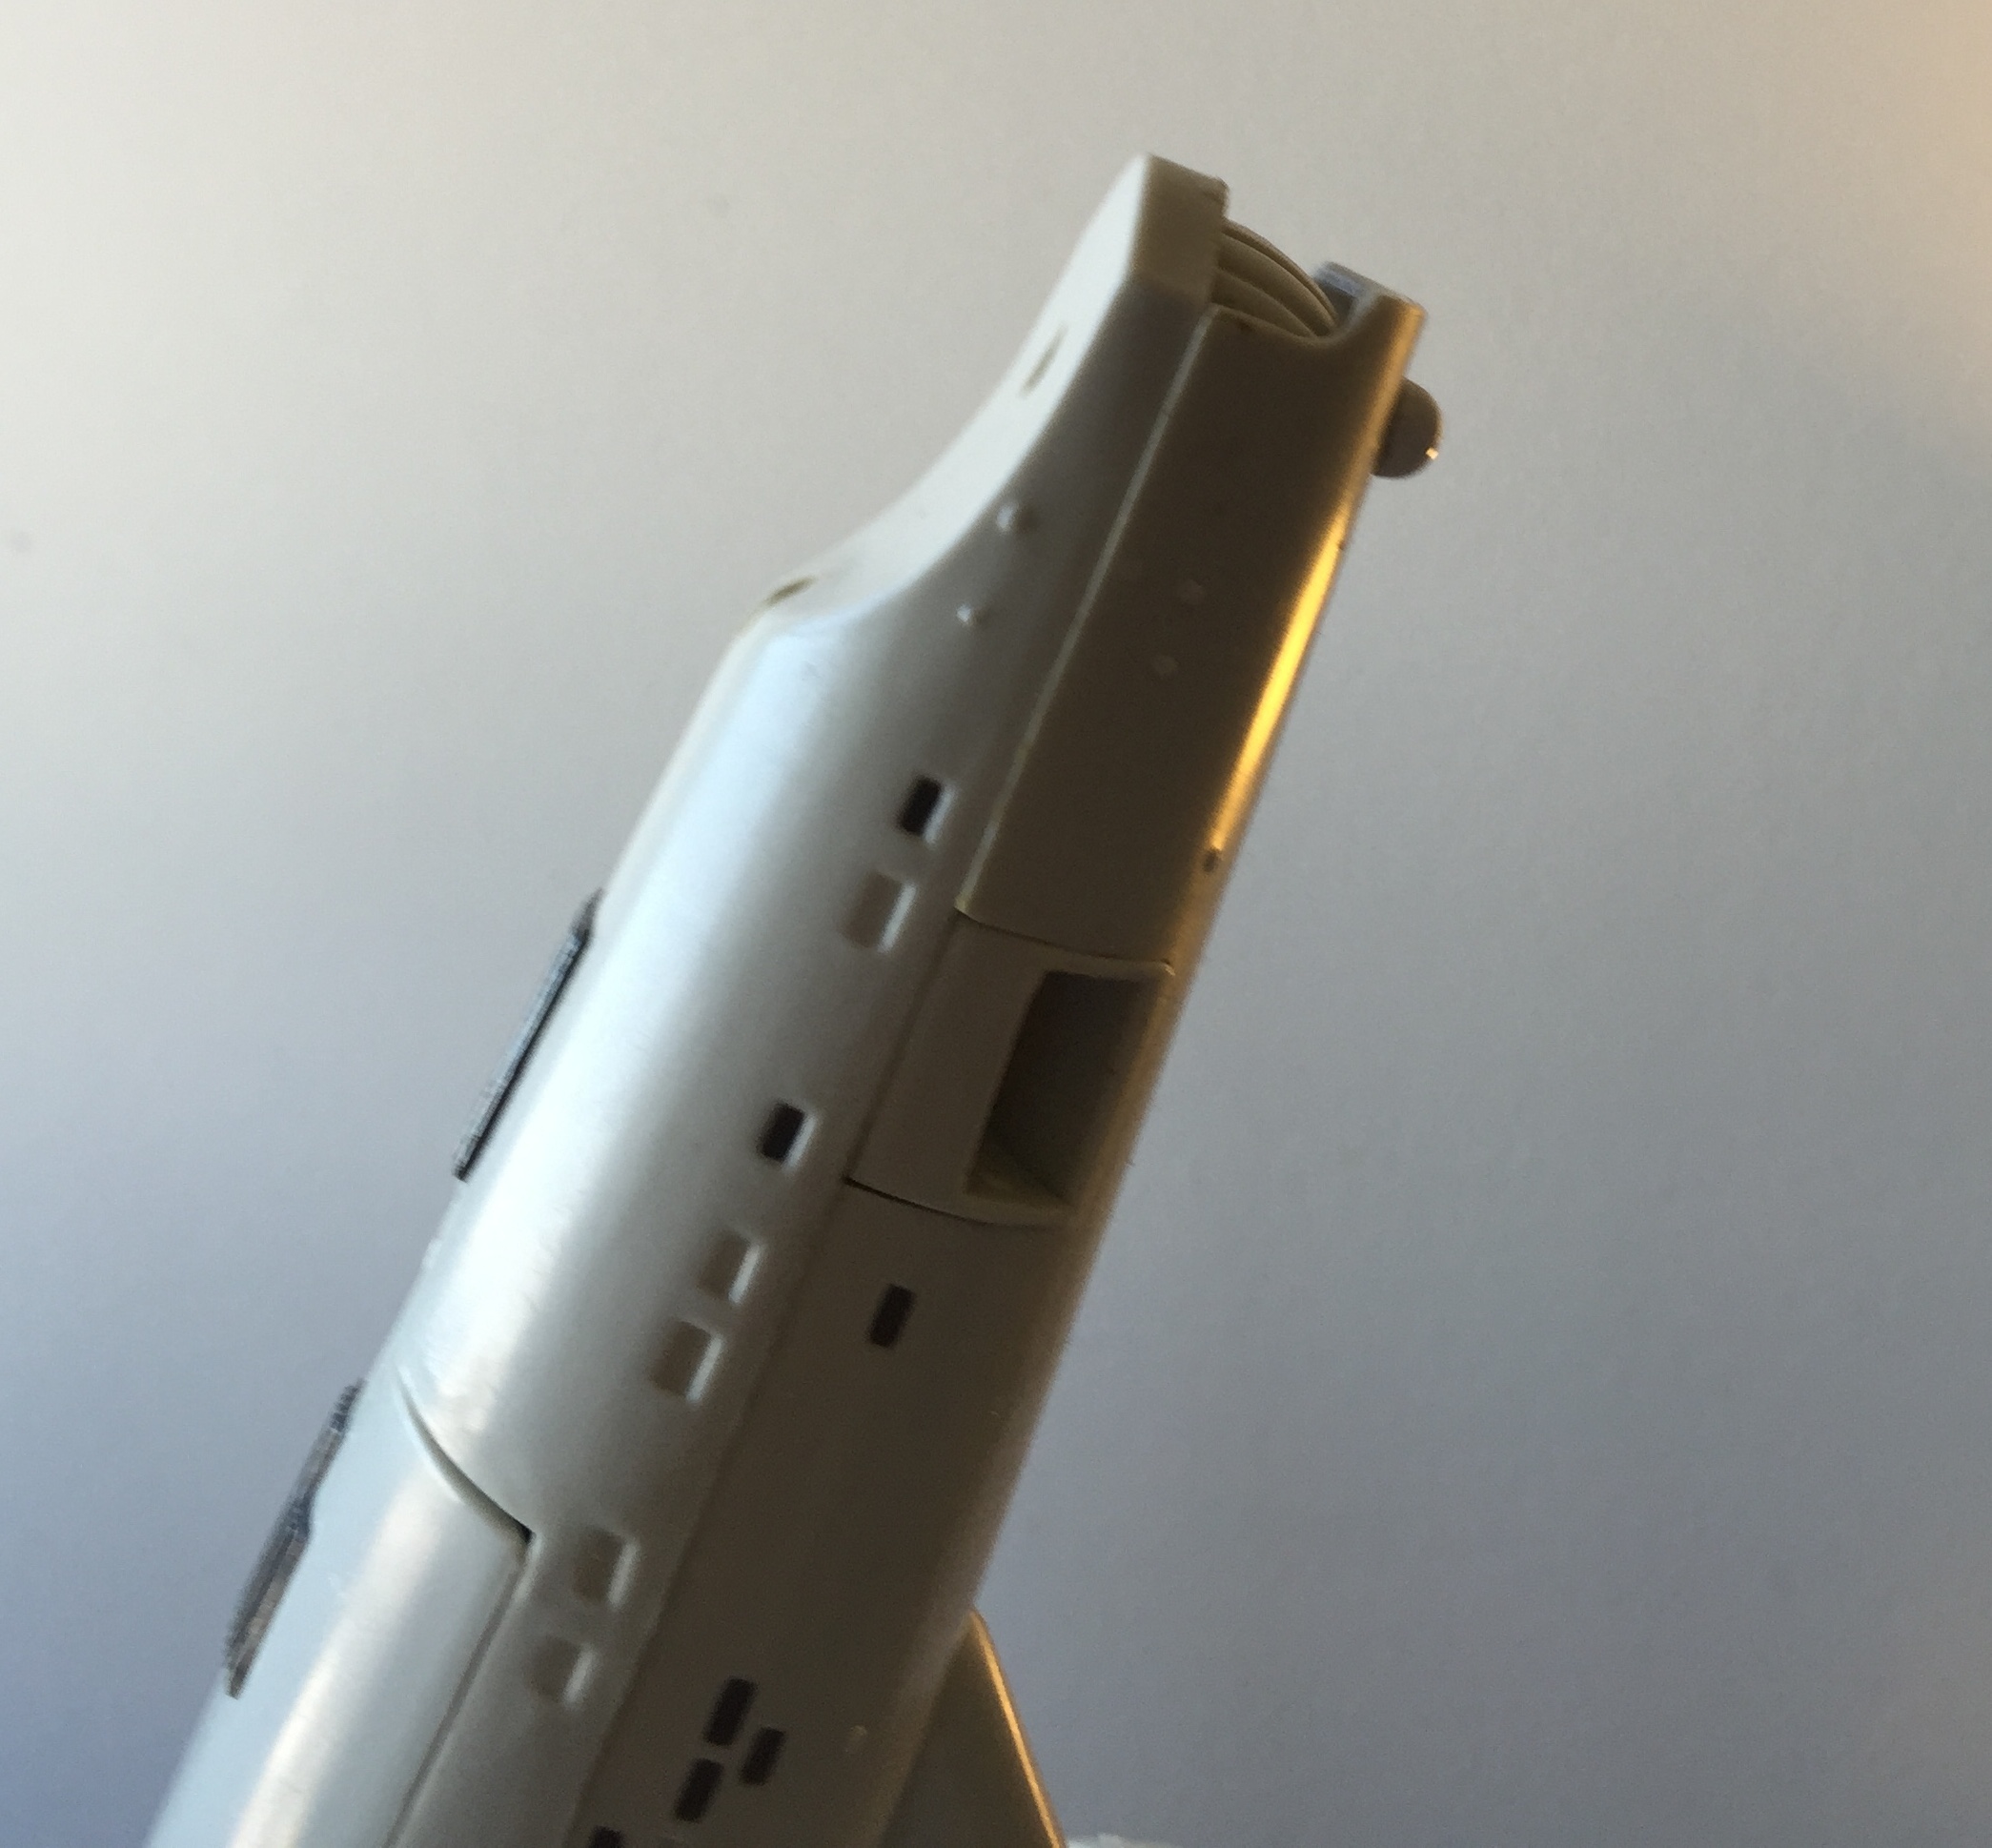
My first attempt involved using a 'nurbs' cylinder. This started off well since I could deform it to my specifications rather easily. The issue came in connecting it to the main body. No matter how hard I tried -- and I tried hard -- it would not connect properly and you could see the seam in a render. This was exacerbated by the fact that the cylinder was tapering off.
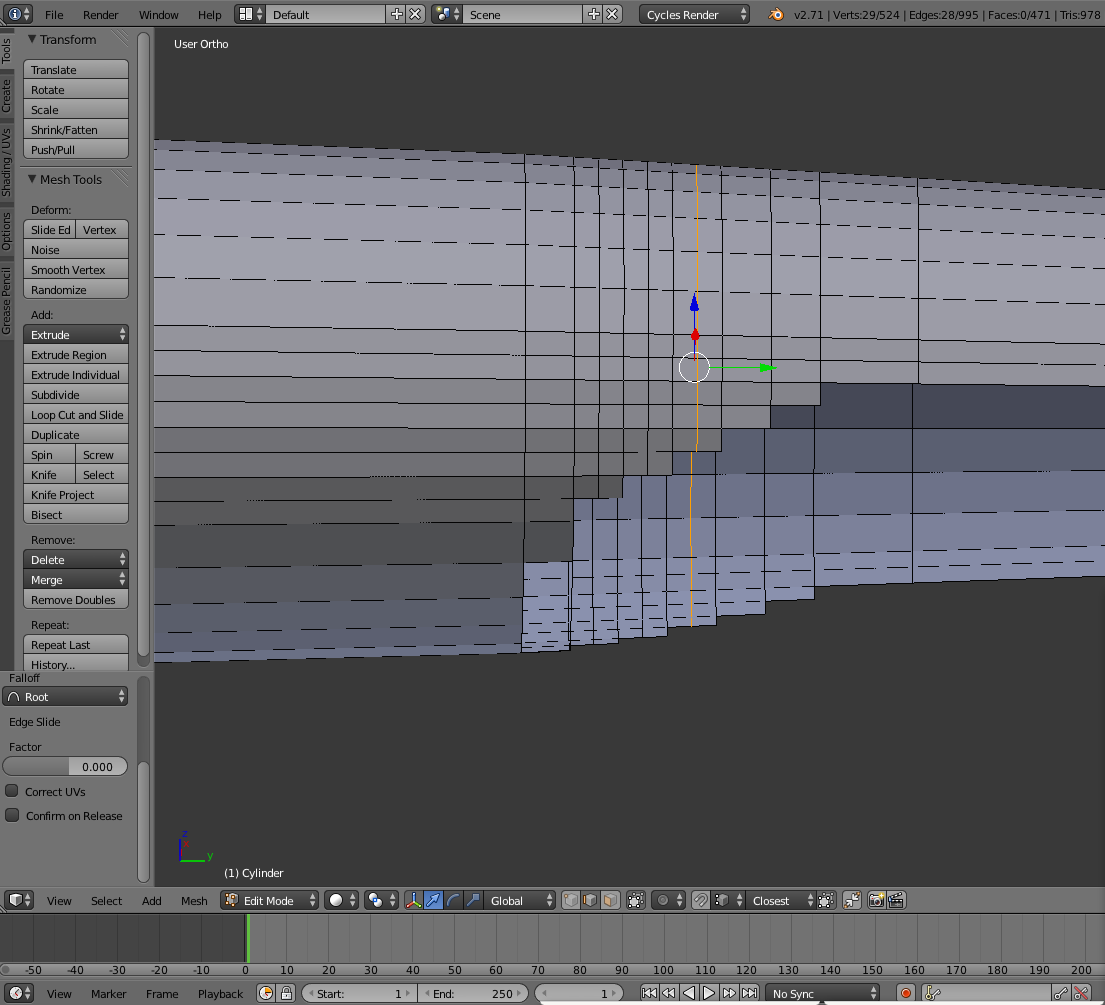
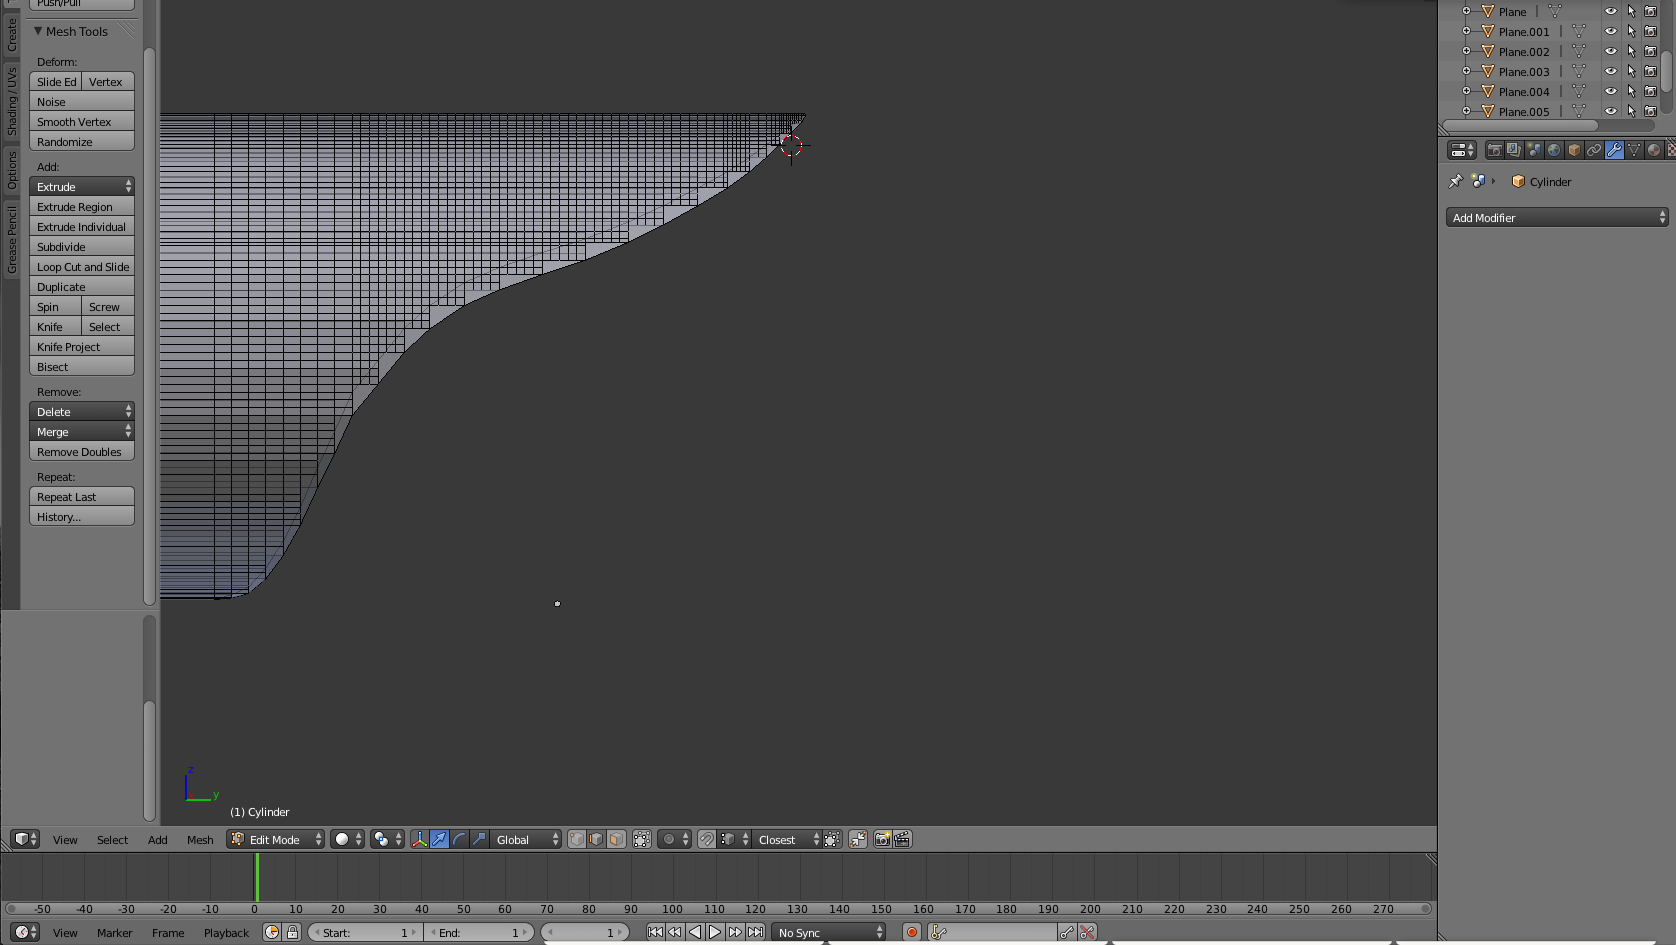
My next attempt would prove to be successful, and I used it to do both the body and nacelle back ends. It is a bit of a brute force approach. Starting off you use a ton of loop cuts. Just a ton. (I will showcase this with pictures of the nacelle in development)
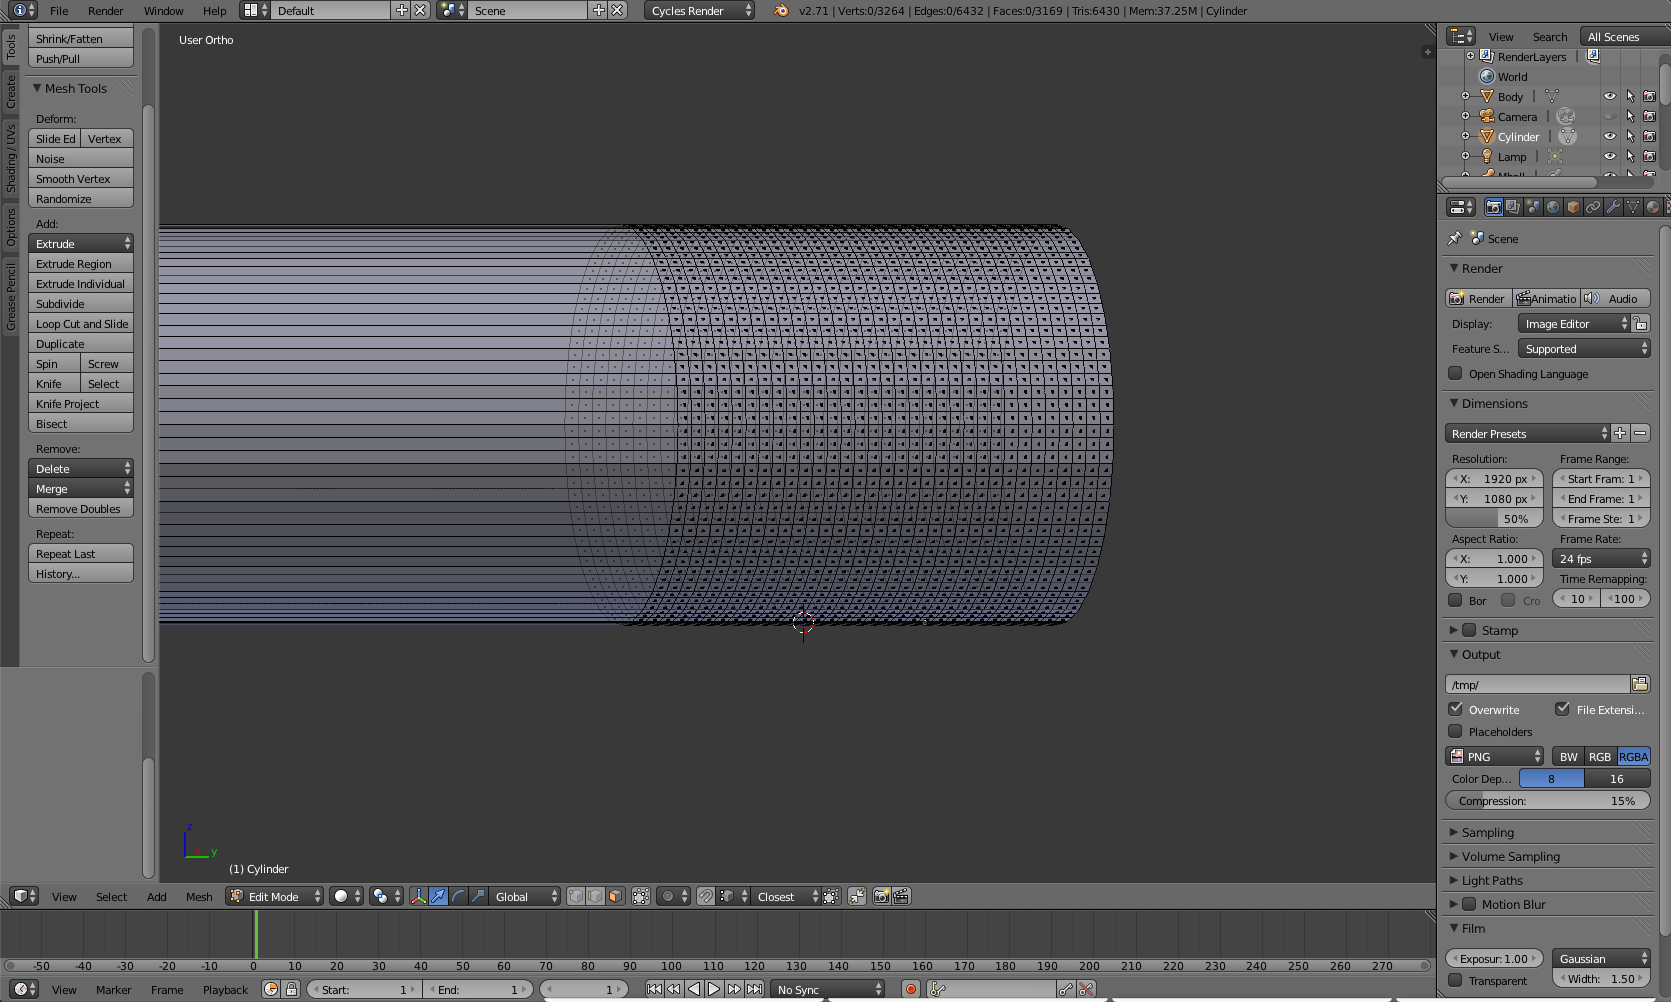
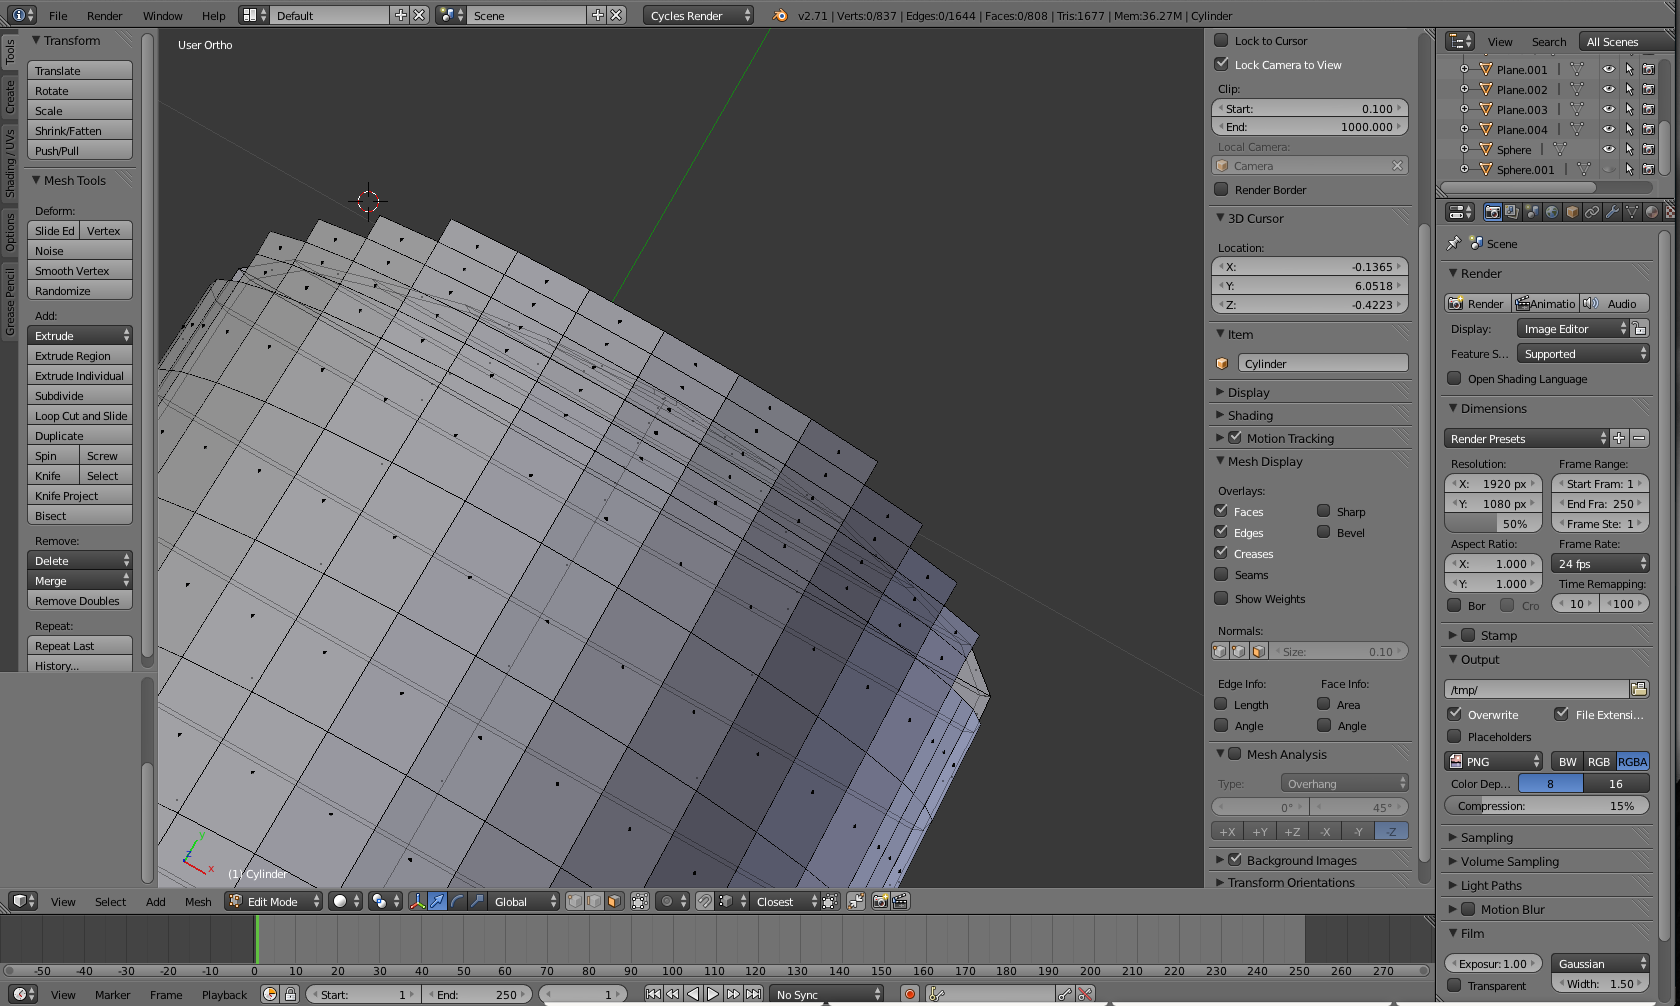
The next step is to delete a bunch of the faces that you know you don't need, most of the underside for instance. Then you add faces between the smaller squares. It's analogous to creating a circle with line segments: create many line segments and you can control the smoothness of the circle. I controlled the steepness of the curve by the length of the line segments. I did this many times for each side.
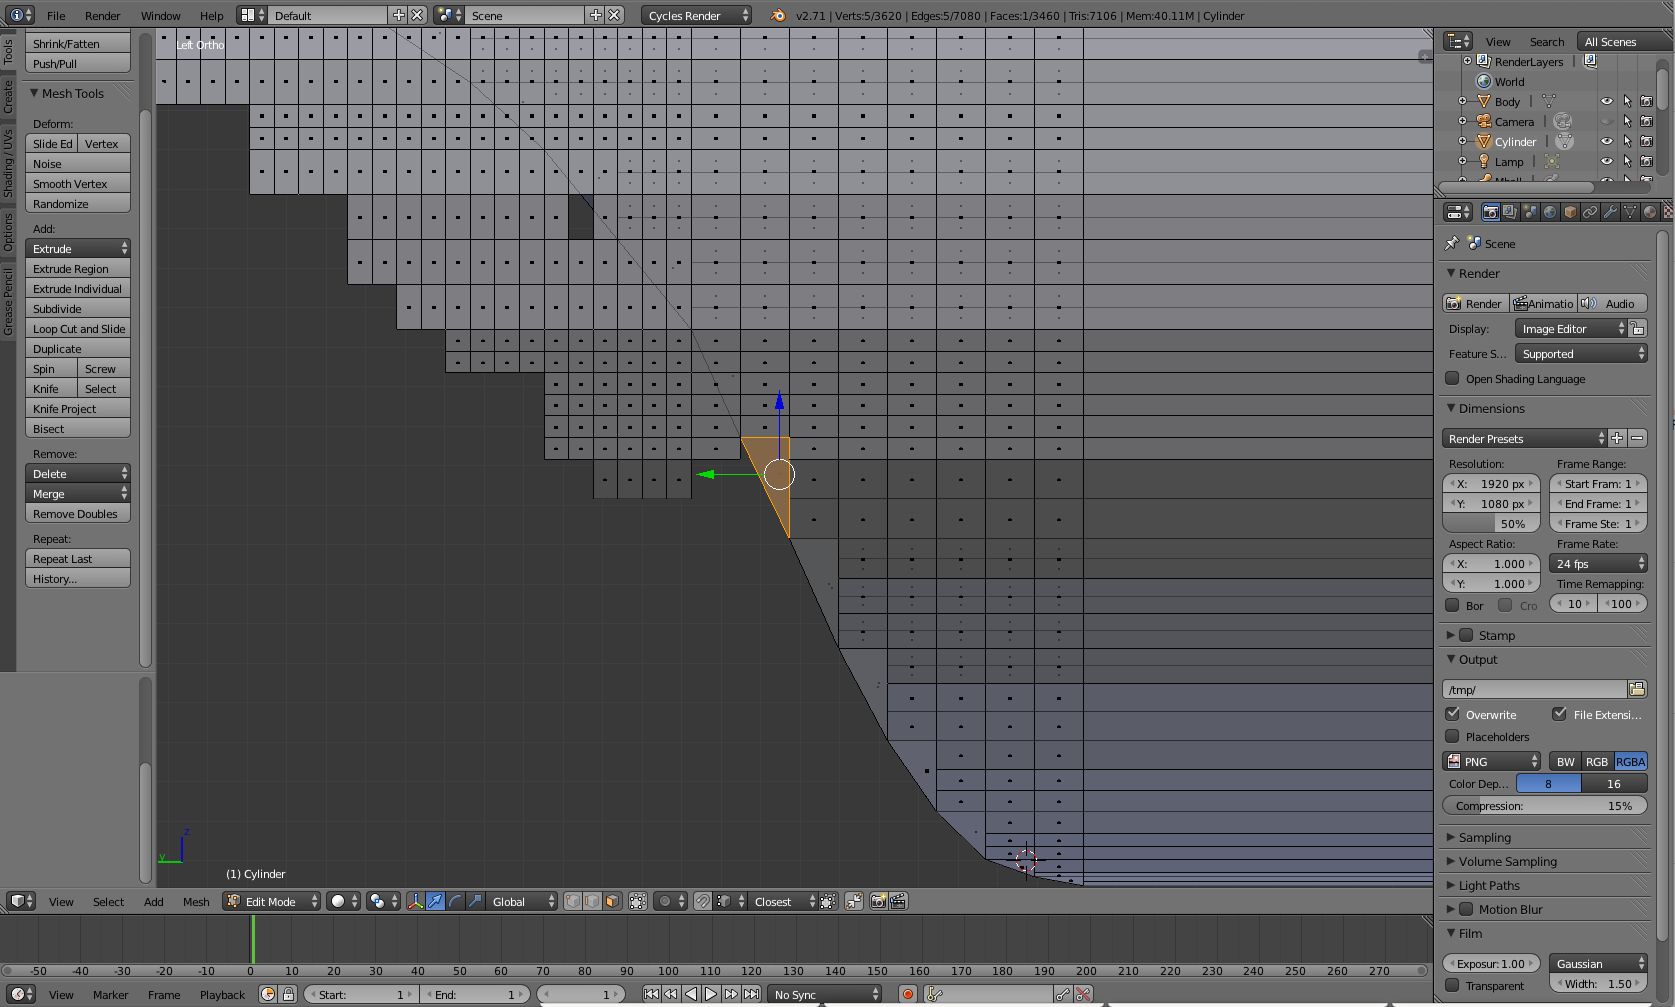
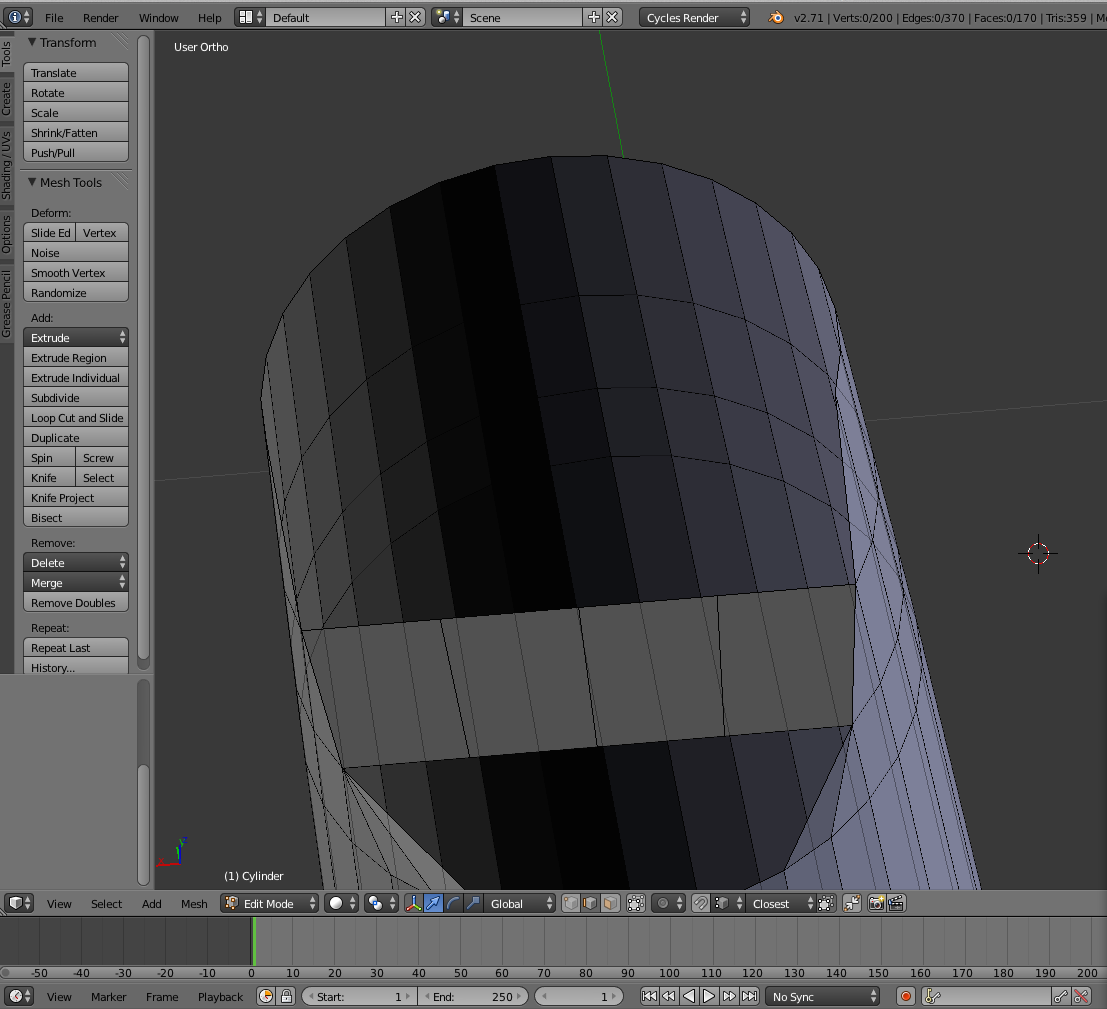
This is done all the way to the top, and ends up rather nice in the end.
The back covering is done by making faces between each line segment edge of the curve (since each side will be identical) and then subdividing the faces so they can be pulled in slightly. This has the benefit of not allowing any of the under faces to hang below the curve.
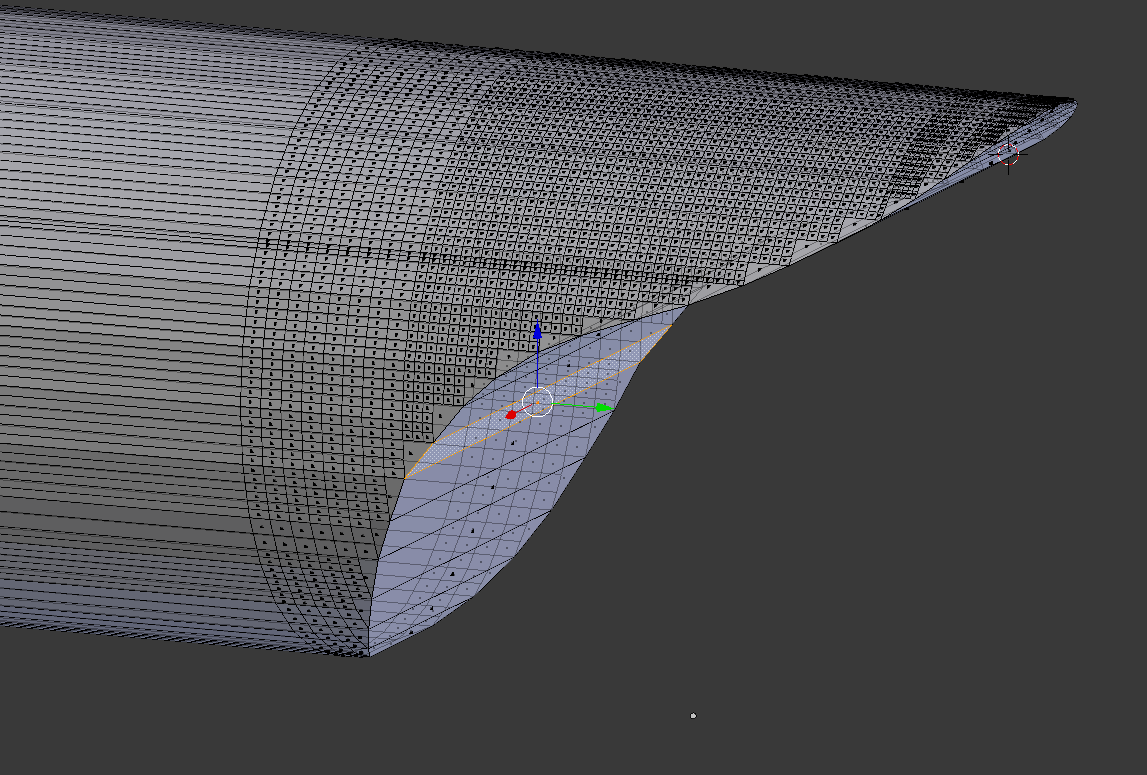
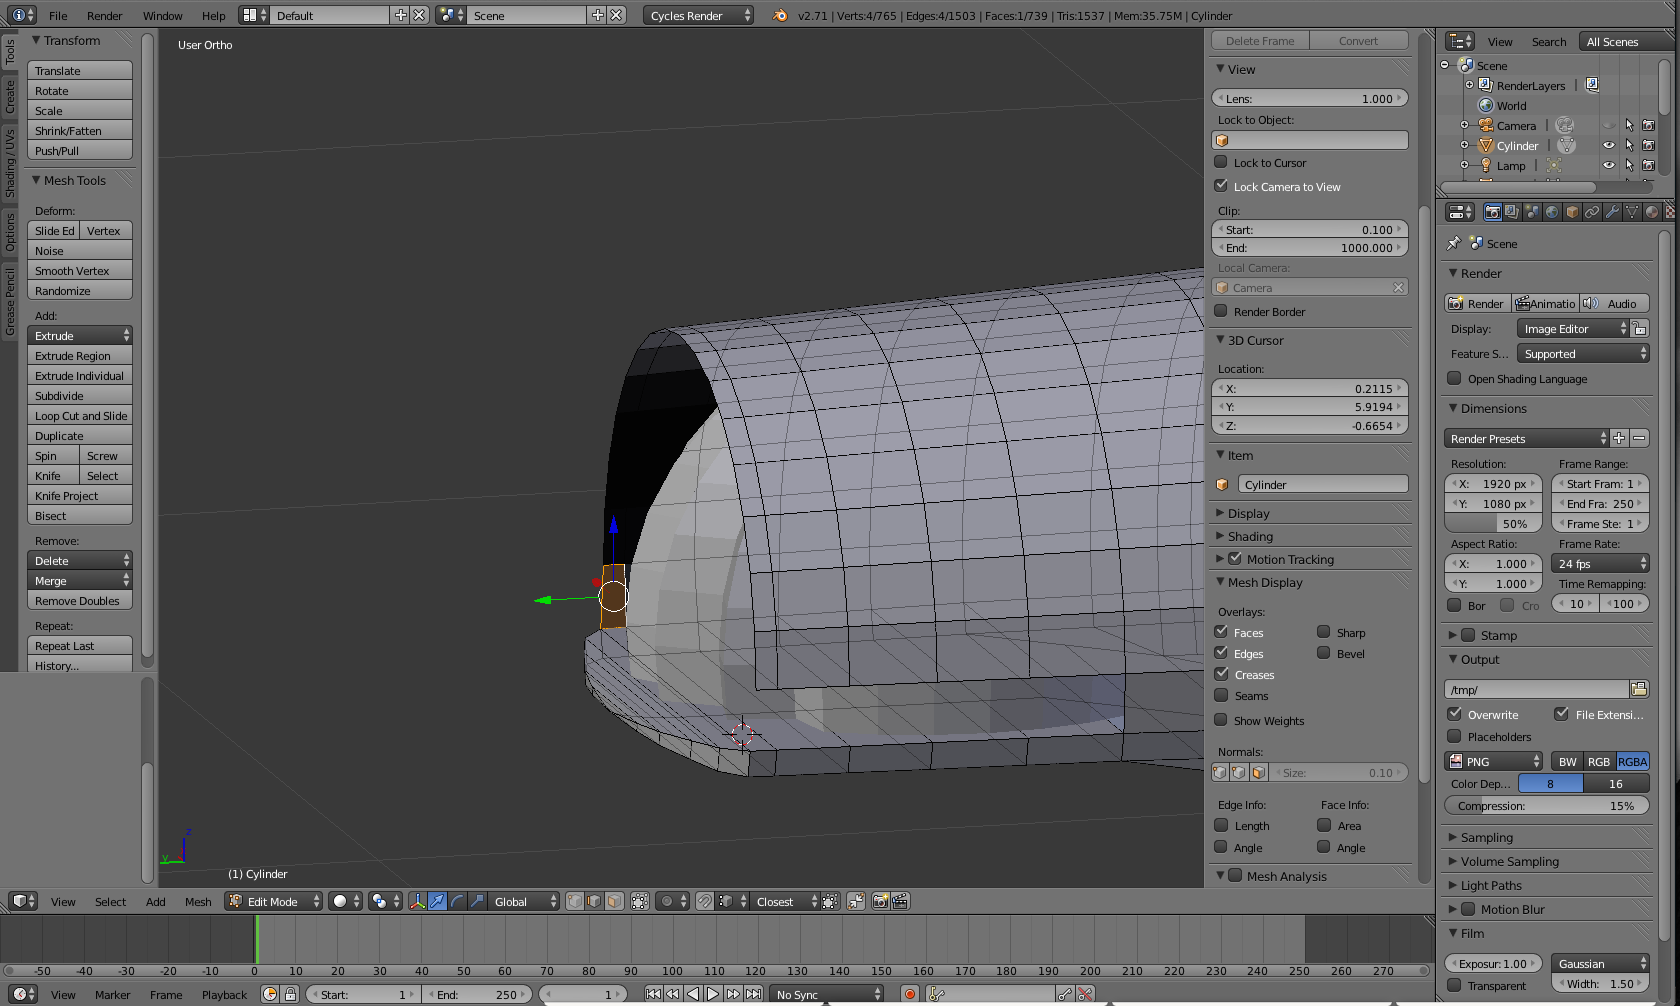
The following are some screenshots of the body end being created.